DEUTSCH
ENGLISH
Rack PDUs Mounting Options
Index b
Seite / Page 5
(ECR no. 15302)
2
Liebert MPX
TM
PRC
Liebert MPX
TM
PRC
2.1
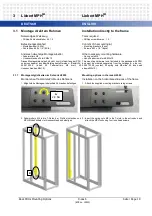
Montage mittels des mitgelieferten
Befestigungssatzes
Installation using the supplied mounting
kit
Notwendiges Werkzeug
– Innensechskantschlüssel Gr. 5
– Schlitzschraubendreher 10x1,6
Tools required
– Allen key size 5
– Slotted screw driver 10x1,6
Befestigungssatzinhalt
Content of the mounting kit
Bezeichnung
Stk.
Description
Pcs
Montagesatz / Mounting kit
1
Stückli ste / Bill of Material
Befestigungs winkel L-Form / Mounting bracket L-shape
2
Befestigungs winkel gekröpft / Mounting bracket Z-shape
2
Befestigungsknopf mit Schlitz / Fastening button with slot, DIN921, M6x12
2
Scheibe / Washer, 2,5mm
2
Federmutter / Spring nut, M6
8
Zylinderschraube / Cylinder screw, DIN912, M6x10
6
Zahnscheibe / Toot hed washer, DIN6797, A6,4
6
Erdungsset / Earthing kit
1
Stückli ste / Bill of Material
Leitung / Wire
1
Zylinderschraube / Cylinder screw, DIN912, M6x12
2
Zahnscheibe / Toot hed washer, DIN6797, A6,4
2
Federmutter / Spring nut, M6
2
Scheibe / Washer, DIN125, A6,4
2
Montieren
Installation
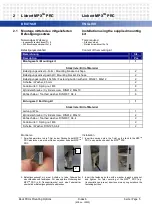
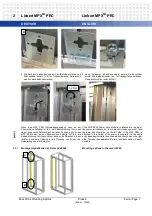
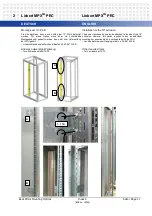
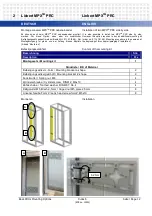
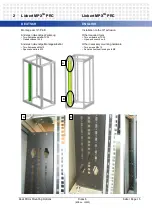
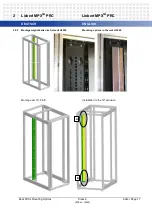
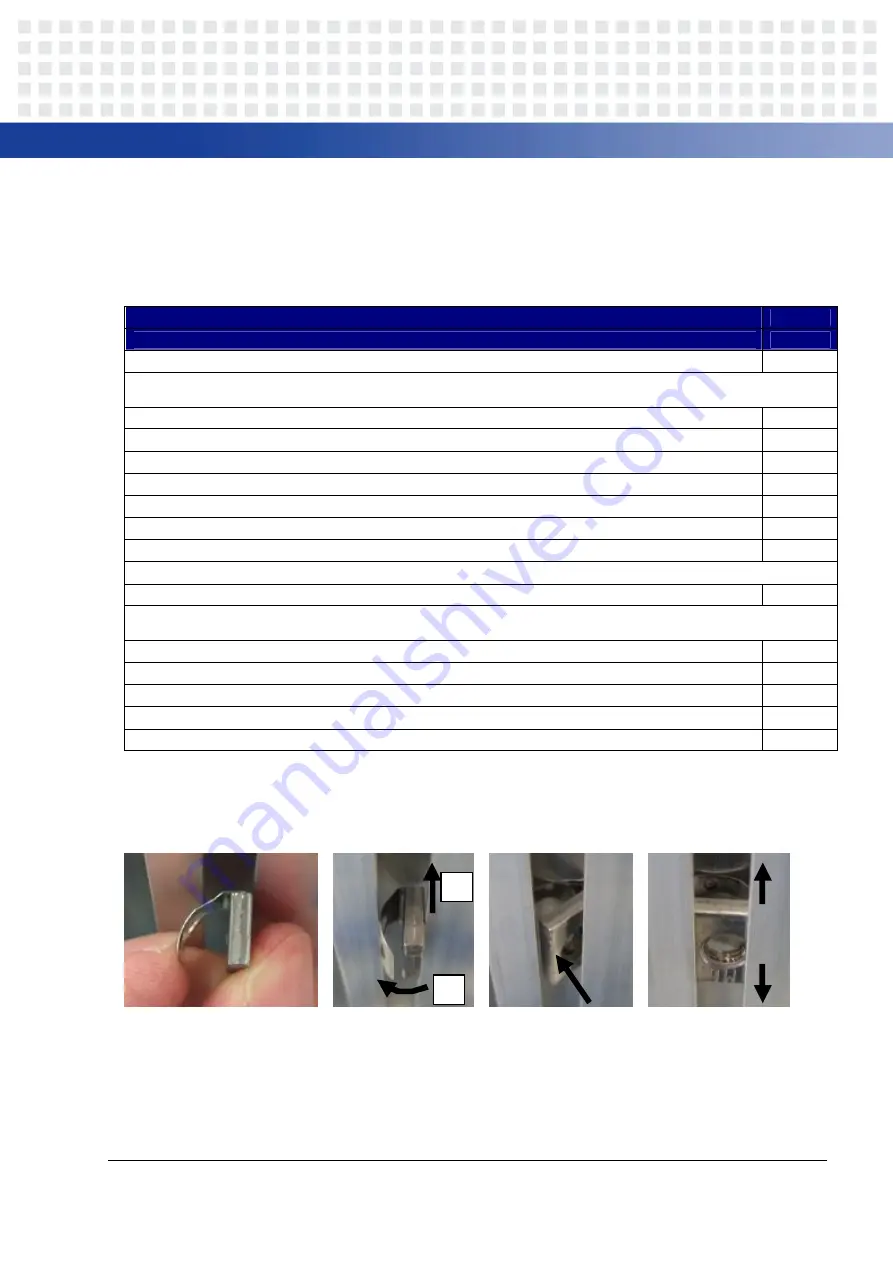
1. Zw ei Federmuttern in die T- Nut an der Rückseite der MPX
T M
PRC einstecken, eine in der Nähe von jedem Ende der MPX
T M
PRC.
1. Insert tw o spring nuts in the T-slot on the back of the MPX
T M
PRC, one near each end of the MPX
T M
PRC.
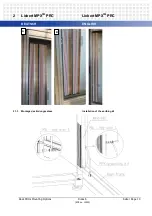
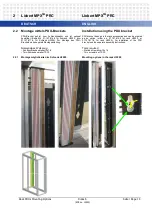
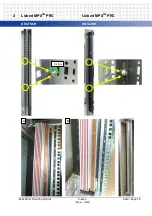
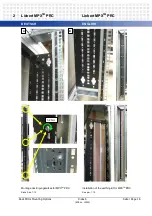
2. Befestigungsknopf mit einer Scheibe in jede Federmutter
einschrauben und festziehen. Für eine spätere Sicherung der
MPX
T M
PRC (z.B. Transportzw ecke) noch eine Federmutter
oberhalb der Befestigungsknöpfe einstecken.
2. Insert the fastening button w ith a w asher in each spring nut
and tighten. For later securing of the MPX
T M
PRC (e.g.
transportation purposes), insert one more spring nut above the
fastening buttons.
1.
2.


