


Document Part # 026-4159 Rev 2
Page 4 of 5
©2017 Emerson Climate Technologies Retail Solutions, Inc. This document may be photocopied for personal use.
Visit our website at http://www.emersonclimate.com for the latest technical documentation and updates.
Direct Connect to Site Supervisor
• If connecting directly to a Site Supervisor, the following Static IP Address configuration must be entered:
Address: 192.168.1.200
(the last three digits i.e.,
200
may be any number between 2 - 249)
Netmask: 255.255.255.0
Gateway: Should be blank
Save Network Configuration
1. After all changes are made, tap
Close
on the Display keyboard and then tap
SAVE
(top center).
2. After changes are saved, a confirmation message will appear. Tap
OK
.
3. After saving the configuration on the System Settings menu, tap
Exit
and wait for the browser Settings menu to appear.
Step 3: Setting Up the Browser Startup Page
1. Tap
Set pages
(under
Settings>On startup
) and enter the IP Address for Site Supervisor and configure the first page of
the browser. The
Startup pages
window opens where you can enter the URL in the
Enter URL
field.
2. For DHCP or Static IP, enter the standard information: http://sitesupervisorIP in the
Enter URL
field, but if you are directly
connected to the Site Supervisor, the IP Address must be
http://192.168.1.250
. The firmware should already be
preloaded with this IP address.
3. Tap
Enter
and
Close
on the keyboard to see full screen. Tap
OK
to save.
4. Manually cycle power to the
Display only
(do not cycle power to the Site Supervisor).
5. The Display will boot up and the browser will open directly to the Site Supervisor home page.
Note that to go back to the browser login screen at any time, press and hold the top left portion of the Display.
In case of power failure or connectivity problems between the Display and Site Supervisor:
First, try to restore connectivity between the Display and Site Supervisor and verify the Site Supervisor is powered ON and the Ethernet
cable is properly connected between the Display and Site Supervisor.
A
There is no Internet connection
screen may appear and timeout after three attempts to load the Site Supervisor Homepage.
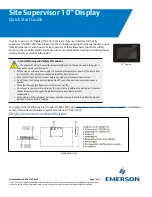
After this screen times out, a login screen will load. Do not log into this screen: instead, touch
Load Homepage
in the
upper
right corner. The Site Supervisor Homepage login screen will load if the Site Supervisor is connected properly to the Display and
powered up.
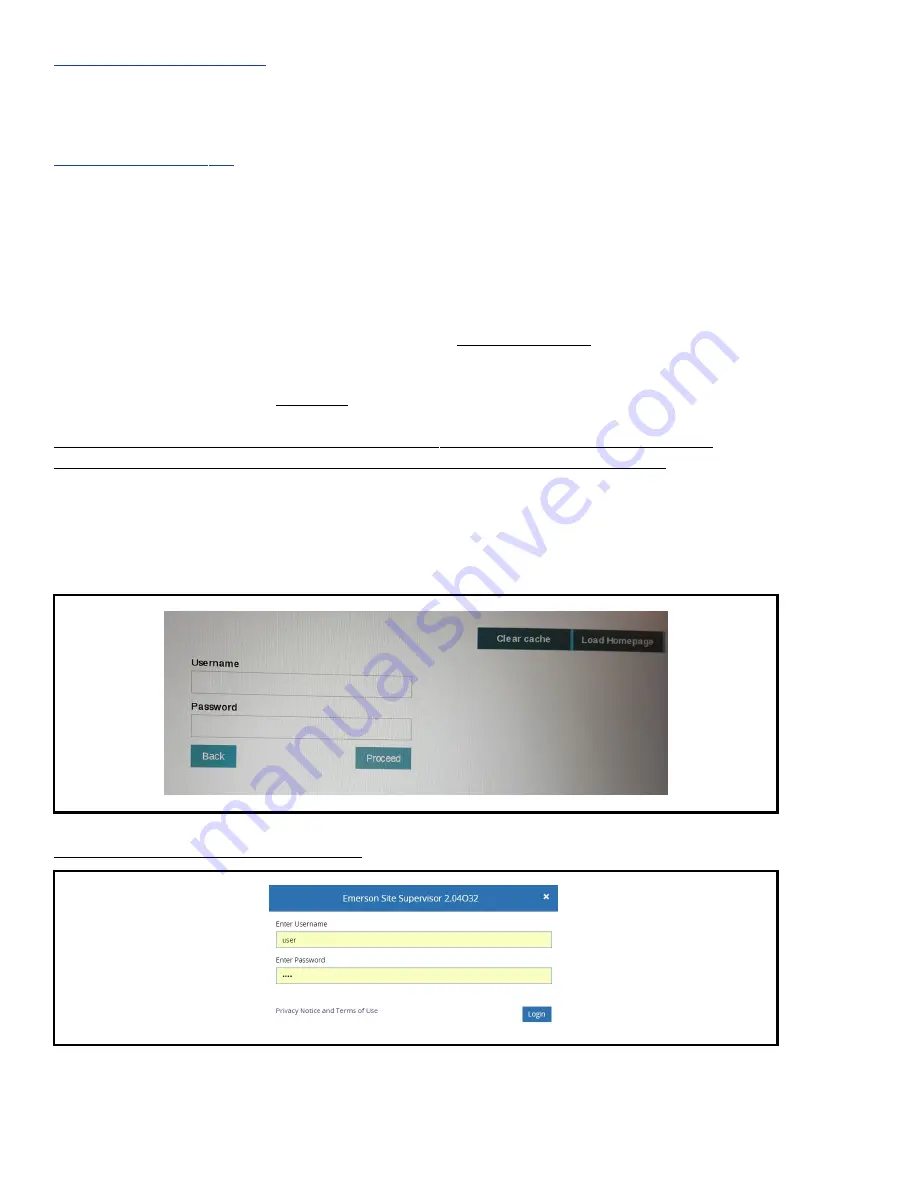
Log into Site Supervisor on this Homepage:
Touch Load Homepage
Log Into Site Supervisor Homepage


