05072020JA
1
Manual SRM Pro Series
–
Z Type
Premium Manual Pull-Down Projector Screen
USER’S GUIDE
_____________________________________________________________________________________________
Thank you for choosing the
Manual SRM Pro
Series projection screen!
This manual pull down/up screen features
a hands-free retractable system. It also includes our
GREENGUARD GOLD® and ISF Certified MaxWhite®
2
front projection material. The
MaxWhite®
2
best performs under a light controlled environment.
Note:
Wall screws included with this product are complimentary and may not be adequate for all mounting
surfaces. Consult with a professional installer or hardware store for proper mounting screws and anchors.
Regardless of the mounting method, the screen should be securely supported so that the vibration or pulling
on the viewing surface will not cause the screen case to become loose or fall. The installer must ensure that
proper mounting hardware and the fasteners used are of adequate strength and suitable for the mounting
surface.
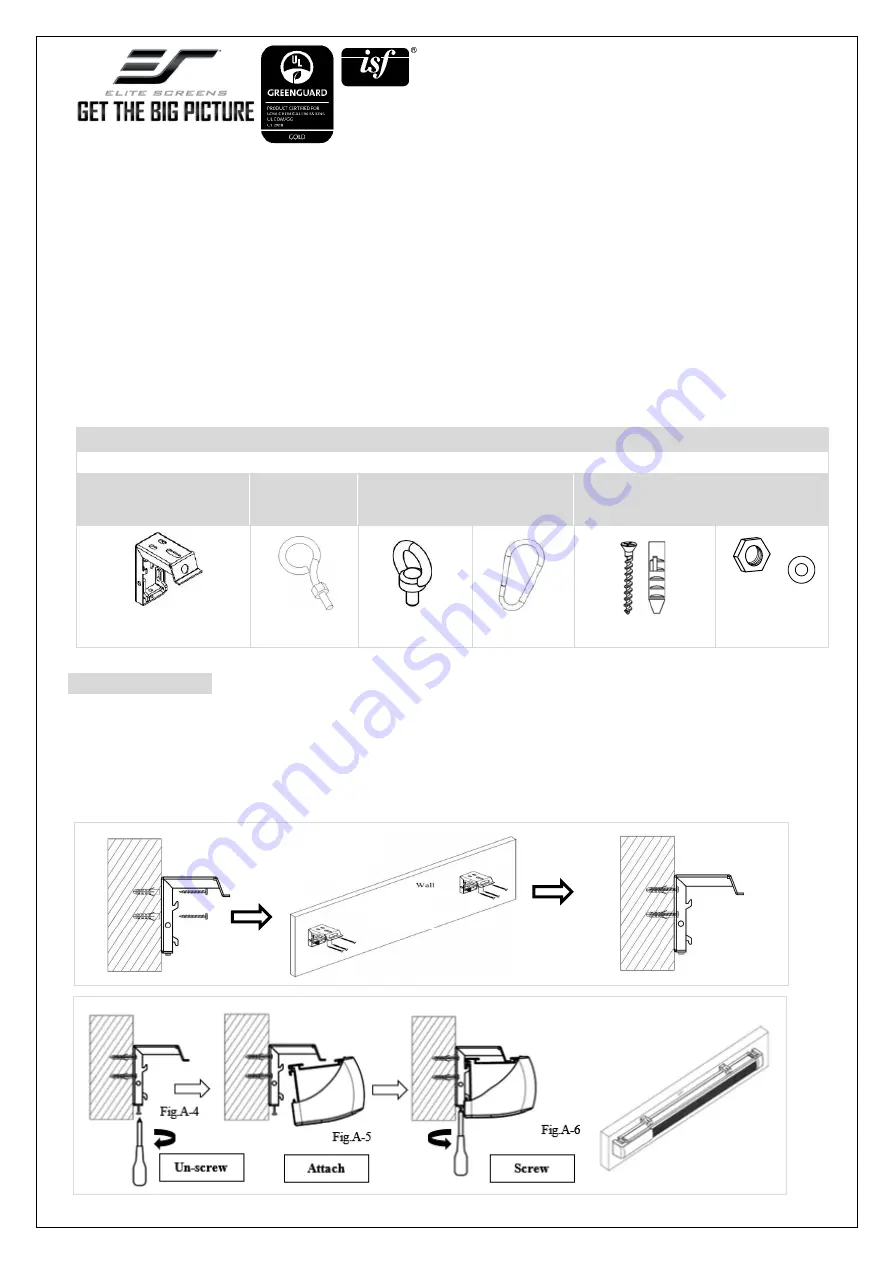
Hardware Parts List
Please make sure all parts listed below are included before proceeding with the installation.
A. Wall/Ceiling
Mounting Brackets x 2/3
pcs
B. M6 Eyebolt
Screw x 2 pcs
C. Short-
Eyebolt x 2 pcs
D. Carabiner
x 2 pc
E. Dry-wall Anchor
and Screw x 6 pcs
each
F. Nut/Washer
x 4 pcs each
135
”
and greater = 3 pcs
Smaller than 135” = 2 pcs
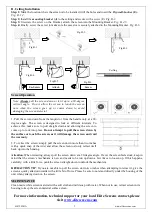
Screen Installation
A. Wall Installation
Step 1:
Determine where the screen will be installed. Mark the screw hole locations, drill the holes and insert the
dry- wall anchor (E). Fig. A-1,2.
Step 2:
Install the
mounting bracket (A)
to the wall and secure with a
screw (E). Fig. A-3.
Step 3:
Un-screw the screw on the Bracket, attach the screen into the Mounting Bracket.
Fig.A-4,5.
Step 4:
Finally, screw the screw to make sure the case slot is securely attached to the Mounting Bracket.
Fig.A-6.
Fig.A-1
Fig.A-3
Fig.A-2


