


V021417-EA
2
Frame Assembly
1.
Insert the
center joint (D)
into one of the ½
horizontal frames (B)
and fasten it with the two
M5x15 screws (H)
.
2.
Insert the other ½ horizontal frame piece to the center joint and fasten also using two
M5x15 screws
.
3.
Repeat steps 1 and 2 for assembling the second horizontal frame.
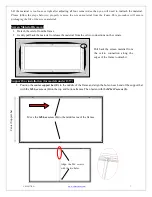
Push
Push
4.
For models 150” and below, insert and slide in one
M6 screw (G)
through the channel located on the back each
horizontal frame section
(top/bottom).
Note: For models 180” and above, insert and slide in four
M6 screws
(two on each frame) through the channel
located on the back of each
horizontal frame section
(top/bottom). Insert two
M6 screws
on each
vertical frame
section
(left/right).
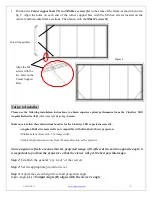
5.
Insert the
elbow joint (A)
into each end of the
horizontal frames (B)
as shown below.
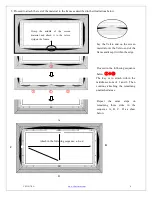
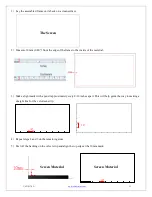
Horizontal long frame (B)
Elbow Joint (A)
Elbow Joint
(A)
Horizontal long frame
Place one
M6 hex screw (G)
in the center for attaching the
center support bar (E)
Face up
M6 hex screws (G)
Horizontal frame
Center Joints
Top right Frame
Top left Frame


