Program other AstroTec-868 bidi transmitters
Delete AstroTec-868 bidi transmitters
Programming further transmitters
If you wish to program other transmitters to the receiver you can
proceed as follows:
1.
On a transmitter, which has already been programmed to the
receiver, press the
UP
,
DOWN
and the programming button
P
until the LED goes out.
2.
Press the programming button
P
on the back of the device briefly.
The shutter will automatically begin to move up and down for
approx 2 minutes.
3.
In order to define the keyboard layout, press the
UP
button (front
of the device) on the AstroTec-868 bidi/-915 bidi
immediately
(max. 1 second) after beginning upward motion; the status of the
bidirectional programming is acoustically signalised.
The roller shutter stops briefly and then continues to travel again.
Press the
DOWN
button on the AstroTec-868 bidi/-915 bidi
immediately
after beginning downward travel; the status of bidi-
rectional programming is acoustically signalised.
The roller shutter stops.
The AstroTec-868 bidi/-915 bidi i
s now programmed.
Deletion of individual transmitter
1.
Simultaneously
press programming button
P
(rear of the device)
and the
STOP
button (front of the device)
2.
Keep this button combination pressed until the LED goes out
briefly for a second time (approx. 6 seconds)
Deletion of all transmitters
1.
Simultaneously press the
programming button P
(rear of the
device) and buttons
UP
and
DOWN
and
STOP
(front of the
device)
2.
Keep this button combination pressed until the LED goes out
briefly for a second time (approx. 6 seconds)
Warnhinweise
Programming
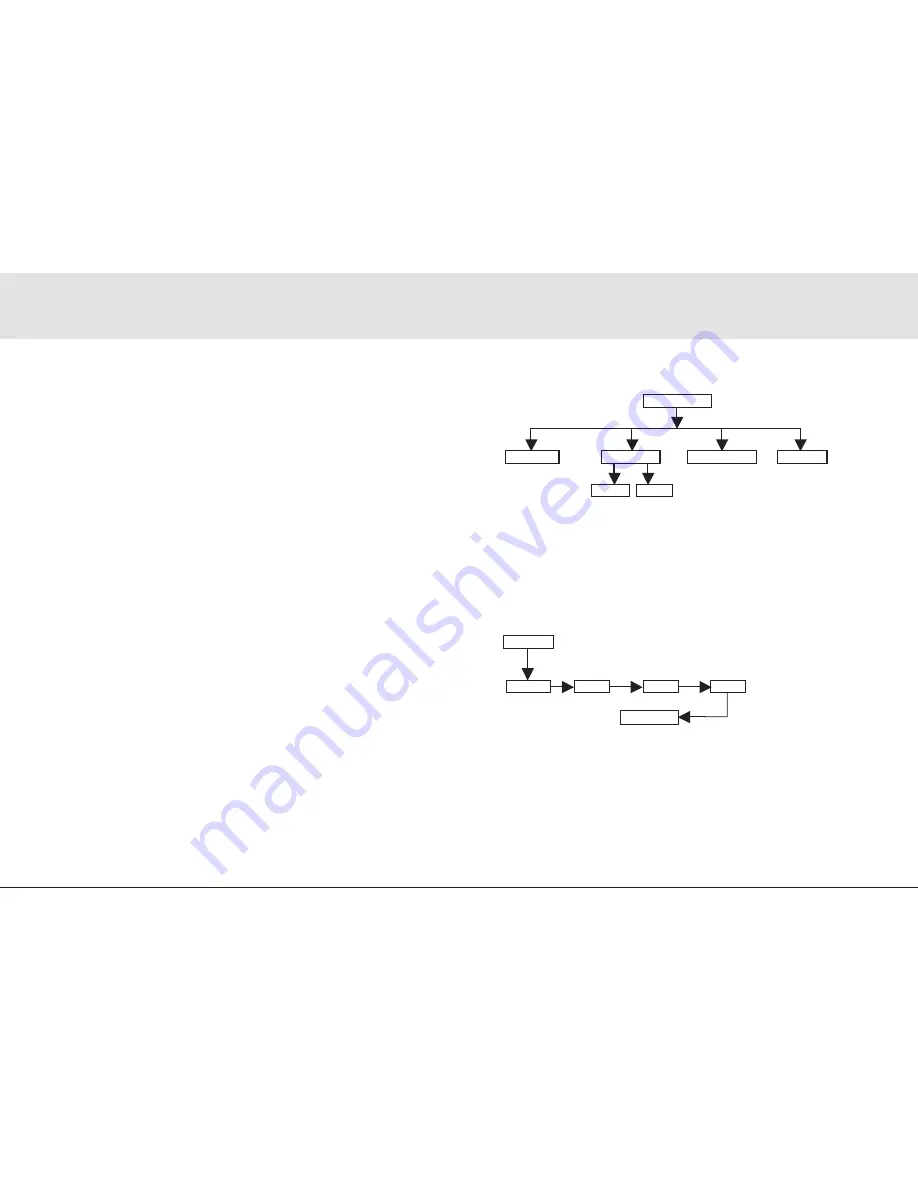
Main menu (Overview of the menu)
1. Press the MENU button until TIME/DATE appears.
2. To select further menus, press the +/- buttons.
3. Press the MENU button to switch to operating mode.
/-
+
+
Operating mode
FUNCTION
SETTING
PROGRAMM
TIME/DATE
PROG1
PROG2
+/–
+/–
+/–
+/–
MENU
TIME/DATE (to set the time and date)
1. Press the MENU button until TIME/DATE appears.
2. By pressing OK, you get to the TIME menu level.
3. Now set the current time using the +/- buttons.
4. If the time is set correctly, confirm by pressing OK.
5. Repeat the above procedure for the settings YEAR, MONTH
and DAY. TIME/DATE appears.
6. Press the MENU button to switch to operating mode.
K
O
O K
/-
TIME/DATE
TIME
YEAR
MONTH
DAY
TIME/DATE
OK
OK
OK
OK
OK
+/–
+/–
+/–
+/–
26 | EN
EN | 27


