


Preparation for using your new TV – Front Panel
8
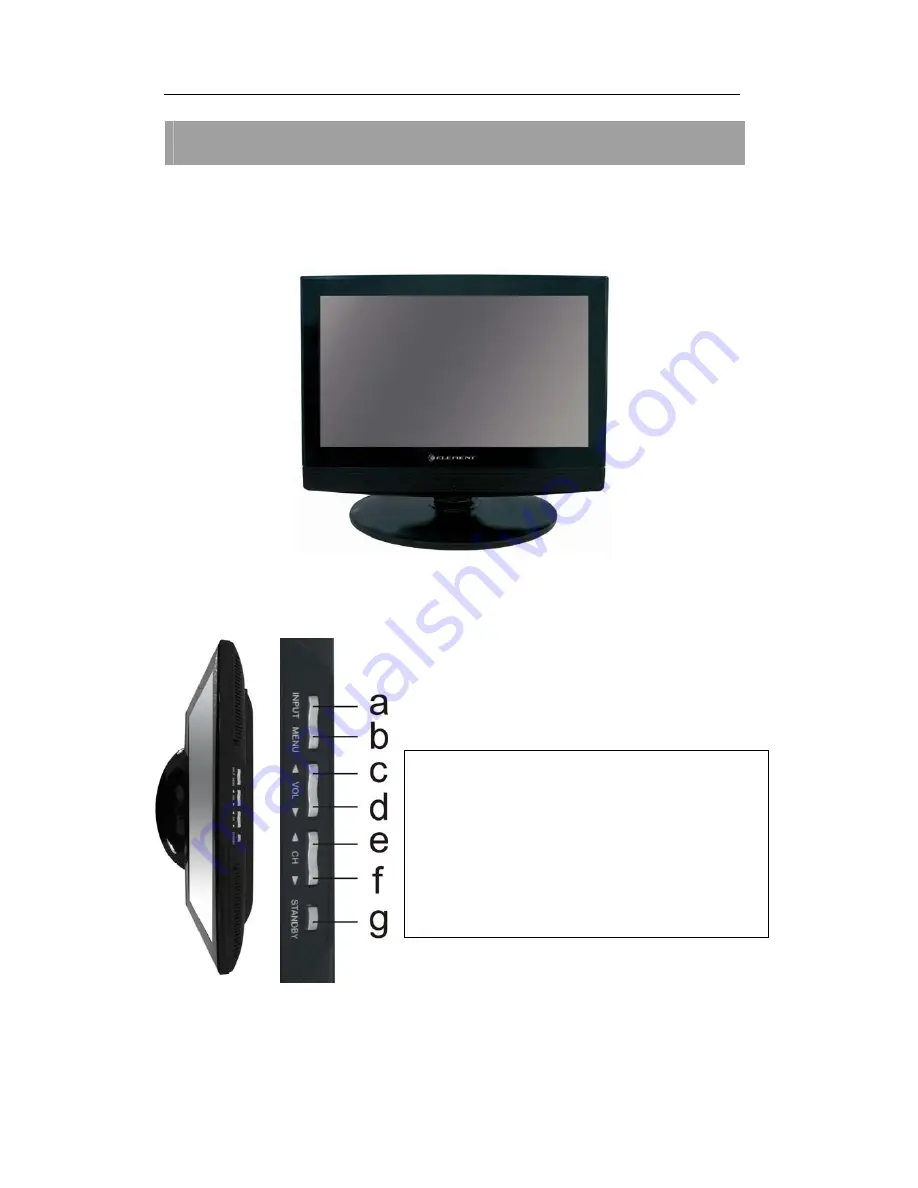
FRONT PANEL
Familiarizing Yourself with the Main Hardware
(The picture of the product may vary depending on the model)
a.
Select signal input.
(It changes to “ENTER” function when main menu displays )
b.
Main Menu display and menu selection
c. Volume
down
d. Volume
up
e. Channel
down
f. Channel
up
g. ON/OFF
button
Содержание 19LE30Q
Страница 1: ......


