


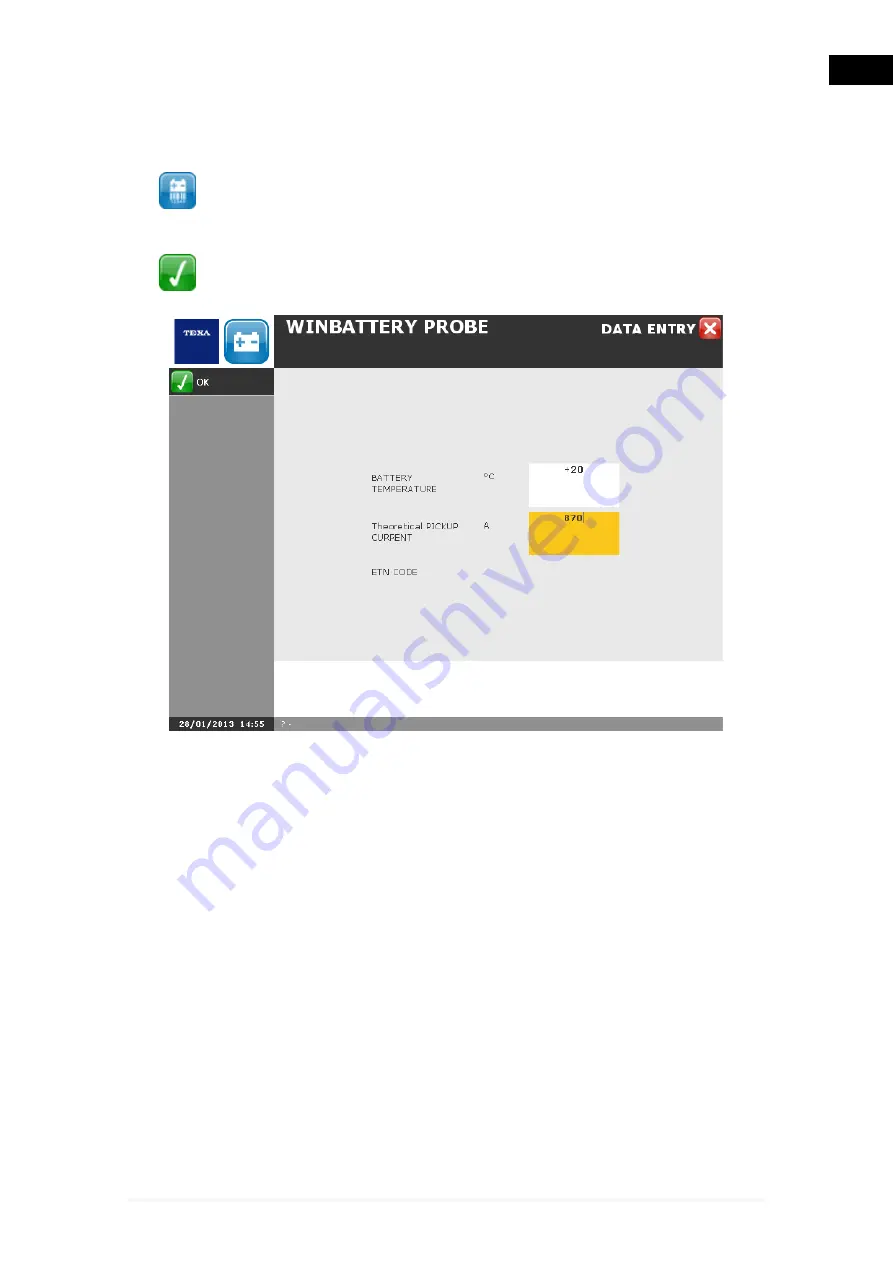
3.1.1 Change Battery Values
This function allows you to change the data regarding the battery.
Proceed as follows:
1. Click
.
2. Enter the data in the specific fields.
3. Click
.
The data that is required is generally printed on the sticker located on the
battery.
ETN is the acronym for European Type Number, a 9 digit code that indicates
the electrical features and the dimensions of the battery.
For example, the structure of ETN 543 110 033 is the following:
•
543 group A.
•
110 group B.
•
033 group C.
Group A indicates the battery's capacity and voltage.
•
All the numbers above 500 indicate 12 V power supply batteries.
•
All the numbers below 500 indicate 6 V power supply batteries.
In order to learn the battery's capacity, you must subtract 500 from the number
in group A: 543-500=43, therefore 43 Ah.
35
en
Содержание UniProbe
Страница 1: ...UniProbe User Manual www elektropartner com...
Страница 2: ...ENGLISH 7 en...
Страница 3: ...2...
Страница 7: ...6...
Страница 18: ...You may now access the self diagnosis functions 17 en...
Страница 26: ...MSS Manual Allows you to view the software manual 25 en...
Страница 33: ...To launch the function from the Tools menu proceed as follows 1 Click 32...
Страница 46: ...2 Click 3 Click 4 Select the ammeter scale 5 Click 6 Follow the instructions that appear on the screen 45 en...
Страница 62: ...2 Click 3 Click 4 Select the ammeter scale 5 Click 6 Follow the instructions that appear on the screen 61 en...
Страница 65: ...2 Click 3 Click 4 Select the ammeter scale 5 Click 6 Follow the instructions that appear on the screen 64...
Страница 71: ...5 Follow the instructions that appear on your screen 6 Click on 70...
Страница 74: ...5 Follow the instructions that appear on your screen 6 Click on 73 en...
Страница 77: ...Reset Allows you to clear the graph 76...
Страница 79: ...The measurement starts To disconnect the tool click on the icon 78...
Страница 100: ...2 Click on The device starts measuring a direct current again 99 en...
Страница 101: ...5 8 Reset This function allows you to clear the graph Proceed as follows 1 Click on The graph is set to zero 100...
Страница 106: ...The Time Division is set 105 en...
Страница 110: ...Zoom in carried out 109 en...
Страница 123: ...7 3 Reset This function allows you to reset the parameters 1 Click The parameters are reset 122...
Страница 128: ...3 Click on The procedure is launched only for the functions selected 127 en...
Страница 131: ...3 Click on 4 Click on The configurations are deleted 130...
Страница 134: ...6 Select the desired device 7 Click on 8 Select the type of communication desired 9 Click on 133 en...
Страница 135: ...10 Click on icon No 11 Click on icon Yes 12 Follow the instructions on the screen 13 Click on icon Ok 134...
Страница 137: ...15 Click on 16 Select the desired device 17 Click on 136...
Страница 139: ...21 Open the drop down menu 22 Select the desired COM port 23 Click on 24 Click on 138...
Страница 142: ...Info Allows you to view information regarding the Bluetooth stack 141 en...
Страница 143: ...9 1 Find This function allows you to search for Bluetooth devices Proceed as follows 1 Click on 2 Click on 142...
Страница 145: ...5 Click on The result of the search is displayed 144...
Страница 147: ...The device is activated 146...
Страница 149: ...The device is deactivated The COM assigned to the device is removed 148...
Страница 151: ...2 Click on 3 Select the desired function 4 Click on 150...
Страница 152: ...5 Click on Repeat the operations described above for each of the functions that use the selected device 151 en...
Страница 153: ...9 5 Info Allows you to view information regarding the Bluetooth stack Proceed as follows 1 Click on 2 Click on 152...
Страница 156: ...Wait for FPGA firmware installation 4 Follow the instructions that appear on your screen 5 Click on 155 en...
Страница 157: ...Wait for ARM firmware installation 6 Follow the instructions that appear on your screen 7 Click on 156...
Страница 158: ...Firmware is updated 157 en...


