


7
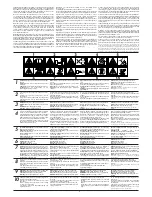
ASSEMBLY
(
starts at page 36
)
DESCRIPTION
(starts at page 35
)
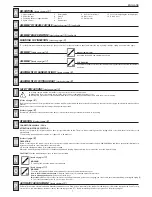
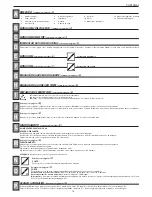
ASSEMBLY OF GRASS CATCHER
(
starts at page 35
)
If applicable
OPERATION
(
starts at page 38)
ADJUSTMENT OF CUTTING HEIGHT
(
starts at page 38
)
l
Always operate with the rear deflector or grass catcher in the correct position.
l
Always stop the mower before removing the grass catcher or adjusting the height of cut.
l
Never place your hands or feet underneath the deck or into the rear grass discharge chute while the mower is running.
Before mowing, remove all foreign objects from the lawn which may be thrown by the machine. While mowing, stay alert for any foreign objects which may have been
missed.
Never lift the rear of the mower while starting or during normal operation.
Never place your hands or feet underneath the deck or into the rear discharge chute while the mower is running.
SAFETY PRECAUTIONS
(
starts at page 38
)
ENGLAND
(starts at page 38)
(starts at page 38)
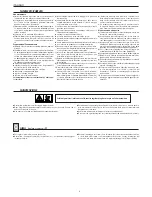
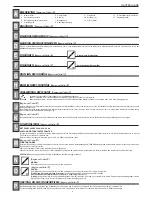
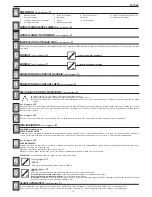
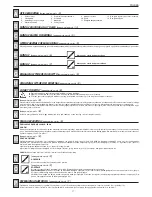
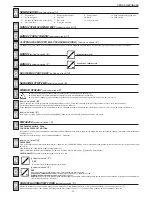
CONNECTION V220/230 - 50 Hz
1 Upper handles
5
Safety button
9
Rear deflector wall
12
Levers for adjusting the cutting height
2 Reduction gear
6
Switch
10
Motor cover
13
Clutch lever
3 Fastening knobs for upper handles
7
Deck
11
Switch lever
4 Grass catcher
8
Cable holder
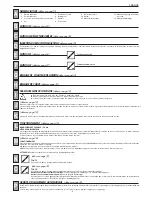
OPERATION
Before connecting up the lawn mower to the electric power supply, make sure that the mains supply voltage is 220-230V/50Hz and that a ground fault interrupter is
installed on the mains circuit. Start the mower as follows:
a) Press the safety push-button (5) to enable mower startup.
b)Start the mower by pulling the lever (11) towards the handle and keeping it pressed down. If you release the lever, the motor will stop.
CAUTION!
The blade starts turning as soon as the mower is started.
(starts at page 38)
ASSEMBLY
REAR DEFLECTOR
(
starts at page 35
)
If applicable
A
B
C
H
J
I
H
L
M
E
F
ASSEMBLY (
starts at page 37)
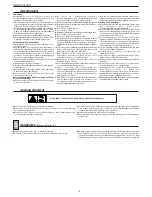
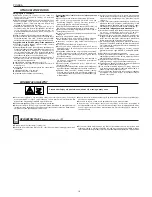
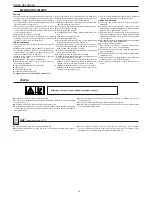
ATTENTION MOTOR PROTECTOR
A motor cut -out device (motor protector) has been incorporated in the switch. Therefore, when reaching excessive cutting stress or overload, the motor will be cut out
automatically.
For re-starting, wait until the motor will be cool (approx. 5 to 10 minutes);
N
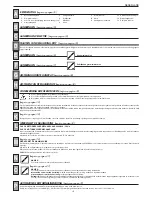
MOWING
To cut the grass, push the lawn mower manually
(starts at page 39)
O
AUTOMATIC ADVANCEMENT
(starts at page 39)
P
(starts at page 39)
MOWING
To cut the grass, push the lawn mower manually or insert the automatic advance gear.
How to insert automatic advance
: Lift up the clutch lever (13) and keep it pressed in position.
How to disengage advance:
Release the clutch lever.
Important:
If, when you press the clutch lever, the automatic advance gear does not engage, the clutch cable should be adjusted by inserting the spring (P)
in one of the subsequent holes (S) in the clutch lever (13).
Periodically check the automatic advance assembly and make sure to keep it clean. In particular, the pinion (14) and the gear (15) must be kept perfectly clean. To carry
out this check, you must remove the wheel (16) by unscrewing the screw (17). Before reinstalling the wheel, put grease on the pinion and gear.
Manual lawn mower
Assemble the handle and switchbox as shown.
Self-Propelled
Assemble the handle and clutch lever with pins and clips provided and assemble switchbox
as shown.
ADJUSTMENT OF HANDLES HEIGHT
(
starts at page 38
)
G
D
MULCHING CAP INSERTION
(
starts at page 35)
To cut the grass with the mulching system (no grass collection), lift the rear deflector panel and insert the cap by fixing it with the spring as shown in the figure.
Содержание RE460
Страница 35: ...35 2 5 6 1 4 7 8 13 3 12 9 10 11 5 6 1 4 7 8 3 12 9 10 11 A B C D ...
Страница 36: ...36 E ...
Страница 37: ...37 F ...
Страница 38: ...38 K L M H G I J 11 5 ...
Страница 39: ...39 21 20 18 19 21 20 18 19 14 15 16 17 5 11 13 11 5 N O P Q ...
Страница 43: ...43 ...


