EN
4
USING YOUR CHOPPING BOWL
The chopping bowl is suitable for chopping meat, cheese, onions, herbs, garlic, carrots, etc.
The chopping bowl should be used on higher speeds for optimal performance.
1.
CAREFULLY insert the chopping blade into the chopping bowl.
WARNING: Blades are sharp.
2.
Place the food you wish to chop into the chopping bowl. Do not overfill.
3.
Put the blending lid onto the chopping bowl. Push to secure into place.
4.
Attach the motor unit onto the lid and turn to lock into place.
5.
Plug in the motor unit.
6.
Select a high speed by turning the variable speed control dial.
7.
Press and hold the on/off button to start. Do not open the lid while in use.
• You can press the turbo button to run the appliance at high speed for intermittent bursts.
8.
When the desired food consistency has been reached, release the on/off button. Unplug the motor
unit from the mains socket.
9.
Allow the blades to completely stop before detaching the motor unit from the blending lid.
10. Remove the blending lid from the chopping bowl.
11. CAREFULLY remove the chopping blades before emptying the food from the bowl.
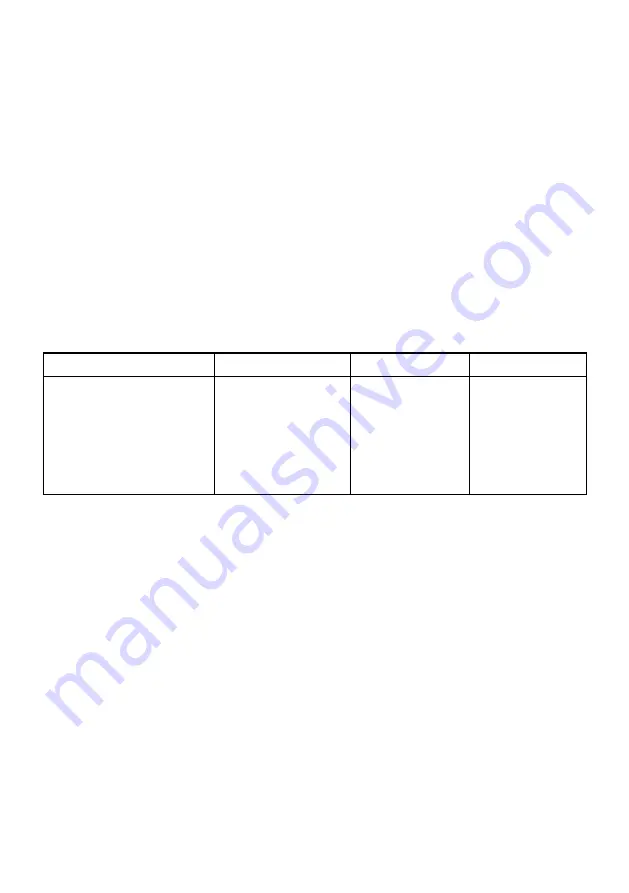
Processing Guide
Food
Speed
Max Time
Max Quantity
Beef pieces
(size 20mm x 20mm x
20mm),
almonds
Higher speed
15 seconds
250g
WARNING:
The continuous operating time must be less than 15 seconds and then allow it
to cool down for at least 2 minutes between cycles. After operating 5 cycles continuously,
the appliance must cool down to the room temperature before restarting.
USING YOUR WHISK ATTACHMENT
The whisk attachment is suitable for whipping cream or eggs.
1.
Attach the whisk attachment onto the motor unit and turn to lock into place.
2.
Plug in the motor unit.
3.
Select a high speed by turning the variable speed control dial.
4.
Put the whisk into the ingredients.
5.
Press and hold the on/off button to begin whisking.
• You can press the turbo button to run the appliance at high speed for intermittent bursts.
6.
When you have finished whisking, release the on/off button. Unplug the motor unit from the mains
socket.
7.
Detach the whisk attachment from the motor unit.


