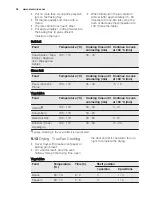
10.3
Pyrolysis
CAUTION!
Remove all accessories and
removable shelf supports.
Do not start the Pyrolysis if you
did not fully close the oven
door. In some models, the
display shows "C3" when this
error occurs.
WARNING!
The appliance becomes very
hot. There is a risk of burns.
CAUTION!
If there are other appliances
installed in the same cabinet,
do not use them at the same
time as the Pyrolysis function. It
can cause damage to the
appliance.
1.
Remove the worst dirt manually.
2.
Clean the inner side of the door with
hot water, so that the residues do not
burn from the hot air.
3.
Set the Pyrolysis function. Refer to
"Oven functions".
4.
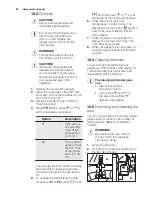
When
flashes, press or to
set the necessary procedure:
Option
Description
P1
If the oven is
not very dirty.
Time of the
procedure: 1
h 30 min.
P2
If you cannot
easily remove
the dirt. Time
of the proce-
dure: 2 h 30
min.
You can use the End function to delay
the start of the cleaning procedure.
During the Pyrolysis the oven lamp is
off.
5.
To change the default length of the
procedure (
P1
or
P2
), press to set
, and then press or to set
the length of the cleaning procedure.
6.
When the oven is at its set
temperature, the door locks. The
display shows the symbol and the
bars of the heat indicator until the
door unlocks.
7.
When Pyrolysis is completed, the
display shows the time of day. The
oven door stays locked.
8.
When the appliance is cool again, an
acoustic signal sounds and the door
unlocks.
10.4
Cleaning reminder
To remind you that the Pyrolysis is
necessary, PYR flashes in the display for
10 seconds after each activation and
deactivation of the appliance.
The cleaning reminder goes
out:
• after the end of the
Pyrolysis function.
• if you press and at
the same time while PYR
flashes in the display.
10.5
Removing and installing the
door
You can remove the door and the internal
glass panels to clean it. The number of
glass panels is different for different
models.
WARNING!
Be careful when you remove
the door from the appliance.
The door is heavy.
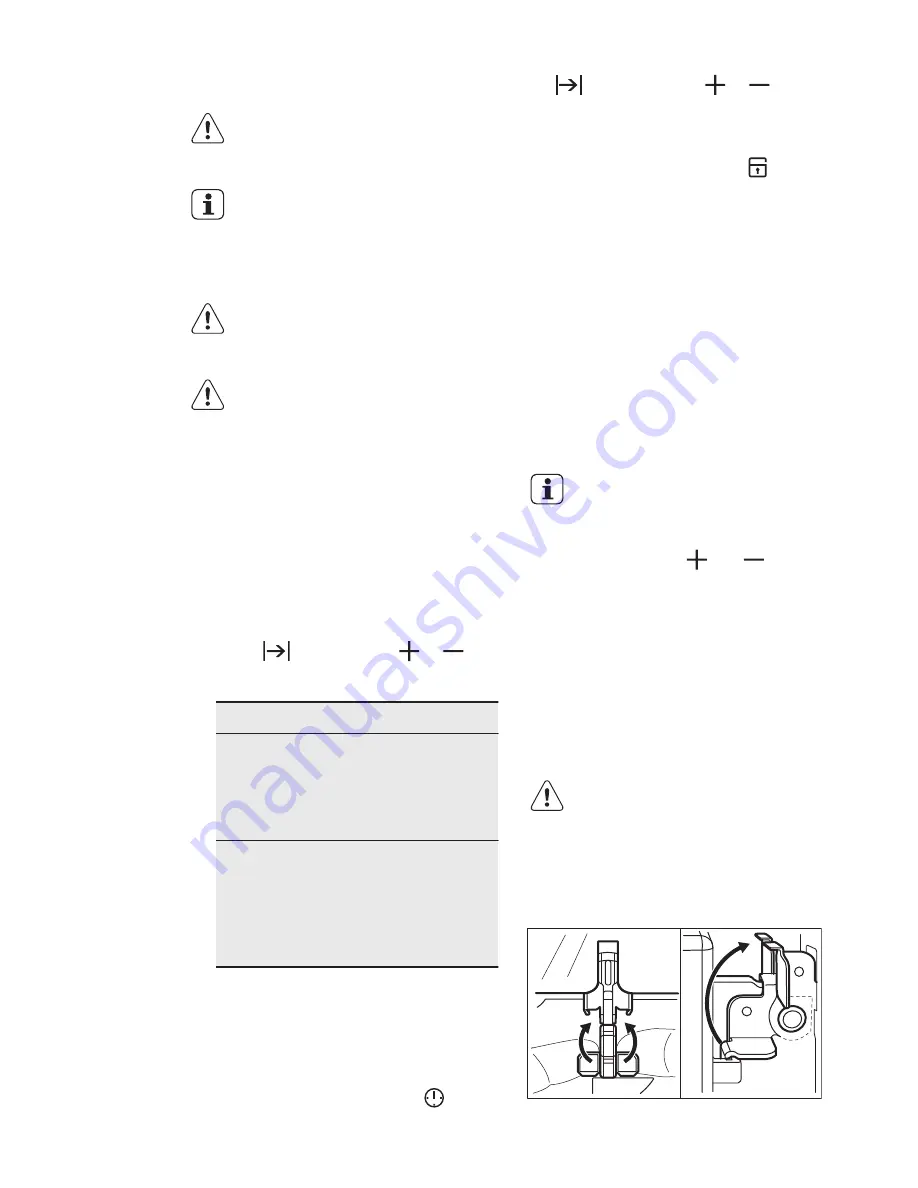
1.
Open the door fully.
2.
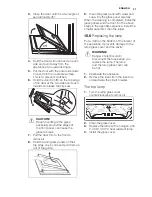
Fully lift up the clamping levers (A) on
the two door hinges.
A
A
www.electrolux.com
26
Содержание EBL80
Страница 1: ...EBL80 EN OVEN USER MANUAL ...
Страница 34: ...www electrolux com 34 ...
Страница 35: ...ENGLISH 35 ...
Страница 36: ...www electrolux com shop 867302679 A 062014 ...

