


10
INITIAL SET UP
Connect the monitor to a power socket.
1. Press the POWER bu
�
on on the monitor or to turn it on (The indicator will be blue)
2. Connect the relevant cable to the corresponding input on the monitor.The source will be
automa
�
cally detected.
3. To change between inputs, press the E bu�on to enter the source menu. Use the
and
bu�ons to choose the input source between DP1, HDMI1, HDMI2 and DP2.
MENU OPTIONS
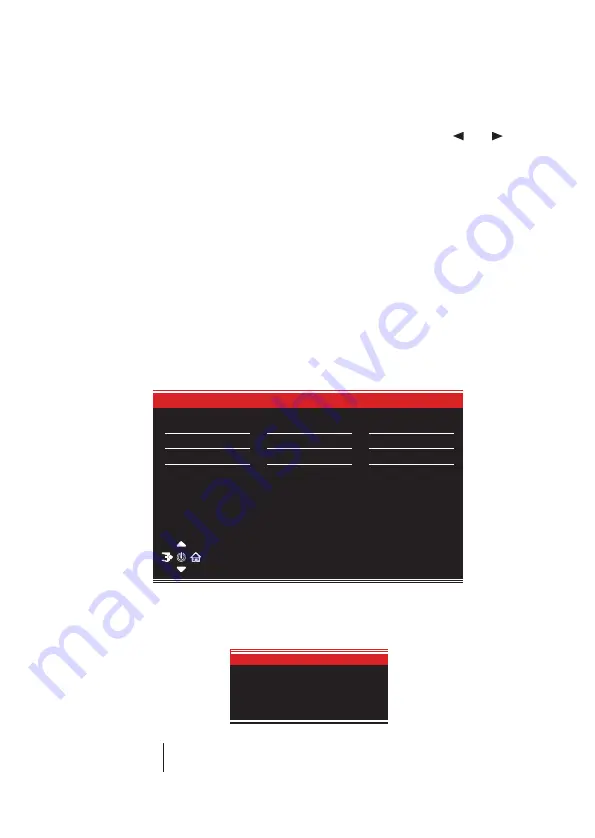
OSD MENU
LED EFFECTS SYSTEM CONSOLE
PICTURE Mode
LED Effects System Console
Logo Led
Color
White
Strandard
Strip Led
Strength
HightLight
OFF
Mode
Normal
Picture mode
Switch the scene mode
shortcut bu�on you can
change the picture mode
directly:
Standard, Photo, Movie, Game, FPS and RTS.
The menu for the monitor can be accessed by pressing the menu bu�on on the control panel. This
menu is separated into the following sub menus: Input source, Brightness/Contrast, Colour Se�ngs,
Picture Quality Se�ngs, Display, Audio, OSD (On screen display), and other. Details of each menu can
be found in the following sec�on.