background image


INITIAL SETUP 


Connect the monitor to a power outlet. 


1 . 

Press the POWER bu on to turn it on (The indicator will be blue) 


2. 

Connect the relevant cable to the corresponding input on the monitor. The source will be 

automa cally detected. 


3. 

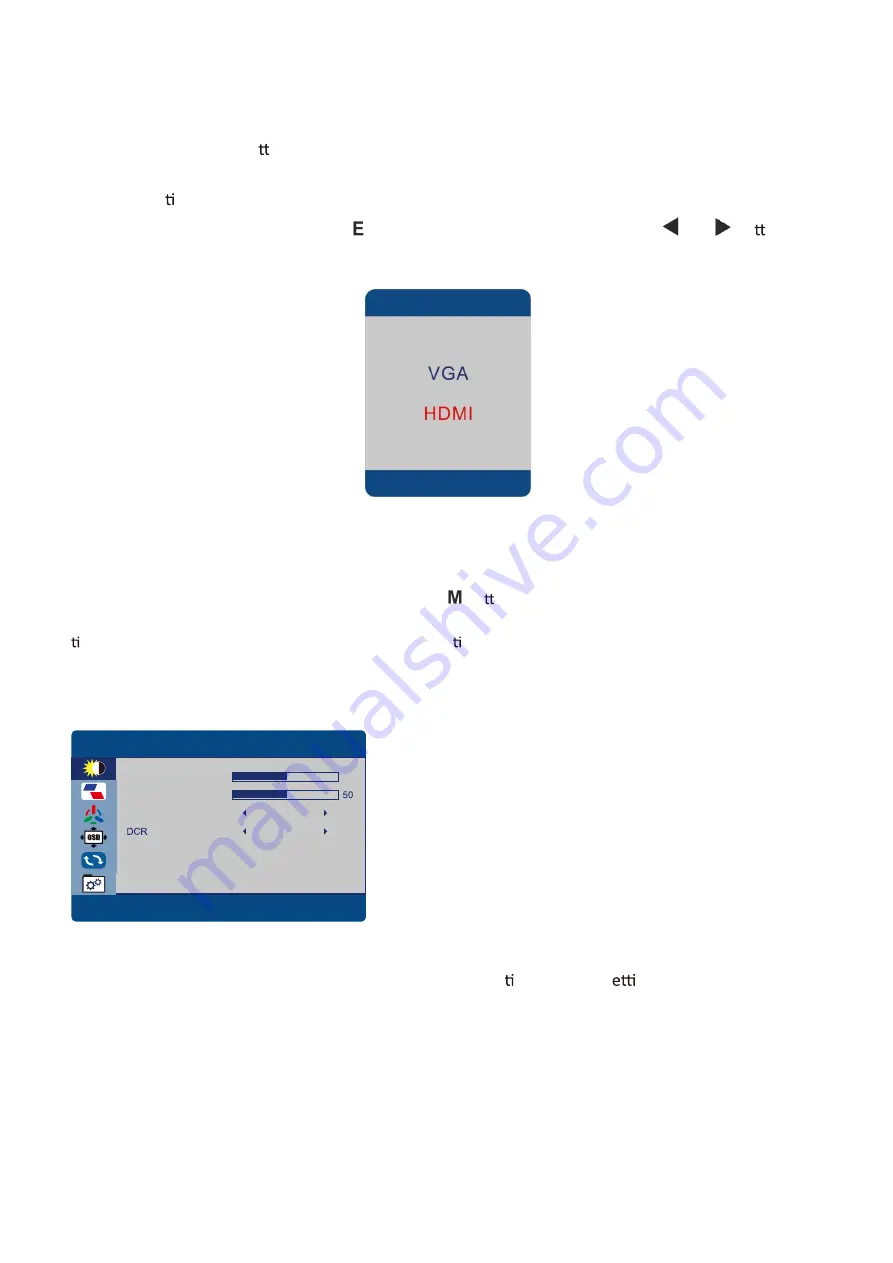
To change between inputs, press   to enter the source menu. Then use the   and   bu ons to 

choose the input source between VGA and HDMI. 


MENU OPTIONS


The menu for the monitor can be accessed by pressing the 


bu on on the control panel. This menu is separated 

into the following sub menus: Brightness, Image Setup, Colour Setup, OSD Setup, Reset and extra. Details of the 

op ons within each menu can be found in the following sec on 


BRIGHTNESS SETTING 


Brightness

Allows the adjustment of the image brightness, 

according to ambient light in the room between 0 and 

100. 


Contrast

Allows the adjustment of contrast between white and 

black areas of the image between 0 and 100. 


ECO MODE  

Allows selec on of image s

ngs between the 

following:  STANDARD, TEXT, MOVIE, GAME, FPS, and 

RTS. 


DCR  

Allows the dynamic contrast of the picture to be turned 

ON and OFF. 


ECO MODE

STANDARD

OFF

BRIGHTNESS

BRIGHTNESS
CONTRAST

80

Содержание 24FHD75IS

Страница 1: ...LED MONITOR eiQ 24FHD75IS Thank you for choosing electriQ Please read the user manual before using this monitor and keep it safe for future reference Visit www electriQ co uk to view our entire range...

Страница 2: ...LUDED 4 MONITOR DIMENSIONS 4 CONNECTIONS AVAILABLE ON THE MONITOR 5 WALL MOUNTING 5 GETTING STARTED 5 INITIAL SET UP 6 MENU OPTIONS 6 BRIGHTNESS 6 IMAGE SETUP 7 COLOR SETUP 7 OSD SETUP 8 RESET 8 EXTRA...

Страница 3: ...e point where it exits from the appliance Only use attachments accessories specified by the manufacturer Use only with a cart stand tripod bracket or table specified by the manufacturer or sold with t...

Страница 4: ...ng or splashing and objects filled with liquids such as vases shall not be placed on the apparatus WARNING The wall socket is used as a disconnection device and should remain readily accessible WARNIN...

Страница 5: ...R MANUAL 23 8 INCH SLIM LED MONITOR eiQ 24FHD75IS Thank you for choosing electriQ Please read the user manual before using this monitor and keep it safe for future reference Visit www electriQ co uk t...

Страница 6: ...e size of the screws is 4 x M6 x 10 not supplied Do not use screws longer than speci ed or damage will occur to the internal components NOTE As the monitor is considered heavy please consult with a pr...

Страница 7: ...el This menu is separated into the following sub menus Brightness Image Setup Colour Setup OSD Setup Reset and extra Details of the op ons within each menu can be found in the following sec on BRIGHTN...

Страница 8: ...nd 100 Phase VGA ONLY Can reduce video disto on and instability Adjust between 0 and 100 Image Allows the Image Ra o of the picture to be locked Can be turned ON and OFF COLOR SETUP Allows adjustment...

Страница 9: ...ment of the horizontal position of the OSD menu V Positon Allows adjustment of the vertical position of the OSD menu Timeout Allows adjustment of the duration the OSD remains on the screen between 0 a...

Страница 10: ...No power Insert the plug securely into the power outlet No picture Ensure that the equipment is connected properly Ensure the correct input is selected No response when buttons are pressed Disconnect...

Страница 11: ...89 89 L R 89 89 Display Colours 16 7M Adjustable Colour Temperature WARM COOL USER Normal Video Compa bility Mul Standard for NTSC PAL Aspect Ra o 16 9 Speaker Mul media Speakers Right x 1 Le x 1 2 X...

Страница 12: ...councils Please remember that this equipment will be further handled during the recycling process so please be considerate when deposi ng your equipment Please contact the local council for details o...

Отзывы: