5 VERIFYING THE GAUGE CALIBRATION
6 THE DISPLAY
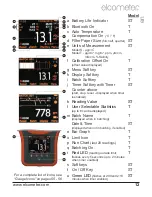
The Elcometer 130 gauge has a colour display:
• White characters: All measurement and statistical values.
• Orange characters: All menu items, statistical parameters and icons.
• Red: A measurement value which is outside the user defined limit.
The limit icon ( ) will also be displayed when the limit value has been
exceeded (T).
• ‘- - -’ indicates reading outside range.
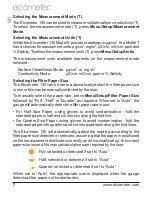
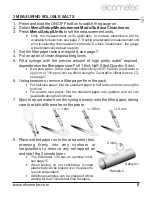
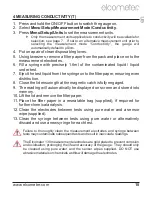
The Elcometer 130 is factory calibrated and can not be calibrated by the
user. It is possible, however, to check that the gauge is measuring correctly
by using the optional Calibration Verification Tiles, sales part number
T13023980.
Supplied as a set of 3, these tiles can be used to verify the accuracy of the
gauge at
0.
4
, 5 and 20μg/cm
² (nominal values).
If the gauge / tile readings are outside the stated accuracy of the gauge,
re-calibration is recommended - contact Elcometer or your local supplier
for further information.
Restoring the Factory Calibration
The factory calibration returns the gauge to the calibration set up during
manufacture and final test using factory reference calibration verification tiles.
To restore the factory calibration:
1. Press the
Menu
softkey.
2. Select
Setup/Calibration/Factory Calibration
and follow the on
screen instructions.
To verify the calibration:
1. Press the
Menu
softkey.
2. Select
Setup/Calibration/Calibration Verification
.
3. When prompted place the calibration verification tile firmly onto the
measurement electrodes and press Ok.
4. Compare the measured value with the calibration verification tile value
(printed on the calibration verification tile label).
R
en
www.elcometer.com
11


