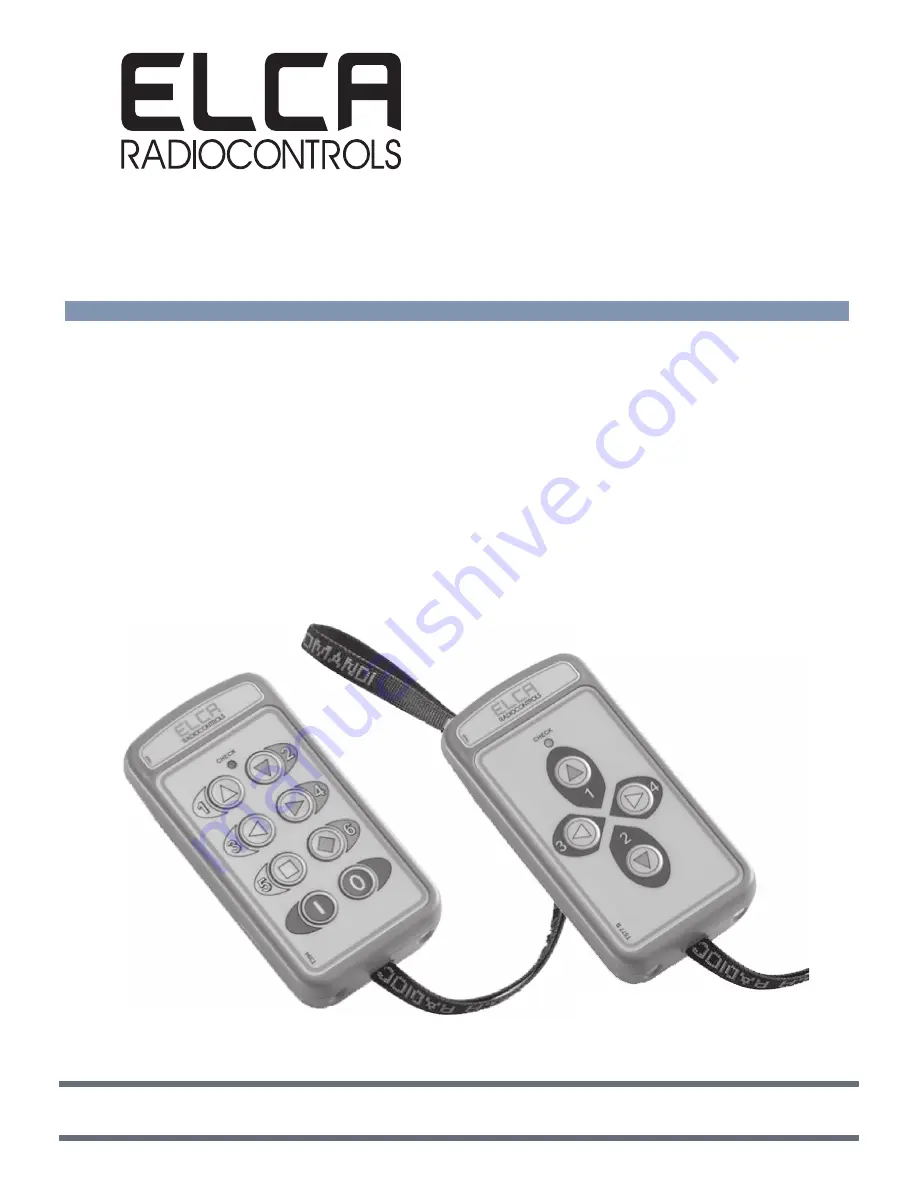
ELCA AR MITO-MINI-915 Скачать руководство пользователя страница 1

MITO

Industrial radio remote control 

AT MITO-MINI-915 

Transmitting Unit

AR MITO-MINI-915

Receiving Unit

ELCA S.r.l.

  Via del Commercio, 7/b - 36065 Mussolente (VI)  ITALY

www.elcaradio.com  tel. +39 0424 578500  fax +39 0424 578520

MULTI man MITO-MINI-915 04

0408MA000837

User manual

Содержание AR MITO-MINI-915

Страница 1: ...l AT MITO MINI 915 Transmitting Unit AR MITO MINI 915 Receiving Unit ELCA S r l Via del Commercio 7 b 36065 Mussolente VI ITALY www elcaradio com tel 39 0424 578500 fax 39 0424 578520 MULTI man MITO M...

Страница 2: ......

Страница 3: ...ENGLISH User manual...

Страница 4: ......

Страница 5: ...NANCE 10 2 8 INFORMATION FOR THE PROPER INSTALLATION OF THE RADIO REMOTE CONTROL SYSTEM 10 2 9 WARRANTY 11 2 10 DISPOSAL INFORMATION 11 3 PROGRAMMABLE FUNCTIONS 12 3 1 ACCESS TO PROGRAMMING MODE 12 3...

Страница 6: ...use undesired operation Any changes or modifications not expressly approved by the party responsible for compliance could void the user s authority to operate the equipment The radio link between the...

Страница 7: ...red trademark The information contained in this manual are complementary to the instruction manual of the machine on which the remote control is installed For the correct use of the machine with remot...

Страница 8: ...oise will automatically trigger a frequency change without interrupting operation The special LBT Listen Before Transmit Full Duplex technology used by the MITO system allows the selection of low nois...

Страница 9: ...he batteries in an environment that is not too hot too cold too humid or dusty Keeping the batteries partially charged at all times can extend their useful life Do not leave the batteries discharged f...

Страница 10: ...ransmitter and the activation of the relays T12 and T1 on the receiver T1 STOP remains held until the end of the transmission Operating any command when the transmitter is off will activate radio tran...

Страница 11: ...smitted command reaches the receiver as transmitting and receiving units establish permanent communication Automatic working frequency change CONTINUOUS and DISCONTINUOUS Transmission mode CT and DT R...

Страница 12: ...Transmission mode CT START STOP button activates the radio transmission upon the first pressure and switches off on the next T1 operates just like any other command On the receiver relay T12 is activ...

Страница 13: ...1 is activated at the press of T1 on the transmitter Relay T1 is protected by fuse F1 6 3A MOTHER BOARD DIP SWITCH DIP1 ON DIP2 OFF Indicator lights CONTINUOUS and DISCONTINUOUS Transmission mode CT a...

Страница 14: ...transmitters to the receiver YES WARNING LEARN ERROR for instance ATTEMPT TO STORE CODE 21 DELETE IDENTIFIER CODES AND THEN STORE REQUIRED ACCESS CODES CODE STORED YES SET DIP 4 TO OFF CODE STORED RE...

Страница 15: ...inks once slowly stays off for 3 4 seconds and then repeats the sequence NO REMOVE POWER FROM RECEIVER YES OPEN RECEIVER COVER AND NOTE SETTINGS OF MODULE MICROSWITCHES SET DIP 1 2 3 TO OFF AND DIP 4...

Страница 16: ...machine is suitable for working in conjunction with a radio remote control and identify any residual risks The manufacturer of the machine and or the installer of radio remote control is responsible f...

Страница 17: ...shall not be liable for machine down time and it is the user s responsibility to provide manual or wire control for each machine Any disputes shall be submitted to the Court of Bassano del Grappa Vic...

Страница 18: ...SUBMENU1 ACTIVATE T4 e T11 IN SEQUENCE SET FREQUENCY RANGE 869 7625 869 8625 869 9875 MHz AUTOMATIC RETURN TO MAIN MENU WAIT 10 SECONDS AND SYSTEM EXITS MAIN MENU GROUP 3 default 869 7375 MHz 869 837...

Страница 19: ...e and vice versa you must setup the motherboard contact technical support AUTO SHUTDOWN SET TO 3 MINUTES START CHANNEL INITIATES RADIO CONNECTION CONNECTION TERMINATES WHEN STOP IS ACTIVATED OR AFTER...

Страница 20: ...ATE A SEQUENCE OF 3 CHANNELS BLINKS 3 TIMES AT 1Hz NOW SET ANY GIVEN COMBINATION OF 3 CHANNELS E G T2 T3 T2 WHEN THIRD CHANNEL IS ACTIVATED SEQUENCE IS STORED AS PIN CODE ENABLE AUTOMATIC RETURN TO MA...

Страница 21: ...OU WANT LATCHING DISABLED AUTOMATIC RETURN TO MAIN MENU WAIT 10 SECONDS AND SYSTEM EXITS MAIN MENU T9 BLINKS TWICE QUICKLY WITHIN 1 SEC FROM SUBMENU4 ACTIVATE THE CHANNEL YOU WANT LATCHED LATCHED CHAN...

Страница 22: ...mitter clicks into place The charging process begins and light changes to RED color When the charging process is terminated the light turn GREEN Placing the transmitter onto the battery charger termin...

Страница 23: ...TURBED Ensure there are no other similar systems or sources of noise such as radio bridges or transmitters Check light on steady with Start command maintained after 1 or 2 seconds see Paragraph 5 2 Fo...

Страница 24: ...SIBLE see Paragraph 3 1 YES NO CHANGE FREQUENCY RANGE see Paragraph 3 2 CONTACT SERVICE IS RADIO REMOTE CONTROL WORKING NOW YES NO CHECK COMPLETED DID CHECK LIGHT TURN ON NO YES HOLD START COMMAND FOR...

Страница 25: ...IF NOT FITTED ANY OTHER BUTTON DID STATUS LIGHT TURN ON NO DID LIGHT OF START OR ACTIVATED BUTTON TURN ON YES STORE ACCESS CODES see Paragraph 2 6 IS CHECK LIGHT ON STEADY AND OR BLINKING QUICKLY YES...

Страница 26: ...Control System MITO A MINI Page 20 5 4 FUNCTIONAL TESTING OF CHARGING CYCLE Follow the diagram below starting from the top left corner to solve or identify the problem IS THE GREEN LIGHT ON DID THE GR...

Страница 27: ...roximately 10 minutes Protection degreee IP67 Dimensions 113x60x26 mm Weight 100 g Model AR MITO MINI 915 Transmitter coder radio module SWE U Antenna Incorporated or dedicated external Power supply 9...

Страница 28: ...ng time 4 hours Working temperature from 20 C to 55 C Protection degree IP40 Dimensions 130x75x65 mm Weight 130 g AC power supply unit Power supply unit supply voltage 80 250 V 50 60Hz Output voltage...

Страница 29: ...T3 T9 T4 COM STOP T1 NO STOP T1 COM START T12 NO START T12 COM T11 NO T11 COM T2 NO T2 COM T10 NO T10 COM T3 NO T3 COM T9 NO T9 COM T4 NO T4 1 2 FUSE 6 3A CONNECTIONS TO POWER SUPPLY MORSETTI DI ALIME...

Страница 30: ...2 RL4 RL6 RL7 RL5 RL3 RL1 RL8 C6 C4 C3 DSW1 C7 C5 J2 C2 DL5 DL4 DL3 DL2 DL6 DL1 DL8 DL7 R4 R5 R6 R8 R7 R1 DL10 DL11 R11 DL9 R9 R10 R2 R3 R13 R12 U2 VT1 U1 C1 J4 F1 R15 R17 R14 R16 C11 C10 C8 C13 C9 U3...

Отзывы: