background image

P

P

h

h

y

y

s

s

i

i

c

c

a

a

l

l


D

D

e

e

s

s

c

c

r

r

i

i

p

p

t

t

i

i

o

o

n

n


Front Panel 

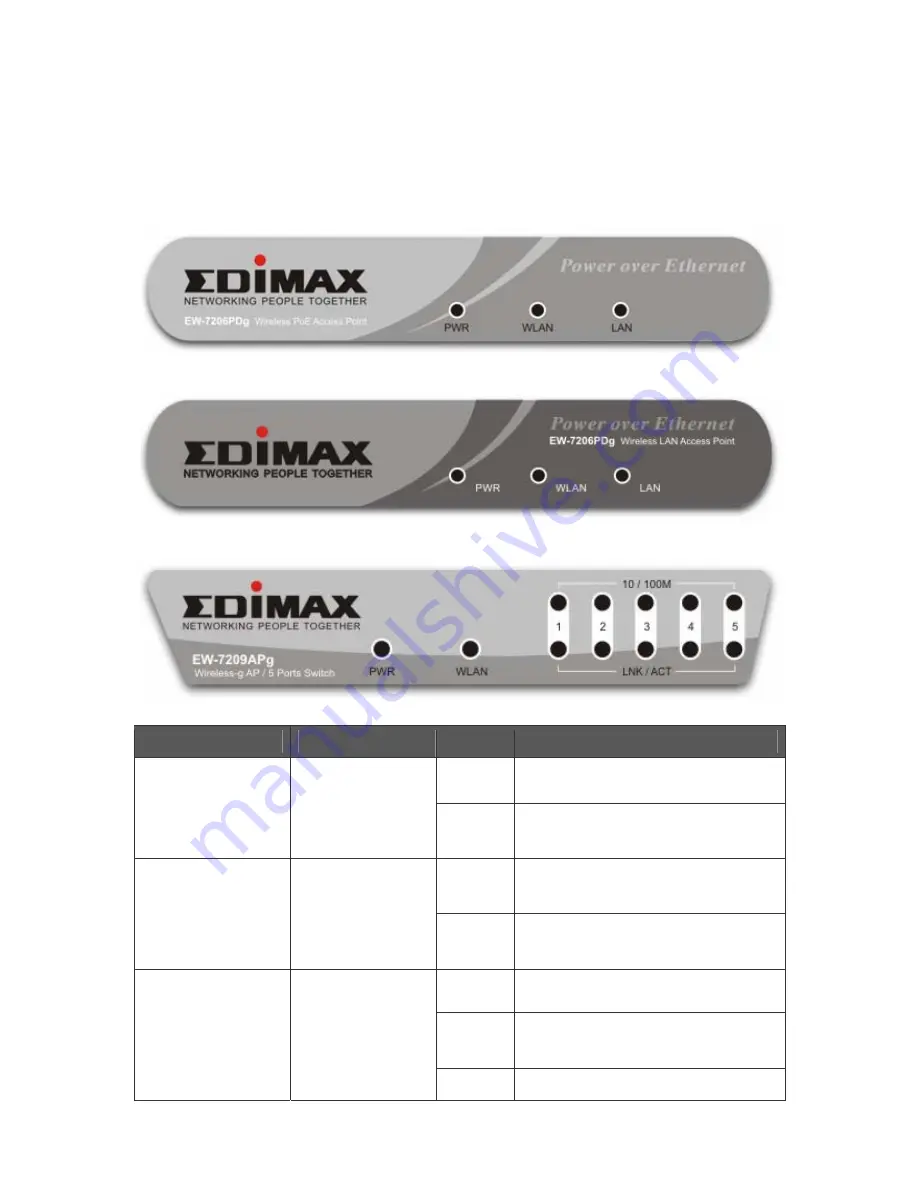
The LED lights located on the Access Point’s front panel provide 
information of the Access Point’s current status.   

EW-7206APg 


EW-7206PDg 


EW-7209APg 


LED 

Color 

Status

Description 

Lit 

Power is supplied. 

PWR 

(Power) 

Green 

Off No 

Power. 

Flash

Antenna is transmitting or 
receiving data. 

WLAN 

(Wireless LAN) 

Green 


Orange 

(EW-7209APg)

Off 

Antenna is not transmitting 
or receiving data. 

On 

A valid link is established. 

Flash

It is transmitting or receiving 
data. 

LAN 

(Link / Act) 

Green 

Off 

No link is established. 

Содержание EW-7209APg

Страница 1: ...W Wi ir re el le es ss s A Ac cc ce es ss s P Po oi in nt t EW 7206APg EW 7206PDg EW 7209APg Q Qu ui ic ck k I In ns st ta al ll la at ti io on n G Gu ui id de e Q Q I I G G Version 2 0 October 2006...

Страница 2: ...loying the Access Point please make sure all the PCs in your wired network are able to obtain an IP address automatically from the router like the figure below After the Access Point is deployed you c...

Страница 3: ...atus EW 7206APg EW 7206PDg EW 7209APg LED Color Status Description Lit Power is supplied PWR Power Green Off No Power Flash Antenna is transmitting or receiving data WLAN Wireless LAN Green Orange EW...

Страница 4: ...the reset button no more than 4 seconds 2 If you press and hold the reset button for more than 4 seconds the Access Point will reset to the factory defaults Warning Your settings will be deleted and...

Страница 5: ...setup page To configure the more advanced settings from this Access Point such as data encryption please follow the procedure to login the Access Point s setup page The IP address of the Access Point...

Страница 6: ...2 Click Switch to Classic View on the top left corner to see more setting icons 3 Find the Network Connection icon then Double Click to open the network connection settings 7...

Страница 7: ...ea Connection icon click the icon to highlight it then Right Click the mouse to open the sub menu and select the Properties to setup the IP address z Click and highlight the Internet Protocol TCP IP t...

Страница 8: ...to close Second login to the Access Point with a Web Browser 1 Open up web browser and type in 192 168 2 1 Access Point default IP address to access the Access Point s setup page 2 A screen requesting...

Страница 9: ...tart configuring the Access Point now N No ot te e If this Access Point will be connected to a router please first find out the DHCP IP address setting of the router and setup a suitable IP address to...

Страница 10: ...ress automatically Obtain DNS server address automatically or Using the following IP address Use the following DNS server addresses Press OK to close Finally connect the Access Point to your router or...

Отзывы: