sec. in case any fault condition persists.
13. Language
Choose the language as you would like for the
control panel.
E n g l i s h
F r a n ç a i s
N e d e r l a n d s
D e u t s c h
PROBLEM?
11
Do not HESITATE to call us via our assistance hotline (at the end of the notice). Our technicians will have the pleasure to
help you make a perfect installation.
z
Press
“
S
”,”
T
”
keys to select the option.
z
Press
“OK”
to confirm.
III.
Add/
Delete
Device
If
“D/-“
is selected in Programming Main
menu, the
“/-“
menu is displayed. From
here you can add or delete devices and edit
devices zone names.
A d d
D e v i c e
E d i t D e v i c e
R e m o v e D e v i c e
P r o g r a m S i r e n
1. Adding Devices
Step 1.
To learn in a sensor, move the cursor to
the position
“Add Device”,
then press
“OK”
, a prompting message is
displayed.
P u s h b u t t o n o n
d e v i c e t o a d d !
Step 2.
Press the test button on the sensor or any
button on the Remote Controller.
Step 3.
If a signal is detected, the screen will
show you the type of the device on the
top line.
D o o r C o n t a c t
D e t e c t e d ( O k ? )
<
<
N
N
O
O
T
T
E
E
>
>
)
The categories of devices are listed as
followings:
9
HA2000M Open Contact ---- DC
9
HA2000P PIR detector ---- PIR
9
HA2000S Smoke detector ---- SD
9
HA2000R Remote Controller - RC
9
HA2000K Remote Keypad ---- KP
9
HA2000SOS Help Watch ---- HW
9
HA2000PB Panic button ---- PB
9
HA2000NS Night Switch ---- NS
9
HA2000WS Water detector ---- W
9
HA2000M CO detector ---- CO
9
HA2000GLS Glass detector ----
GLS
Step 4.
Press
“OK”
to confirm the device type
and the rest of the device programming
can continue.
<
<
N
N
O
O
T
T
E
E
>
>
)
When a sensor is added to the system
for the second time (without removing
first). An error message will be displayed.
A l r e a d y
i n s y s t e m !
The message will be displayed for 2 sec.
then the screen return to Step 1. screen
to wait for the signal from another device.
)
Pressing
“
“
key will abort the
procedure and will not learn-in the
device.
)
Depending the type of the device,
different screens will then be displayed
accordingly for further configuration
purpose.
Device
Display
Nomenclature
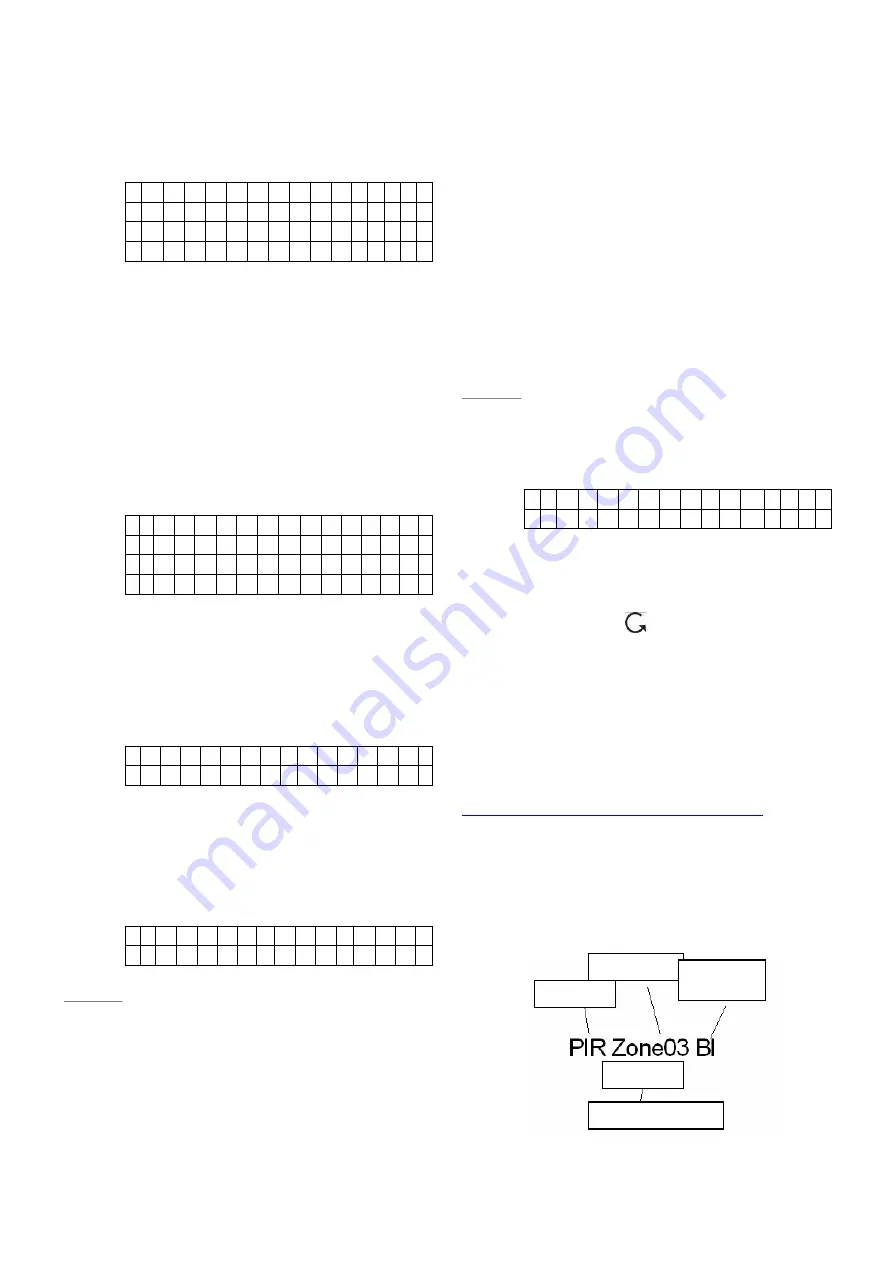
The devices are displayed with and without
names, depending on mode and if names have
been entered or not, throughout the menus and
especially where there are zone lists. The
meanings of the display components are shown in
an example below:
Zone number
Hall
Name, if
programmed
Device type
Zone type
and attribute


