53
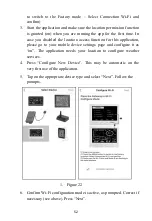
7. Enter your preferred Wi-Fi SSID (network name) and security
password. Press “Next”. This will be communicated to the console
in a later step.
8. Now switch your mobile device to the ad-hoc Wi-Fi network
created by your console. It will be named something like
“EasyWeather-WIFI” followed by some numbers. Wait until
connected. You may see a message such as “Unsecured Network”
and “No Internet connection”: this is normal and can be ignored.
9. Return to the mobile application. The connection should be
recognized, and you should see a few messages about connecting to
the console and configuring it. The Wi-Fi icon on the console
should now no longer be flashing and display steady.
10. Your mobile device should have been returned to your normal
Wi-Fi network setting and the page will automatically jump to
Upload page.
If not successfully, please contact the customer service resolve the issue.
7.2 Adding weather services
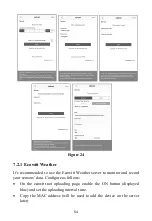
You may have configured weather services during the initial configuration,
or you may do so later. To do so, open the mobile application and select
your device from the device list. This will bring you to the “Upload” screen
for the device.
Navigate to the weather service you wish to configure by pressing “Next”
and enter the appropriate data.
Содержание HP3501
Страница 45: ...45 Note 1 In optional sensor s display mode hold the RAIN button for 5s will ...
Страница 56: ...56 Dashboard Graph display ...
Страница 57: ...57 List display Weather Map ...


