background image

12

Menu Operation 

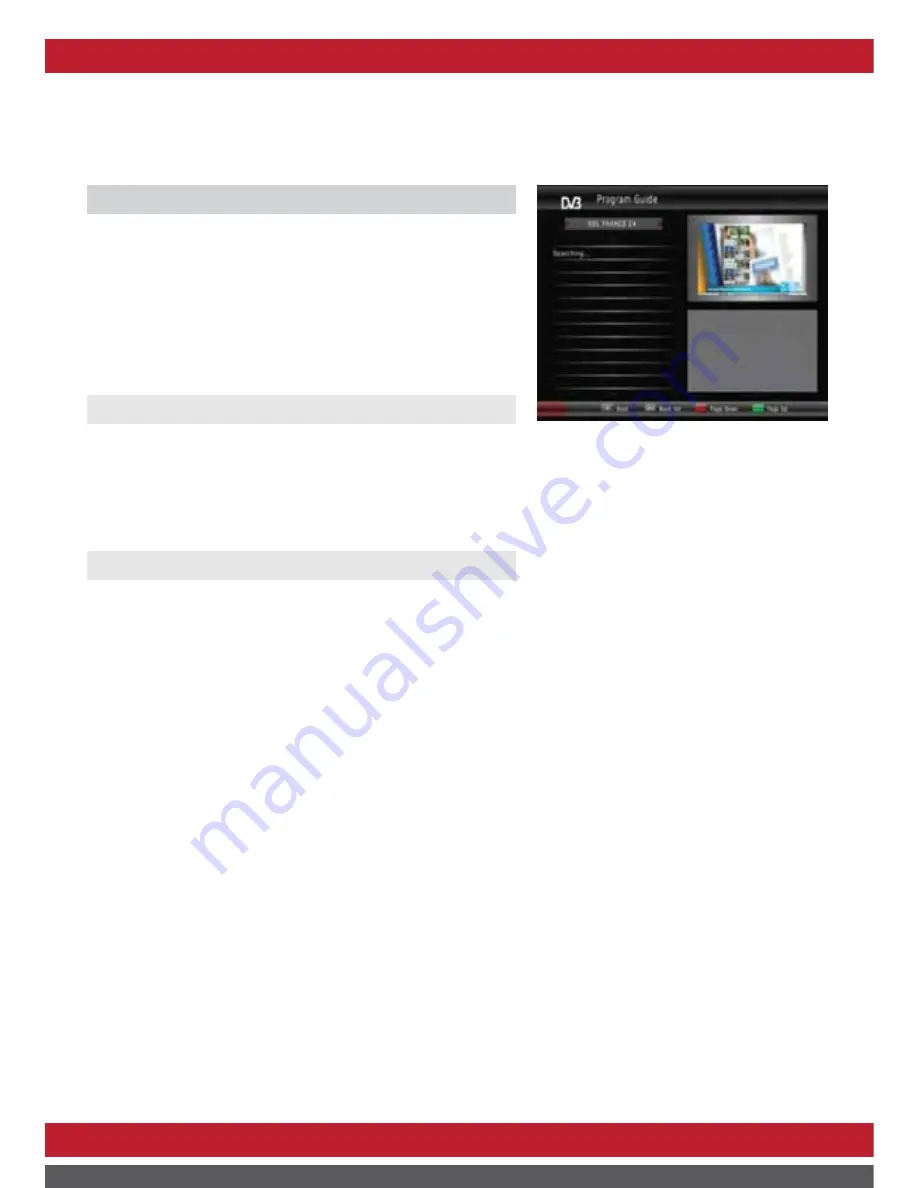
1.2 EPG (Electronic program guide)

The EPG menu is used to view the events in the broadcasted 

programs. The amount of detail depends on the program 

providers, some only provide now and next information

Press the EPG button to access the EPG menu, all the events 

of the current viewed channel will be displayed on the left 

window and the content of the selected event will be displayed 

in the right area.


1.3 Sort

To sort your channels in the channel list by the following items:

[By LCN] - Sort the channels in ascending order.

[By Service Name] - Sort the channels in alphabetical order.

[By Service ID] - Sort the channels according to the service ID of the program.

[By ONID] - Sort the channels according to the original network ID of the program

   1.4 LCN (Logical channel number) 

The logic channel number is determined by the program provider.

Содержание HDC-2210

Страница 1: ...Digital picture Digital sound Digital world of User s Manual english High definition DVB C Set Top Box HDC 2210 ...

Страница 2: ...www echolite com ...

Страница 3: ...atteries 5 Caution 5 Using the Remote Control 5 Connecting to equipments 6 Connect the TV using HDMI 6 Connect the TV using SCART or AV 7 First time installation 8 Switch on the unit for the first time 8 Channel search 8 Basic Operation 9 Teletext and EPG Operation 10 View teletext 10 EPG Electronic Program Guide 10 Menu Operation 11 Program 11 12 Channel search 13 System 14 Multimedia 15 Conax CA...

Страница 4: ...ice in an unventilated cabinet or on top of a unit which emits heat The MAINS plug or an appliance coupler is used as the disconnect device the disconnect device shall remain readily operable No part of this publication may be reproduced in any form by any means without the prior written permission Other trademarks or brand names mentioned herein are trademarks or registered trademarks of their re...

Страница 5: ...digital TV reception standards Support demodulation 64QAM and 256QAM for DVB C digital TV signal HDTV SDTV MPEG 2 MPEG 4 H 264 decoding Support 480i 480p 576i 576p 720p 1080i Support CONAX CA 16 bit color OSD display HDMI output for High Definition Support S PDIF audio output Support teletext subtitle multi language Support EPG Channel edit function including Favourite Move Delete Lock Skip Rename ...

Страница 6: ...VR MP3 JPG photo playback SMARTCARD SLOT Open the right hand flap on the front panel to insert the smartcard here Rear Panel 1 ANT IN Connects to your external aerial 2 LOOP OUT RF loop through output to another receiver 3 TV SCAR Digital video output 4 AUDIO L R This two jacks white red output analog audio signal 5 Video This jack outputs composite video signal Standard definition only 480i and 5...

Страница 7: ...4 Remote control Remote key functions ...

Страница 8: ...ler for an extended period remove the batteries to prevent possible leakage and corrosion Do not drop apply shock or step on the remote control Do not spill water on the remote control The batteries shall not be exposed to excessive heat such as sunshine fire or the like Note If the receiver does not operate when operating the remote control from a close range you need to replace the batteries 1 2...

Страница 9: ...6 Connecting to equipments This section explains the installation of stb Consulting the manuals supplied with equipment for the installation Connect the TV using HDMI ...

Страница 10: ...st Steps 1 Insert the plugs of the stb and the auxiliary equipment into the socket and turn them on gallows 2 Select the channel on the television machine av 3 Channels comes pre programmed factory to see if there is some new channel enable automatic channel search ...

Страница 11: ...o switch on the set top box press the Power button on the set top box If you are using the receiver for the first time a message will be displayed to ask to select the OSD language with button Press OK button to launch auto search once selected Press menu or exit button to enter Main menu NOTE Please ensure the mains power switch on the front of the unit is set at ON position ...

Страница 12: ...language and audio mode Press the AUDIO button and press the buttons to select the available audio languages and audio mode to STEREO RIGHT or LEFT NOTE the available audio languages depend on the program providers Change TV Radio mode Press the TV R button to change the program list mode between TV and Radio View program information 1 Press INFO button to view the detailed information of current ...

Страница 13: ...sed to view the events in the broadcasted programs The amount of detail depends on the program providers some only provide now and next information Press the EPG button to access the EPG menu all the events of the current viewed channel will be displayed on the left window and the content of the selected event will be displayed in the right area Press the buttons to change the channel Press the bu...

Страница 14: ...gain to clear move channel To organize the number or sequence of the channels 1 Press RED Color button in the position of one program 2 Press button to move to the position of the other program you want 3 Press OK button to confirm skip channel To skip any unrequired channels while changing channels 1 Press the button to select the channel you don t love to view 2 Press the GREEN button to set and...

Страница 15: ...layed on the left window and the content of the selected event will be displayed in the right area 1 3 Sort To sort your channels in the channel list by the following items By LCN Sort the channels in ascending order By Service Name Sort the channels in alphabetical order By Service ID Sort the channels according to the service ID of the program By ONID Sort the channels according to the original ...

Страница 16: ...ing frequency 2 2 Manual Search To scan new channels by an appointed frequency 1 Press the numeric buttons 0 9 to input the frequency you require 2 Press the numeric buttons 0 9 to input the symbol rate you require 3 Press the button to select the correct modulation mode 4 Press OK to launch when the quality bar of the signal shows red 2 3 FULL Search To scan channel by the default channel map 1 O...

Страница 17: ... 4 3 full 4 3 pan scan auto 3 3 2 Resolution To set the video resolution to 576i 576p 20p 1080i 3 3 3 TV Format To set the tv format to PAL NTSC 3 3 4 Video Output To set the Scart output to CVBS RGB mode 3 3 5 Digital Audio To set the digital audio output mode to PCM RAW 3 4 OSD Settings To set the OSD Language to what you want 3 5 OTA Update Set OFF Time Update Manual Update 3 6 Time settings 3 ...

Страница 18: ...plays the subtitle as small mode Normal Displays the subtitle as normal mode Big Displays the subtitle as big mode Subtitle BG White Displays the subtitle in white background Transparent Displays the subtitle in transparent background Grey Displays the subtitle in grey background Yellow green Displays the subtitle in yellow green background Subtitle Font Color Red Displays Subtitle in red font Blu...

Страница 19: ...d programs can be viewed and browsed under the USB menu Play the program After accessing to USB menu press the buttons to select the Recorded program save item Press OK button to enter the Recorded program save item Press the buttons to select the PVR List menu then press OK button to play the recorded program For full screen viewing you can press the Red button again While the recording is playin...

Страница 20: ... status of the subscription entitlements in the card 5 2 Card Paring To pair between Mother card and son card 5 3 Mail To view the mails sent form the program provider 5 4 Change CA PIN To change the password in the smartcard The default old password is 1234 5 5 CA other set To view Conax CA system information 5 6 CA Information To change the misc settings 6 Information To view the system informat...

Страница 21: ...x720p 720x576p 720x576i Audio Decoding MPEG 1 2 2 5 Layer I II III AC 3 Dolby Digital AAC Analog audio output Stereo L R Digital audio output S PDIF Coaxial Connectors ANT IN x 1 LOOP x 1 TV SCART x 1 HDMI x 1 COAXIAL x 1 Video Port x 1 Audio RCA Audio L R x 1 Power supply Input voltage AC 100 240V 50Hz Power consumption Operating Max 9W Unit Dimensions Operating temperature 5 40 Unit Dimensions 2...

Страница 22: ... and turn on receiver Handset not aimed correctly Aim handset at front panel Front panel obstructed Check for obstructions Remote control batteries are inserted incorrectly Check batteries direction Handset batteries exhausted Replace remote control batteries After moving the receiver to another room find can t receive the digital reception The aerial feed may come through a distribution system wh...

Страница 23: ...www echolite com ...

Отзывы: