


Echoflex Installation Guide
Photo & CCT Sensors
Installation
The sensor should be installed in a location where it has direct exposure
to a window or skylight. For example, mount the sensor on the ceiling,
aligned with a window about 1.2 m (4 ft) away.
The sensor can be attached to most surfaces; suspended ceiling tile,
finished wallboard, or other surfaces using a flexible adhesive.
Note:
A concrete or metal mounting surface can limit radio
communication. Create some separation by mounting the sensor
first on non-metalic material, e.g., 1/2-inch plywood.
The location and position of the sensor directly affects the quality of
messages received by the linked controller. Determine the installation
method and follow the instructions.
Note:
Consider linking the TAP-31 TAP-41 while you have access
and before replacing the cover. See
Wire Staples to Ceiling Tile
1. Use your fingers to remove the sensor's cover, flexing it gently to
release the tabs that hold it in place. If you have difficulty, try
inserting a small flatblade screwdriver under one of the release tabs.
2. Mark the sensor mounting location on the ceiling tile.
3. Remove the ceiling tile from the T-bar frame.
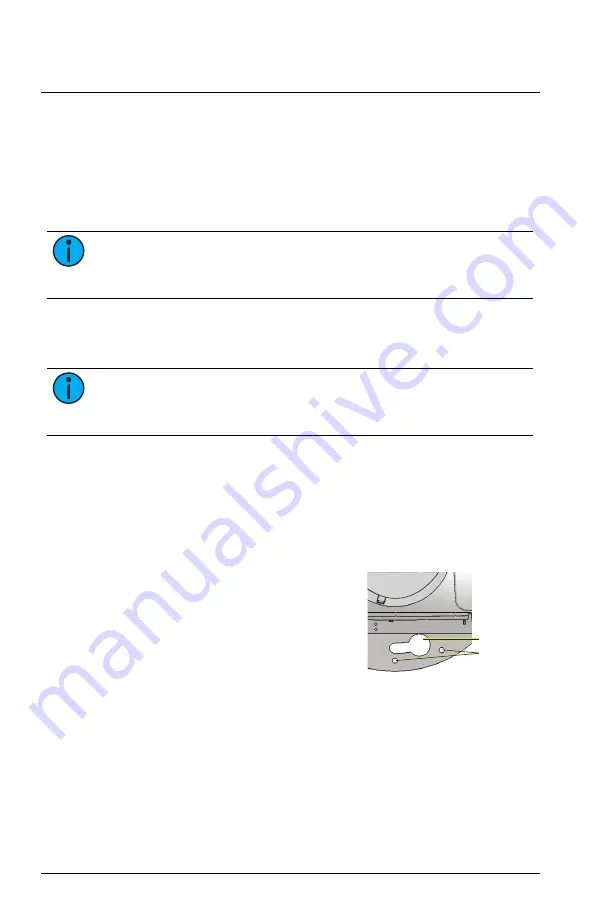
Pinholes
Keyhole
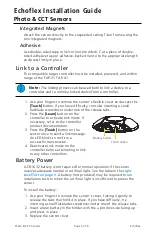
4. Insert the wire staples (provided)
through the pinholes on the sensor,
one set located on each side near the
keyholes.
5. Poke the tines through the ceiling tile,
then bend each tine over in opposite
directions for a secure fit.
6. Replace the ceiling tile and reattach
the sensor cover.
Wallboard Ceiling
1. Use your fingers to remove the sensor's cover, flexing it gently to
release the tabs that hold it in place. If you have difficulty, try
inserting a small flatblade screwdriver under one of the release tabs.
2. Mark the location of the keyholes on the ceiling.
3. Bore two holes and insert screw anchors (not provided).
4. Attach the sensor to the ceiling with screws (not provided).
5. Replace the sensor cover.
Photo & CCT Sensors
Page 2 of 8
Echoflex