Receiver - Wall-Mounted Shutter Module
Ref : RMV
July 2009
page 7
RMV
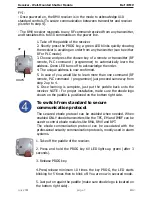
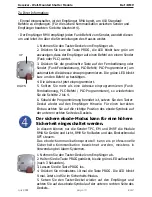
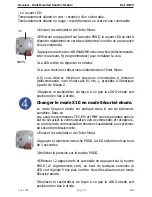
1. Take off the paddle of the receiver.
2. Press and hold the PROG key till LED lights up green (after 3
seconds).
3. Release PROG key.
4.Press/release minimum 10 times the key PROG, the LED starts
blinking for 5 times then to blink off. You are now in secured mode.
5. Just put on again the paddle (make sure ebode logo is located on
the bottom right side).
To switch from standard to secure
communication protocol
.
The secured ebode protocol can be enabled when needed. When
enabled ONLY ebode transmitters like the TPC, EM and IMRF can be
used to control ebode modules like RMA, RMV and RPT.
The ebode communication protocol can be associated with the
professional security communication protocols, mostly used in alarm
systems.
FYI :
- Once powered on, the RMV receiver is in the mode to acknowledge X10
standard controls (To secure communication beteween transmitter and receiver
pls refer to step 4).
- The RMV receiver responds to any RF command received from any transmitter,
and translates this to X10 commands on the power line.
UP
DOWN
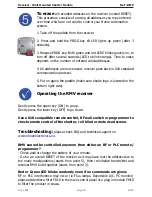
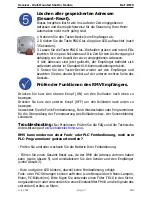
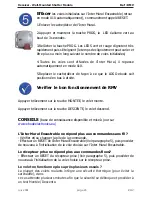
1. Take off the paddle of the receiver.
2. Shortly press the PROG key, a green LED blinks quickly showing
the receiver is awaiting an order from any transmitter (can be either
RF or PLC mode).
3. Choose and press the chosen key of a remote or transmitter (RF
remote, PLC command / programmer) to automatically learn the
address. Green LED turns off to acknowledge the order.
4. The unique address is now confirmed.
5. In case of you would like to learn more than one command (RF
remote, PLC command / programmer) just proceed same way from
step 2 up to 4.
6. Once learning is complete, just put the paddle back onto the
receiver. NOTE : For proper installation, make sure the ebode logo
shown on the paddle is positioned on the bottom right side.
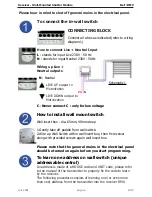
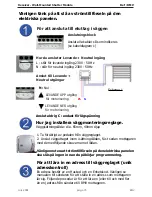
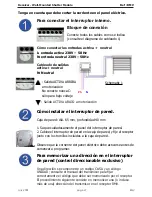
1.Gently take off paddle from wall switch.
2.Wire up Wall Switch within wall insert box, then fix receiver
along with provided screws again wall insert box.


