7. Repeat steps one through six for each DX device you are connecting to the network. Set
the
Static IP
of the second device to [169.254.0.2], the third to [169.254.0.3], and so forth.
8. Now connect each of the computers you will be using to the network. Each computer will
automatically configure its IP address using zeroconf addressing negotiation. It may take
several minutes for the computers to finish configuring themselves.
9. The network setup is now complete. If you wish to know the IP addresses of each
computer or DX Navigator is unable to see one or more devices, refer to the
Troubleshooting
section below.
Troubleshooting
If DX Navigator is having trouble discovering one or more units on the network, then you can
use Windows’ built-in IP communications verification applet to determine whether your
computer is able to send and receive IP packets from a particular device. To use this applet,
your computer and the device in question should be located on the same subnet.
1.
<CLICK>
Start on the Windows Taskbar and select Run from the Start menu.
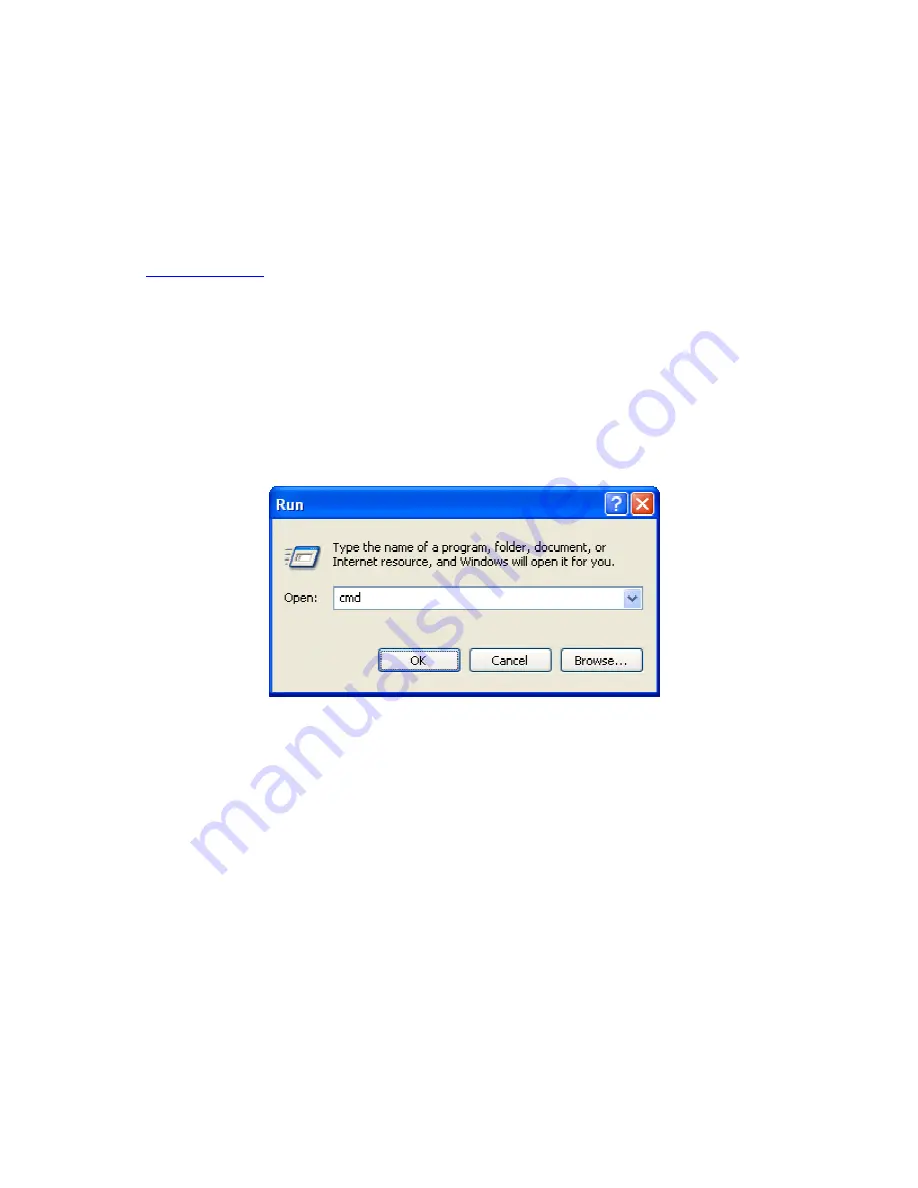
2. In the Run dialog, type ‘
cmd’
, then
<CLICK>
the OK button. The Command Prompt
window opens.
3. At the prompt, type ‘
ping
’ followed by a space, then the full IP address of the device.
Windows begins sending IP packets to the device. If it finds a device at that address it
reports that it received a reply from the device along with the total latency of the
communications loop. If it does not find a device it reports that the ‘request timed out’.
57
Содержание DX1208
Страница 1: ......


