2
EATON
IB519101EN
Installation instructions
Installation Instructions – FPX Surface Kit
Assemble Box:
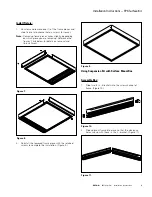
1. Slide two (2) L - Brackets into the screw channel of
frame. (Figure 1.)
Figure 1.
Figure 2.
Figure 3.
Figure 4.
Figure 5.
Figure 6.
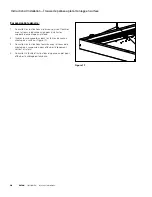
2. Slide adjacent frame into place so that the clearance
holes line up with those in the L - bracket. (Figure 2.)
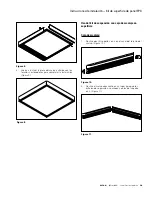
3. Use included screw to fasten frame pieces together to
form a corner. (Figures 3 & 4.)
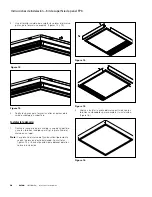
4. Repeat steps to form the other three (3) corners of the
surface mount box. (Figure 5.)
Mounting Box to Ceiling:
IMPORTANT:
Ensure ceiling can support up to 10 lbs. for
2x2/1x4 and 20 lbs. for 2x4.
1. Locate box on surface and mark mounting holes.
2. Attach box to ceiling or wall using #8 wood screws
for stud mount, or 3/16” diameter toggle bolt for dry
wall mounting (sold separately). Ensure the box is kept
square when mounting.
3. The spacing for the mounting holes is 16” center-to-
center. (Figure 6.)


