11
INM 9479-ET(G)-CSL Rev 1
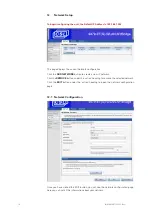
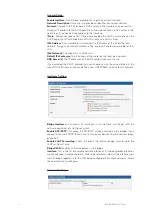
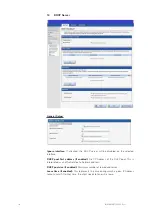
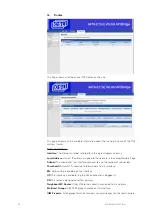
General Setup:
Enable Interface:
Tick this box to enable the selected network interface.
Network Description:
This entry is to provide an identification to your network
Protocol:
Choose DHCP if you have a DHCP server in the network and you want to
assign an IP address to the AP. Choose Static if you do not have a DHCP server in the
network or if you need a fixed address to the interface.
*Note
– You cannot choose DHCP if you have enabled the DHCP server option on the
DHCP page; the AP cannot be both a DHCP client and a DHCP server.
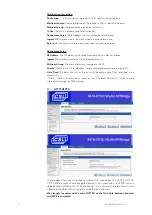
IPv4 Address:
Only available in static mode. The IP address of the AP on the local
network. Assign any unused IP address in the range of IP addresses available for the
LAN
IPv4 Netmask:
The subnet mask of the LAN
Default IPv4 gateway:
The IP address of the router on the local area network.
DNS Server(s):
The IP addresses of the DNS server(s) you want to use.
If you selected the DHCP protocol, you can choose to use the value defined in the
menu TOOLS/System, or you can define a new HOSTNAME, specific to this network.
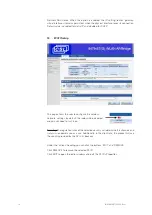
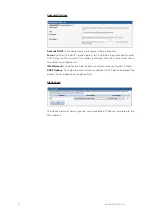
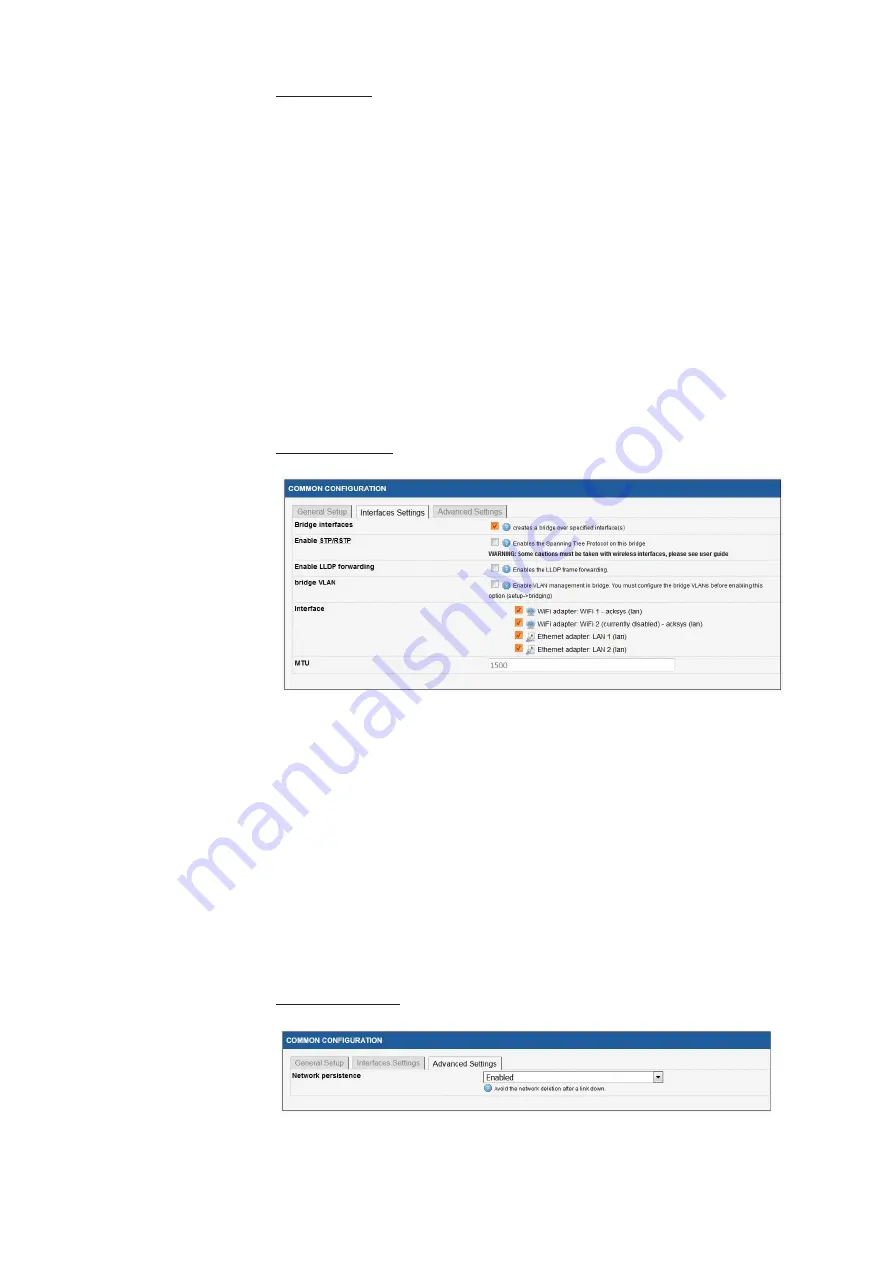
Interfaces Setting:
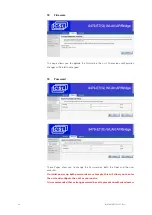
Bridge Interfaces:
If checked, all interfaces in this network are linking with the
software equivalent of an Ethernet switch.
Enable STP/RSTP:
If checked the STP/RSTP will be activated on this bridge. If you
choose to not use STP/RSTP, you have to set up your devices to avoid network loops,
by
yourself.
Enable LLDP Forwarding:
Check this box if the internal bridge must forward the
LLDP
multicast
frame.
Bridge VLAN:
Enable VLAN management in the bridge.
Interface:
This is the list of available network interfaces. Disabled (greyed) interfaces
are already used in another network. For Bridge networks, select all the interfaces you
want to bridge together in to the LAN being configured. For simple networks, select
the one interface to configure.
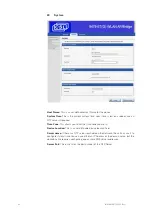
Advanced Settings:


