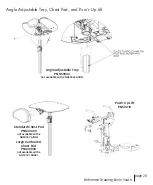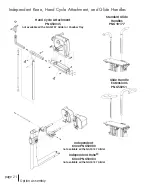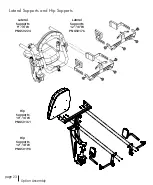
page 10
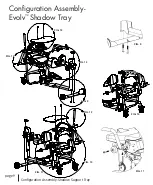
Configuration Assembly-Shadow Tray
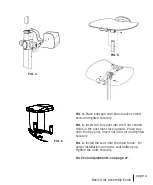
FIG. 12
FIG. 13
FIG. 14
FIG. 9-
Attach the axle weldment to the front column with bolts and tighten securely.
FIG. 10-
Lock the casters and hand tighten to the rear base. Do not overtighten.
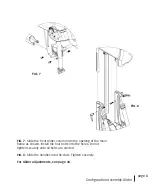
Slide the front column into the opening of the main frame as shown. Install the four bolts into the holes.
Do not tighten securely until all bolts are started.
Flip down footplates and insert quick adjust handles. Tighten securely.
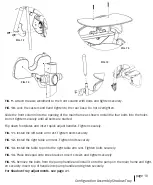
FIG. 11-
Install the left table arm rest. Tighten bolts securely.
FIG. 12-
Install the right table arm rest. Tighten bolts securely
FIG. 13-
Install the table top onto the right table arm rest. Tighten bolts securely.
FIG. 14-
Place kneepad onto knee bracket. Insert screws and tighten securely.
FIG. 15-
Remove the bolts from the pump handle and install it onto the pump on the main frame and tight-
en securely. Insert top of handle into pump handle and tighten securely.
For Shadow Tray adjustments, see page 31.
FIG. 15
Содержание Evolv Youth
Страница 1: ...Owner s Manual Youth ...
Страница 8: ...FIG 5 FIG 4 FIG 6 page 5 Basic Unit Assembly Evolv ...
Страница 10: ...page 7 Configuration Assembly Glider Configuration Assembly Evolv Glider FIG 8 FIG 7 ...
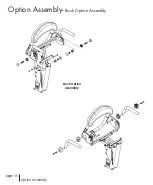
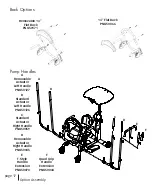
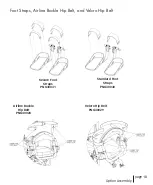
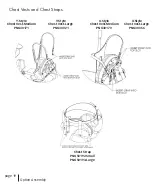
Страница 18: ...page 15 Option Assembly Option Assembly Back Option Assembly Back Option Assembly ...
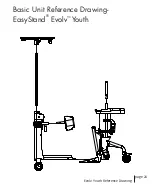
Страница 27: ...page 24 Evolv Youth Reference Drawing Basic Unit Reference Drawing EasyStand Evolv Youth ...
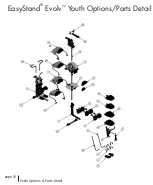
Страница 28: ...page 25 Evolv Options Parts Detail EasyStand Evolv Youth Options Parts Detail ...
Страница 29: ...Evolv Options Parts Detail page 26 ...
Страница 38: ...page 35 Standing Log ...


