


To order parts and supplies: 800.343.9353 >> eastwood.com
5
ASSEMBLY
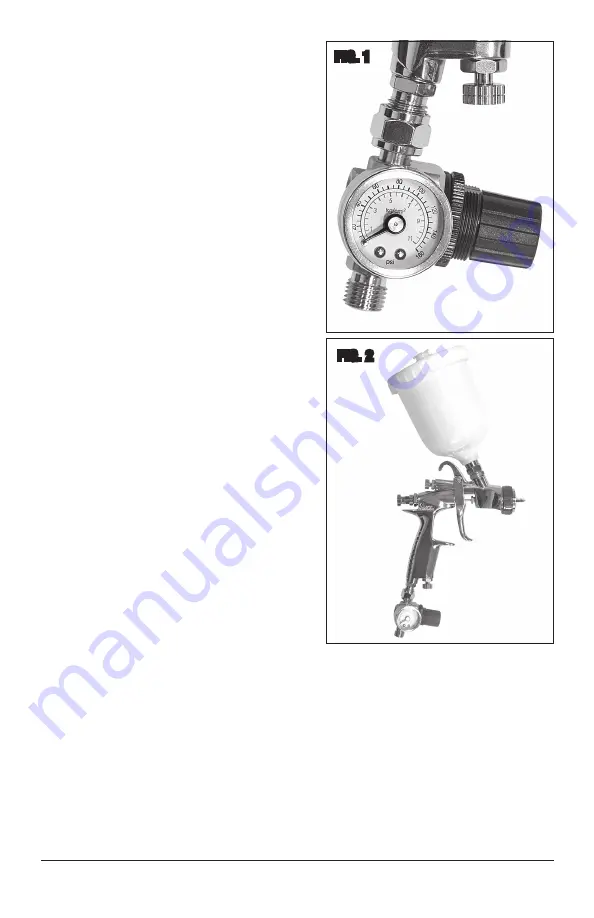
• Mount the included “on the gun” regulator
to the 1/4” NPT threads located at the air
inlet at the bottom of the Gun body
(FIG 1)
. Tighten fitting with the included
16mm wrench.
• Thread the Gun Cup onto the threaded port
at the top of the Gun Body. Hand Tighten
only
(FIG 2)
.
• The Paint Gun is now ready for use.
IMPORTANT NOTES
BEFORE PAINTING
1.
Please note that many variables affect the
adjustment of a paint gun including paint
viscosity and type, atmospheric conditions
such as humidity, barometric pressure and
temperature as well as air inlet pressure
and operator preference. Always “tune” the
gun before each use as prevailing conditions
may not be the same as the previous use.
2.
It is always best to test spray on sheets of
cardboard or masking paper with the actual
paint you will be applying while making your
adjustments to become familiar with the gun
and achieve the ideal Fluid Control Setting.
3.
Remember that a small amount of product
wasted at this point can avoid disappoint-
ment in your results and the need to re-do
your work later.
FIG. 1
FIG. 2