background image

7

7


1 . OPERATION


Power on the DVR system , the real-time video can be seen by 4 quad screen or full screen display . 

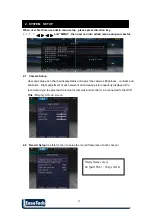
User can press “MODE” button to switch the display mode . 

Playback mode : 

Press “PLAY” button , user can search date-time to playback . 


Record mode : 

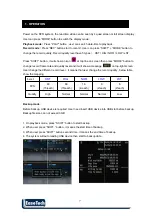
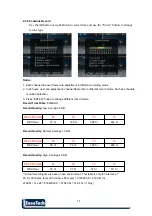
Press “REC” button start to record . User can press “SHIFT” + “MODE” button to 

change the record quality .Record quality level have 5 types 

:    

HST / HIG / NOR / LOW / LST . 

Press “SHIFT” button , it will show an icon  


at top line on screen then press “MODE” button to 

change record frame rate and quality level and it will show a message  


on top-right screen . 

User change the different record level , it means that user change the record quality , below table 


show the mapping . 


Level 

HST 

HIG 

NOR 

LOW 

LST


FPS 

60 

(15/each) 

60 

(15/each) 

16 

(4/each) 

(2/each) 

(2/each) 


Quality High  Normal Normal Normal  Low 


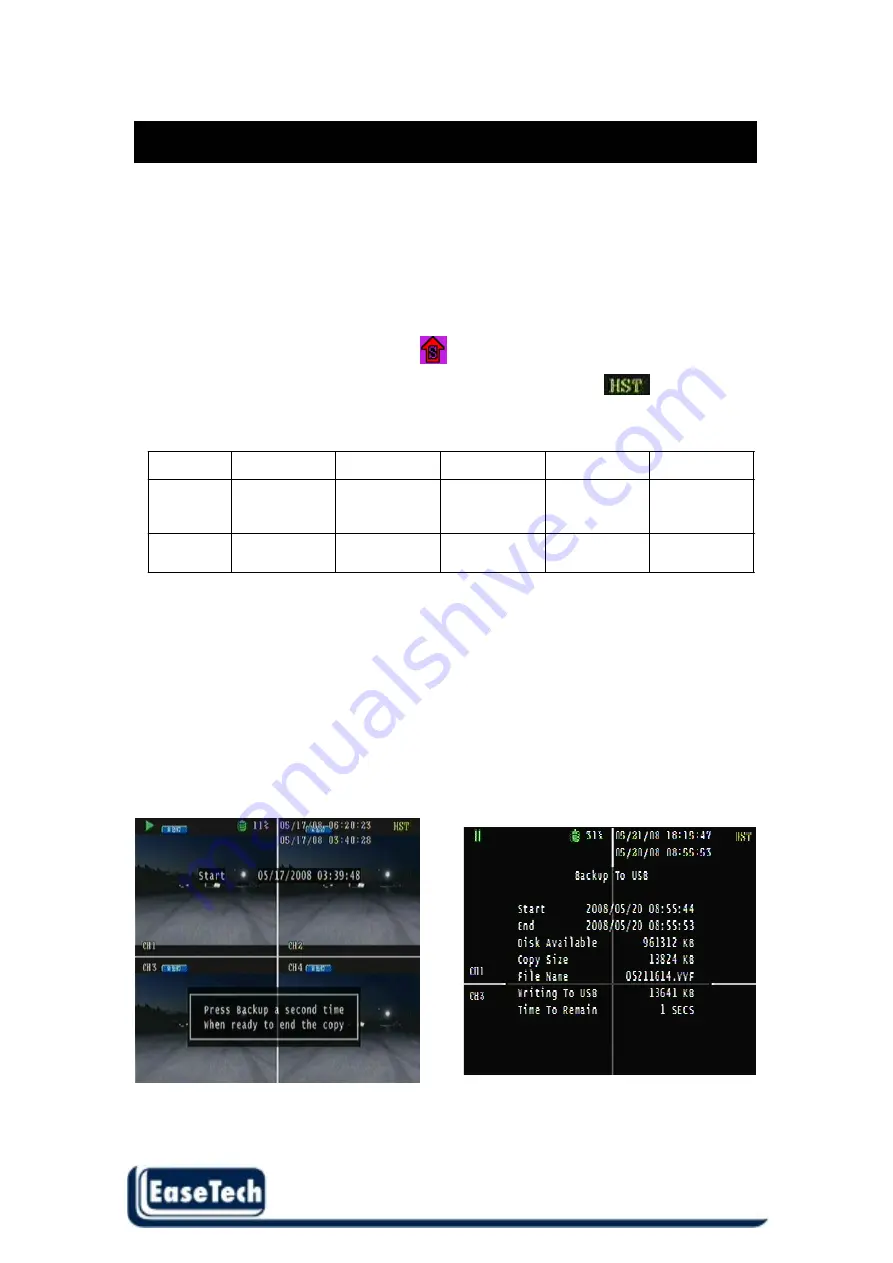
Backup mode :


Before backup, USB device is required. User need insert USB device into USB slot before backup. 

Backup file size can not exceed 3GB 


1. On playback mode, press “SHIFT” button to start backup. 


2. When user press “SHIFT “ button , it means the start time of backup . 


3. When user press “SHIFT” button second time , it means the end time of backup . 


4. The system will auto reading USB device then start to backup data . 


Содержание ET-DVR-0450

Страница 1: ...Thank you for purchasing our product Please read this User s Manual before using the product Change without Notice ET DVR 0450 User s Manual...

Страница 2: ...the user to the presence of important operation and maintenance servicing instructions in the literature accompanying the appliance WARNING TO PREVENT FIRE OR SHOCK HAZARD DO NOT EXPOSE UNITS NOT SPEC...

Страница 3: ...ctrical shock do not expose the product to heat or moisture 4 Be sure to read this manual before using stand alone DVR Model 5 For questions and technical assistance of this product contact your local...

Страница 4: ...ideo backup function 5 MODE Change display mode quad mode Full channel select 6 MENU Display menu setup 7 ENTER Change the setting value 8 UP STOP Direction button UP Playback stop button 9 DOWN PAUSE...

Страница 5: ...5 5 REAR PANEL 1 DC IN Power code in 12V 2A 2 USB USB device slot 3 CAM IN Camera 1 4 input BNC type 4 MONITOR Monitor out...

Страница 6: ...function Video record quality level Highest Video record quality level High Video record quality level Normal Video record quality level Low Video record quality level Lowest Change the setting value...

Страница 7: ...rate and quality level and it will show a message on top right screen User change the different record level it means that user change the record quality below table show the mapping Level HST HIG NO...

Страница 8: ...the system status below are the icons status Live mode Forward Recording Pause Video loss Reverse Motion detect SHIFT mode Display Channel Hard disk usage Notice In real time mode user can press dire...

Страница 9: ...play status and adjust the cameras Brightness contrast and saturation Right adjustment of each element will increase picture quarterly displayed We recommend you to adjust each element of cameras and...

Страница 10: ...the direction left button to decrease the frame rate or direction right button to increase the frame rate value After changed the frame rate value press MENU button to exit the setup menu Motion reco...

Страница 11: ...ton to change different record mode Record Time Table 80GB HD Record Quality Low Average 5 KB REC FPS total 60 30 15 10 REC Hour 72 hr 148 hr 296 hr 444 hr Record Quality Normal Average 10 KB REC FPS...

Страница 12: ...igh sensitivity 4 means very low sensitivity 2 3 3 Alarm Duration This function is disable now 2 3 4 Motion Pop up OFF 1 30 Seconds CONT Each channel jumps to full screen when motion triggered Quad sc...

Страница 13: ...ction button to move 2 4 3 Video system NTSC PAL AUTO 2 4 4 Output 720x448 NO Off ON OFF 2 5 System Setup 2 5 1 Hard Disk Setup Overwrite Enable Yes When Hard Disk full DVR continue to record No When...

Страница 14: ...ving time in this menu also can use up down button move to time set change the date and time 2 5 3 Buzzer Setup System Buzzer OS operating Key Press Buzzer Button operating Motion Buzzer Motion detect...

Страница 15: ...hard disk working before update select F W upgrade and then press ENTER to search firmware 1 Searching Firmware 2 Press ENTER upload press STOP cancel 3 Firmware Reading 4 Firmware uploading DVR auto...

Страница 16: ...User can search video image by Time search and Event list 2 6 1 Time Search 1 Press ENTER into time search menu 2 Use direction left or right button to move the cursor position 3 Press ENTER to chang...

Страница 17: ...x 3 x 4 Direction right button Reverse speed x 8 x 16 x 32 Direction left button Press STOP button return to live mode 2 6 2 Event List mode Each event will list on event list user can use direction b...

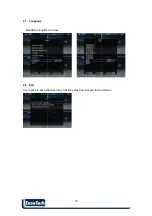
Страница 18: ...18 18 2 7 Language Standard is English Chinese 2 8 Exit User needs to save changes if any function value has changed then exit menu...

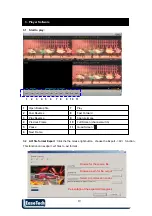
Страница 19: ...age 4 Previous Frame 10 Full Screen channel switch 5 Pause 11 Quad Screen 6 Next Frame 3 2 AVI file format Export Click the the mouse right button choose the Export AVI function This function can exdp...

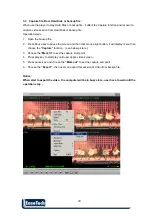
Страница 20: ...d then click mouse right button it will display menu then choose the Capture function see below picture 3 Choose the Mark In to set the capture start point 4 Press play key to start play until user de...

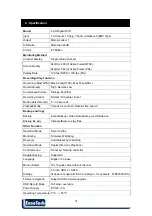
Страница 21: ...ecord 5 30 seconds Playback Mode Time list event list Date Time search Backup and Copy Backup Event Backup Video Data backup via USB device Backup file play Client software to play files Other Functio...

Отзывы: