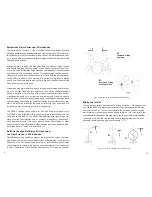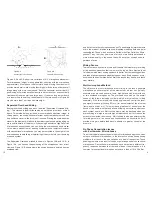
high frequencies on the sides of the microphone. This is why you cannot
place three singers on a conventional microphone, the one in front of the
mic sounds great, but the two on the sides have a dramatic loss of qual-
ity. These drastic changes in high frequency response on the sides of
the microphone cause phase differences, and these are the root cause of
phase cancellations with conventional microphones.
In contrast, Earthworks has a patented polar technology that provides
our microphones with the same frequency response on the sides of the
microphone as it does at the front (no more than a 3dB loss at any fre-
quency out to 90º off-axis). This very uniform frequency response at the
front and sides of the microphone will nearly eliminate any phasing
issues when using Earthworks microphones. In addition, Earthworks
cardioid microphones have a very high rejection of sounds at the rear
(back) of the microphone. This feature will greatly reduce the leakage of
cymbals or other sounds at the rear of Earthworks microphones.
Close Miking Toms and Snares
with Drum Periscope Microphones
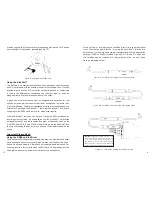
Inserting the DP30/C Microphone into the RM1 RimMount
It is suggested that you insert the DP30/C microphone into the RM1 Rim-
Mount™ prior to attaching the RimMount to the drum.
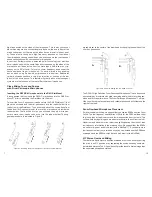
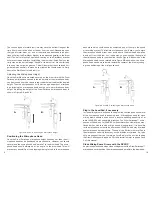
To insert the Drum Periscope microphone into the RM1 RimMount™ just
place the mic head and the mini-gooseneck into the rubber holder from
the bottom of the RimMount. Then push the body of the microphone from
the bottom (XLR connector end) to move the microphone up inside the
rubber holder. The fit will be firm, so you will need to apply a little pres-
sure to move the microphone body up into the rubber holder. The sug-
gested procedure is indicated in Figure 3.
Figure 3. Inserting the Drum Periscope™ Mic into the RimMount™
7
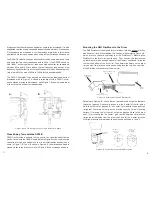
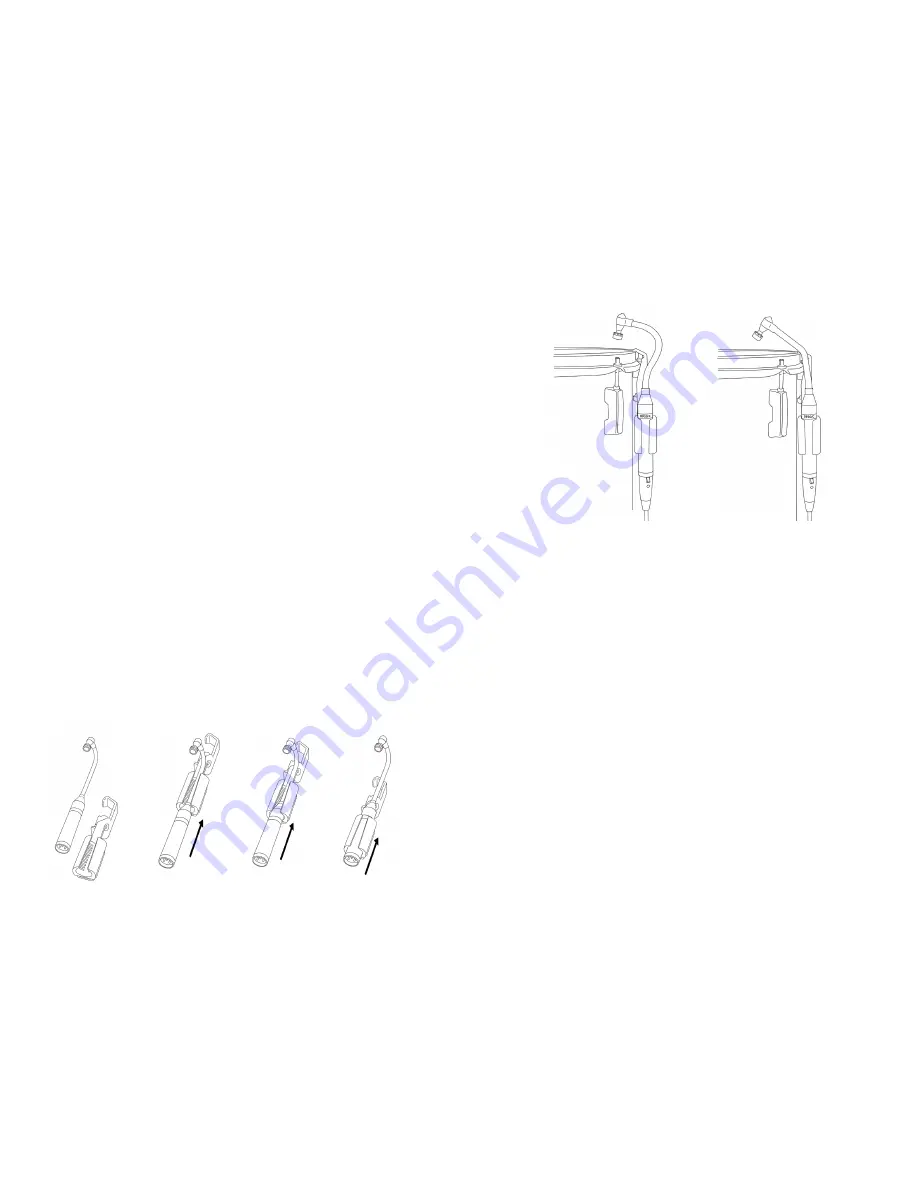
moved closer to the center of the drumhead by changing the position of the
mini-flex gooseneck.
Figure 8-A and 8-B Miking the Top Head of a Tom
The DP30/C High Definition Drum Periscope Microphones™ have been used
successfully by drummers with major recording artists in both recording ses-
sions and for live performance. The Drum Periscope Microphones™ will pro-
vide you with years of exceptional and reliable results and will withstand the
rigors of the road.
Drum Overhead Microphone Placement
For overhead drum miking, we suggest that you use the SR25s from the Drum
FullKit. The low frequency specification of 50Hz for the SR25’s allows them
to pick up less of the kick drum and lower frequencies from the toms. This
will be a help during mixing and provide more control in the mix from the indi-
vidual tom and kick drum mics, rather than fighting having too much of their
low frequency information in the overhead mics. We suggest that the SR30s
be used for high-hat and kick drum (with a KickPad™). If you desire more
low frequencies from your overhead mics, you can instead use the SR30s as
overheads and the SR25s on high-hat and kick drum (with a KickPad).
X/Y Stereo Overhead Miking
There are two basic ways to position overhead drum mics, either by putting
the mics in an X/Y position or by separating the microphones by some pre-
determined distance. The X/Y position will provide less of a stereo image than
the separated microphone method.
12
A.
B.
Содержание SR25
Страница 2: ......

