9
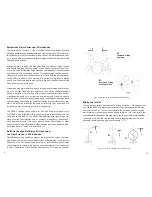
The various types of metal drum rims may have the bottom flange of the
rim either closer to the shell or further from the shell. Depending upon
the type of metal drum rim, one of the previously described three posi-
tions will allow the RimMount bracket to be mounted parallel to the drum
shell. The soft protective Polyolefin® coating on the RimMount bracket
will prevent the possibility of scratching the drum shell finish. Position the
rim-guide so the bottom edge “flange” of the drum rim fits comfortably
into one of the rim-guide grooves. This will insure that the cushioned rim-
guide remains securely in place as you tighten the thumbscrew to firmly
secure the RimMount to the drum rim.
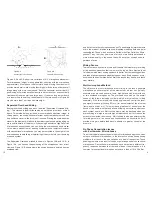
Adjusting the Microphone Height
Once the RimMount is mounted securely on the drum rim with the Drum
Periscope microphone housed in the rubber holder, the microphone body
can be moved either up or down in the rubber holder to adjust the desired
height. Then the mini-gooseneck will provide a good amount of latitude
in positioning the microphone head from any pre-set microphone body
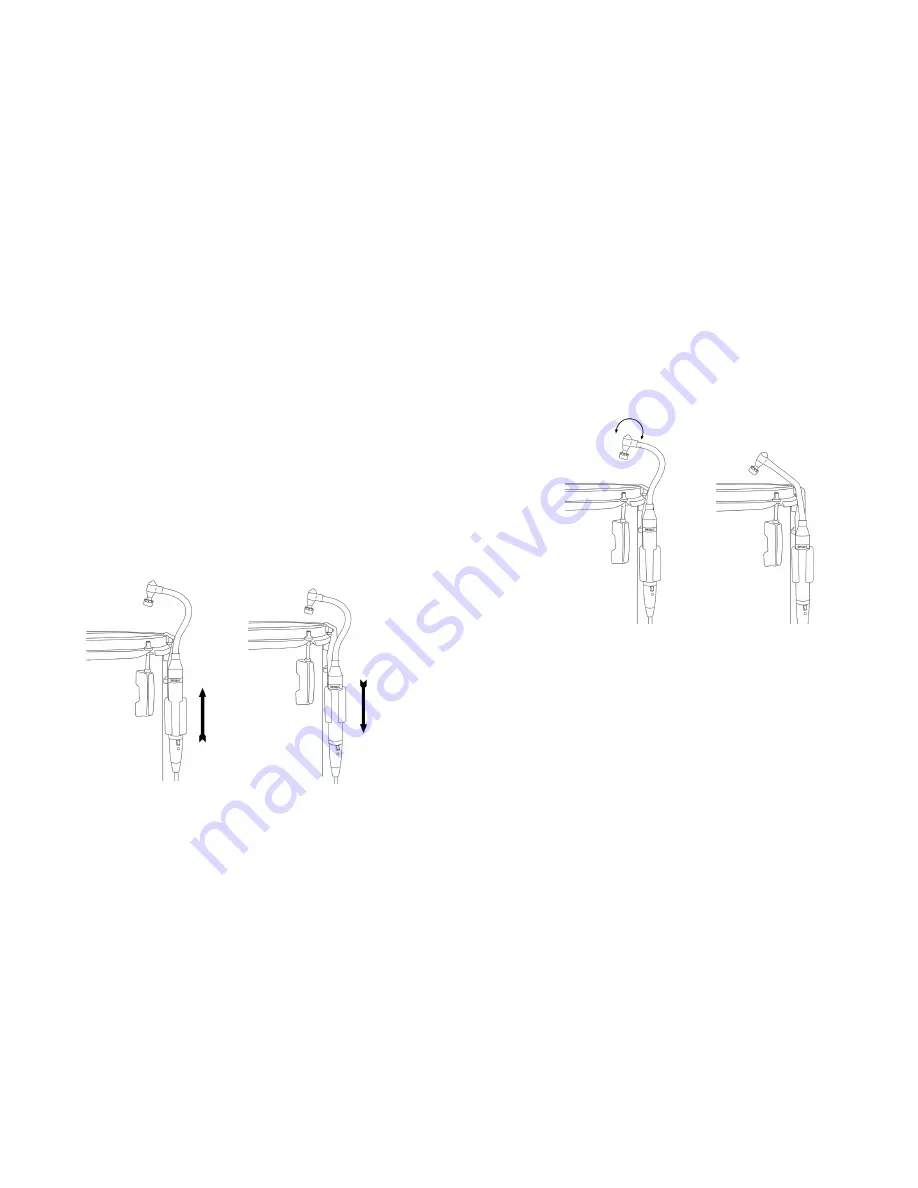
height. Adjusting the height of the Drum Periscope microphone body is
shown in Figure 5-A and 5-B.
Figure 5-A and 5-B Adjusting DP Microphone Height
Positioning the Microphone Head
Once the Drum Periscope microphone height has been set, then the mi-
crophone head can be positioned where you desire. However, you should
never place the microphone head “parallel” to the drumhead. The micro-
phone head should always be at “an angle” to the drumhead. This will
prevent any possibility of the diaphragm being forced to the microphone
A.
B.
back plate which could cause an unwanted pop or thump in the sound
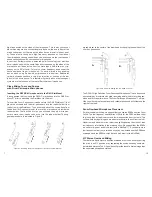
or recording system. The flexible mini-gooseneck will allow you to move
the microphone head either up or down above the drumhead as well as
in and out from the drum rim. In addition, you can change the angle of
the microphone head for your desired results. Figure 6-A shows how the
microphone head can be rotated while Figure 6-B shows how the micro-
phone head can be moved more toward the center of the drum by chang-
ing the positioning of the mini-gooseneck.
Figure 6-A and 6-B Positioning the Microphone Head
Plug in the LevelPad, if necessary
In close miking drums, one should keep in mind that the peak sound level
at the microphone head is extremely loud. Microphones used for close
miking drums should have a sound pressure handling capability of at
least 140dB SPL with no audible distortion. The Drum Periscope™ micro-
phones will handle up to 145dB SPL without distortion. However, as men-
tioned earlier, with this kind of high sound pressure level, it is possible
for the microphone output to be as much as +24dBV which may overload
some microphone preamplifiers. The use of the Earthworks LevelPad in
the microphone line will prevent any such distortion or overload. So, to be
safe, we suggest that you first plug a LevelPad into the mic line feeding
the Drum Periscope microphone. For full information refer to pages 3 and
4 of this manual.
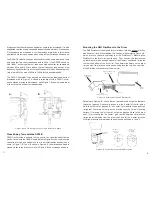
Close Miking Snare Drums with the DP30/C
As previously mentioned, when close miking drums with a Drum Periscope™
microphone, never position the microphone head parallel to the drumhead.
10
A.
B.
Содержание SR25
Страница 2: ......

