34
To zoom the display, first press the
MENU
key until the
Z
OOM
menu ap-
pears. Use the arrow keys to select either 2X or 4X zoom, then press
PWR
to clear the menu.
When the display is in Zoom mode, the screen will show a zoom indica-
tor box at the top right corner of the screen. This is a reminder that the
display is zoomed, and it tells what level of zoom is in effect.
To turn the zoom feature off, press the
MENU
key until the
Z
OOM
menu appears.
Use the arrow keys to select
O
FF
, then press
PWR
to clear the menu.
Important Tip:
Your unit has the handy ability to quickly zoom in on any portion of
the water column with just the touch of an arrow key. The Zoom
Pan feature lets you rapidly move the zoomed area up and down to
different depths. By "pointing" your zoom at different portions of
the chart as it scrolls, you can get a good, close-up look at structure
or cover below you.
To use Zoom Pan, switch to a manual depth Range setting (see page
33) and turn on 2X or 4X Zoom. Then, simply press the
UP ARROW
or
DOWN ARROW
to pan up and down the water column.
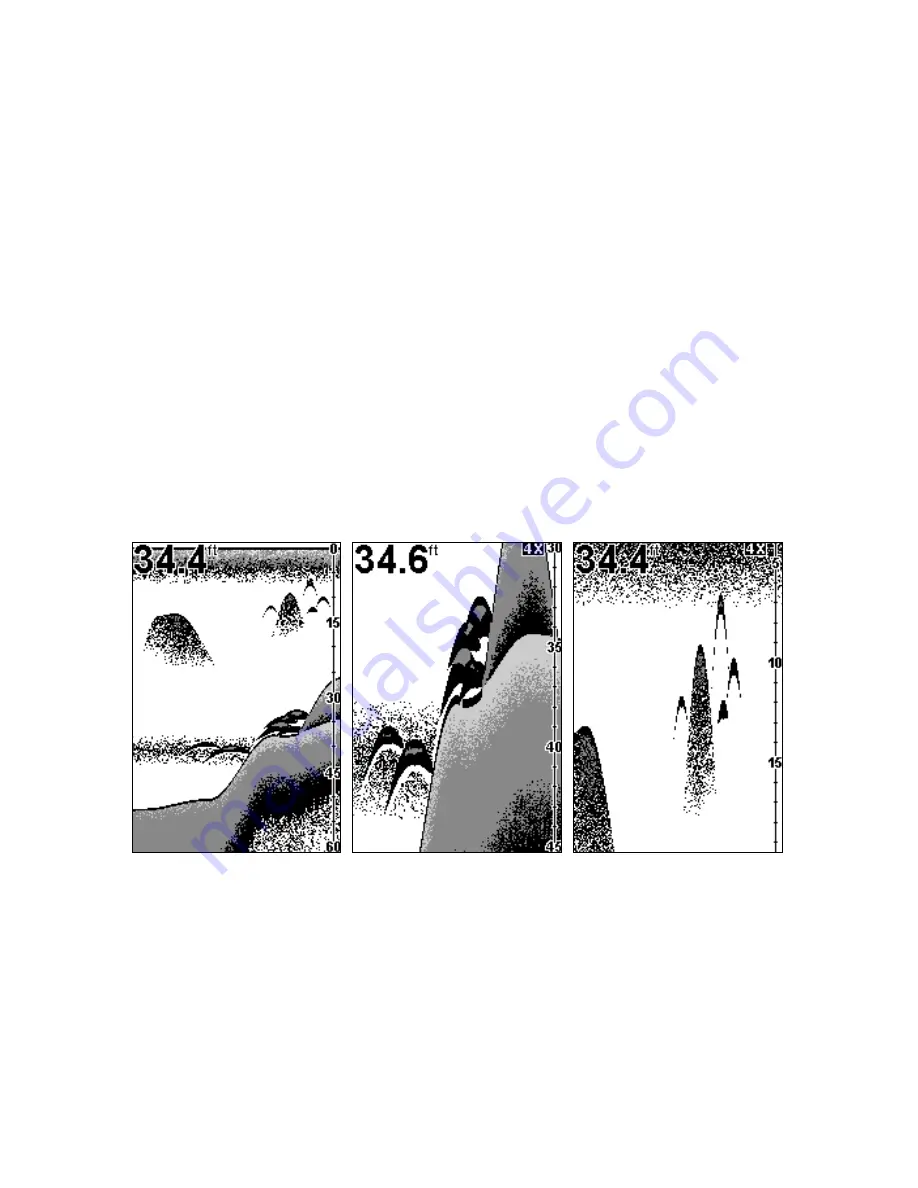
In 34 feet of water, with the Range set manually at 60 feet, the unit
shows the entire water column in Fig. 1. To get a closer look, turn
around and follow your wake to troll over the structure again. With
the unit in 4X zoom, press the down arrow key to look at the six fish
along the ledge, then press the up arrow to pan up the water column to
see four game fish threatening a school of forage fish.
NOTE:
Using the Zoom command while in
auto
Range mode will always
enlarge the echoes near the bottom, because auto Range always
keeps the bottom displayed in the lower portion of the screen.
Fig. 1
Fig. 2
Fig. 3


