16
E-flite Rhapsody 25e ARF Assembly Manual
8. Slide the remaining wing panel into position and
secure it to the center section using a 4-40 x 1/2-
inch socket head machine screw and #4 washer.
Use a 3/32-inch hex wrench to tighten the screw.
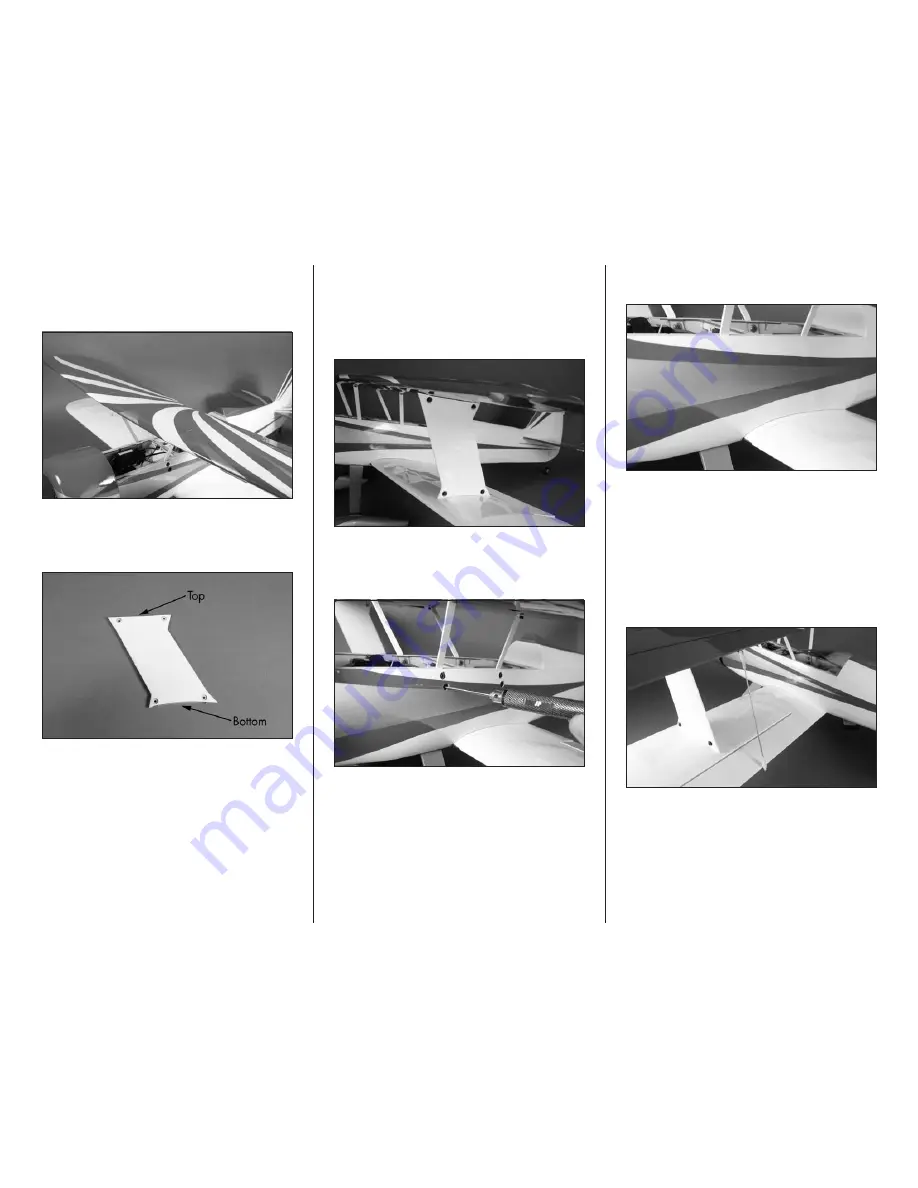
9. Locate the outer strut. Note the bottom of the
strut has more curvature than the top to fit the
airfoil of the bottom wing.
10. Use four 4-40 x 1/4-inch socket head machine
screws and four #4 washers to attach the outer
strut to the strut fitting. Note that the inside of the
mounting holes for the outer strut will fit over the
fittings when installed and that the screws are
installed from the wing tip as shown.
11. Tighten the screws that secure the cabane struts
in the fuselage. Use a 3/32-inch hex wrench or
ball driver to tighten the screws for this step.
12. Use the cabane strut decal to cover the holes
where the cabane strut screws are located.
13. Slide a silicone clevis retainer on a clevis.
Prepare two clevises, then thread them on the
ends of the 2-56 x 6
3
/
4
-inch pushrod. With the
bottom aileron centered, adjust the length of the
linkage so the top aileron is centered as well.
Once the length is set, make sure both clevises are
secure and that the silicone retainer has been slid
over the forks of the clevis. Repeat for the opposite
aileron connection.


