20
Adjusting time settings
4
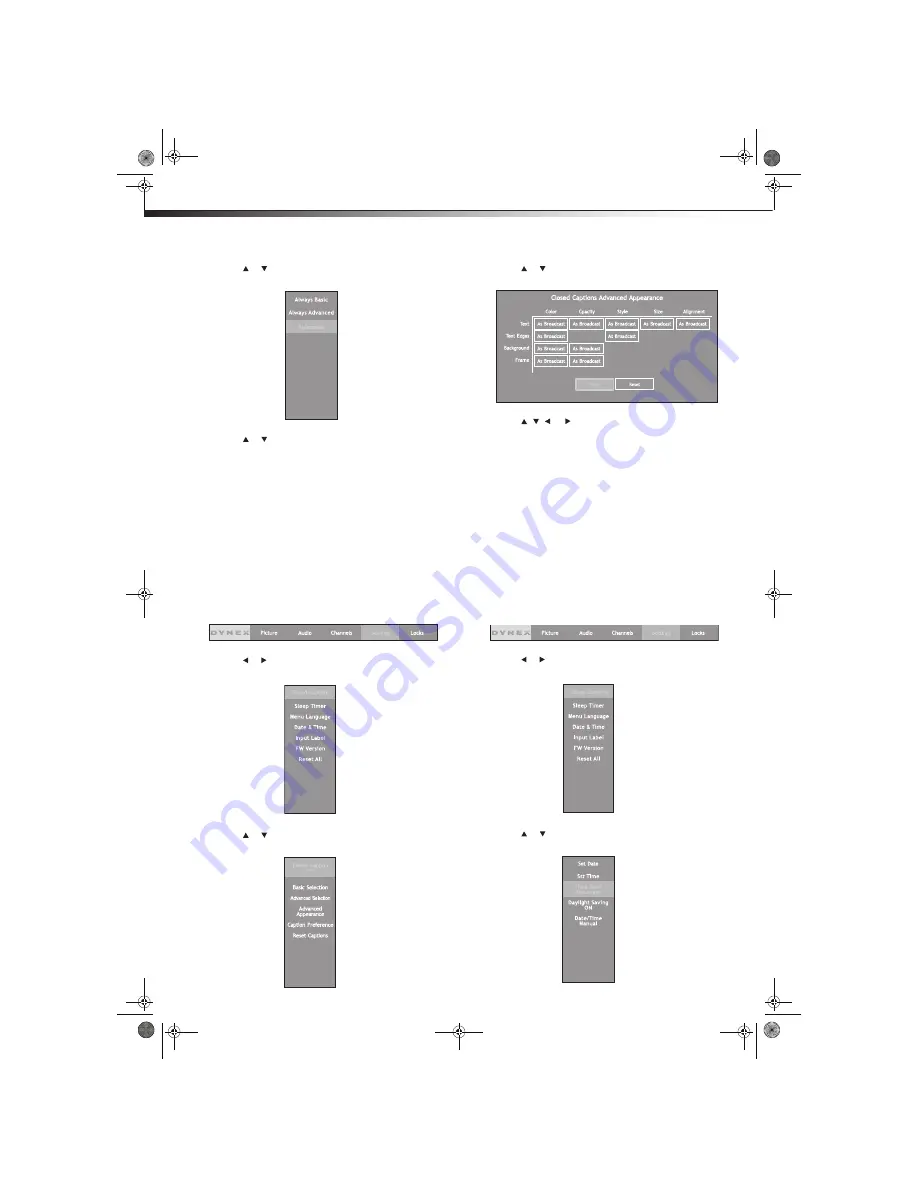
Press or to highlight
Caption Preference
,
then press
ENTER
. The
Closed Caption Preference
menu opens.
5
Press or to select an option. Options include:
•
Always Basic
–Use the CC Basic Selection setting. This
setting can show either
captions
(CC)
–
an on-screen display
of the program’s dialogue, narration, and sound effects, or
text
–an on-screen display of information not related to the
current program, such as weather forecast or news bulletins.
•
Always Advanced
–Use the CC Advanced Selection setting.
This option is only available for digital TV programs.
•
Automatic
–Use the program’s default CC content.
Customizing DTV closed captioning styles
You can customize the way DTV closed captioning is displayed.
To customize DTV closed captioning:
1
Press
MENU
on the remote control, or
MENU
on the control
panel of your TV. The on-screen menu bar opens.
2
Press or to highlight
Settings
, then press
ENTER
. The
Settings
menu opens.
3
Press or to highlight
Closed Captions
, then press
ENTER
.
The
Closed Captions
menu opens.
4
Press
or
to
highlight
Advanced Appearance
,
then press
ENTER
. The
Closed Caption Advanced Appearance
menu opens.
5
Press , , , or to select the aspect of the closed caption
display you want to customize, then press
ENTER
to cycle
through the available options for the aspect you selected.
6
When you are finished, select
Done
, then press
ENTER
.
Adjusting time settings
Use the Date & Time menu to set the TV clock and time zone settings.
Note
: When the Date/Time option under the Settings, Date & Time menu
is set to
ON
, the clock setting is automatically synched with the TV
broadcast signal. The Set Date and Set Time options are disabled.
Setting the TV clock
To set the TV clock:
1
Press
MENU
on the remote control, or
MENU
on the control
panel of your TV. The on-screen menu bar opens.
2
Press
or
to
highlight
Settings
, then press
ENTER
. The
Settings
menu opens.
3
Press
or
to
highlight
Date & Time
, then press
ENTER
. The
Date & Time
menu opens.
DX-L321-10A_09-0407_MAN_ENG_V3.book Page 20 Wednesday, May 13, 2009 11:38 AM
Содержание DX-L321-10A
Страница 4: ...iv DX L321 10A_09 0407_MAN_ENG_V3 book Page iv Wednesday May 13 2009 11 38 AM ...
Страница 30: ...26 One year limited warranty DX L321 10A_09 0407_MAN_ENG_V3 book Page 26 Wednesday May 13 2009 11 38 AM ...
Страница 31: ...One year limited warranty 27 DX L321 10A_09 0407_MAN_ENG_V3 book Page 27 Wednesday May 13 2009 11 38 AM ...


