


1. Playback setup
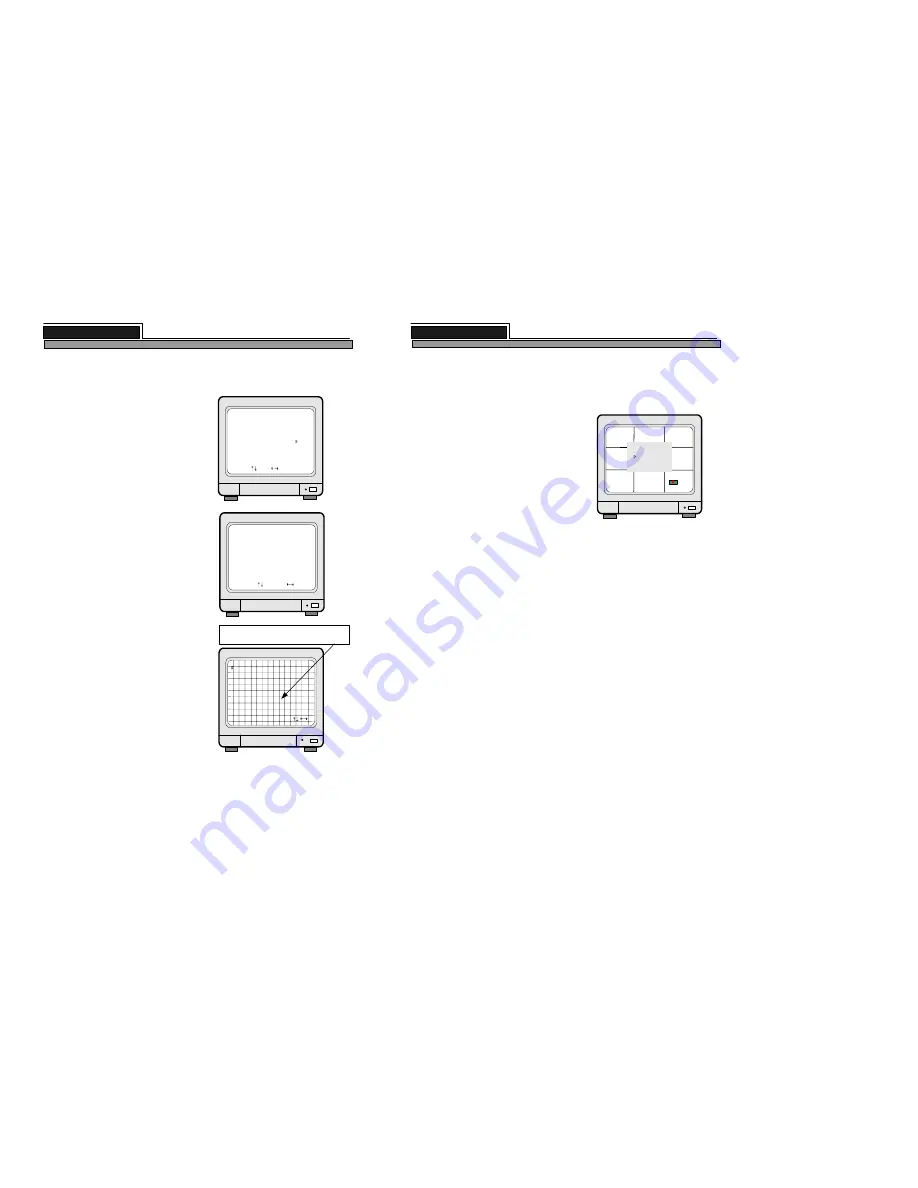
4) Display screen will appear as shown on the right picture.
2. How to set in GO TO MENU
14
ALL ABOUT IMAGE RECOGNITION & PROCESSING
CH-01
CH-02
CH-03
CH-04
CH-05
CH-06
CH-07
CH-08
03 / 10 / 25
16 : 11 : 38
TIM
R 12.34%
P 5.03%
GO TO MENU
1) Press [PLAY] button to enter into playback mode.
2) [PLAY] button is is pressed shortly, it just start playback
from the previous stop point.
3) If you press [PLAY] button for longer time, you can enter
into GO TO MENU, and set the point from which you want to
start playback. You can set starting point of playback by
setting PERCENT, TIME/DATE, or EVENT LIST in GO TO
MENU.
[ GO TO MENU ]
PERCENT
TIME/DATE
EVENT LIST
1) First select any one of PERCENT, TIME/DATE, and EVENT LIST using [UP] and [DOWN] buttons.
If you select PERCENT, you are supposed to set starting point of playback by percent.
If you select TIME/DATE, you are supposed to set starting point of playback by time and date.
If you select EVENT LIST, you will enter into event list and select one of event list to start playback from
selected event.
2) PERCENT
Press [ENTER] button when triangular cursor is in front of PERCENT to select target by percent.
In [PERCENT GO TO] menu, start and end point of recording shall be displayed. At the same time,
how many % of total HDD(1 or 2 units in DVMR unit) space is recorded is displayed. Under this line, you
are requested to set starting point of playback by % using [LEFT] and [RIGHT] button and [UP] and
[DOWN] button.
After you set starting point by %, press [ENTER] button shortly, and Target(starting point) is display in
time/date and at the same time playback starts from the point you set, while all message is displayed. If it
is the right point you want to start playback, then press [PLAY] button for longer time again to make
messages disappear.
To stop playback and go back to recording mode, press [PLAY] button shortly again.
3) TIME/DATE
Press [ENTER] button when triangular cursor is in front of TIME/DATE to select target by time/date.
In [TIME/DATE GO TO] menu, start and end point of recording shall be displayed.
Under this line, you are requested to set starting point of playback by time and date. Using [LEFT]
and [RIGHT] button and [UP] and [DOWN] button, set time and date from which you want to start
playback. Then press [PLAY] button shortly, and it starts to playback from the point you set, however
all messages are still displayed. If it is the right point from which you want to start playback, press [ENTER]
button for longer time once more, and messages shall be disappeared..
4) EVENT LIST
Press [ENTER] button when triangular cursor is in front of EVENT LIST to select target by event list.
In [EVENT-LIST GO TO] menu, list of event shall be displayed.
Just select event from which you want to start playback using [DOWN] and [UP] buttons, and then
press [PLAY] button shortly to start playback. If it is the right point from which you want to start playback,
press [ENTER] button once more to make all messages disappeared.
8 channel stand-alone DVMR
3. Operation
3. DISPLAY SETUP
EDIT CAMERA TITLE
CAM 1….. [ CH-01 ]
CAM 1….. [ CH-01 ]
CAM 1….. [ CH-01 ]
CAM 1….. [ CH-01 ]
CAM 1….. [ CH-01 ]
CAM 1….. [ CH-01 ]
CAM 1….. [ CH-01 ]
CAM 1….. [ CH-01 ]
CAM , Char Pos Enter
,
:
<
>
(
)
-
=
A
B
C
D
E
F
G
17
EDIT CAMERA TITLE
ALL ABOUT IMAGE RECOGNITION & PROCESSING
1) Edit camera title
Camera tile is 9 characters in length and includes
alphabet in a capital letter or small letter, numbers,
and some special letters.
Default camera title is CAM 1, CAM 2, and so on for
channel 1, channel 2 and so on.
Moving to a channel you want to change is done by
pressing [UP] and [DOWN] button, moving next
character in a specific camera tile is done by pressing
[ENTER] button.
On the right side of display, there is series of letters in
vertical, and letter just behind triangular cursor is
written whenever you press [LEFT] or [RIGHT] button.
To save and exit EDIT CAMERA TITLE mode, press
[MENU] button.
ADJUST COLOR
CH NUMBER 1
BRIGHTNESS -1
CONTRAST +3
SATURATION +0
HUE -1
GAIN -3
SELECT , PRESS
ADJUST COLOR
2) Adjust colors
You can change parameter of camera color like
brightness, contrast, and others for each channel.
First select channel number whose parameters you
want to change, using [LEFT] and [RIGHT] button.
When you select channel, image from selected
channel is displayed. Then select element you want to
change by pressing [UP] and [DOWN] button and
adjust by pressing [LEFT] and [RIGHT] button. You
can see how it looks like whenever you change
values.
After you adjust parameters for channel you selected,
then select next channel for change.
To save and exit ADJUST COLOR mode, press
[MENU] button.
CELL CAM 01
ON X08Y07
SELECT : MENU EDIT : ENTER/
MOTION SETUP
3) Motion setup
In motion setup mode, you can set motion detection
area, sensitivity of motion, and detect
windowrespectively, channel by channel.
It is very important to set motion detection area,
sensitivity, and detect window, when you are going to
record just when motion is detected.
Motion detection area is important because DVMR
system just recognize motion in this area.
Sensitivity of motion specifies the sensitivity with
which DVMR system detect motion, and very slow
movement may not be detected if sensitivity of motion
is set at very low level.
Detection windows specifies size of moving object,
and DVMR system does not detect moving object
which is smaller in numbers of cell than detection
windows fixed in advance.
Cell(16x12) in green color indicates detection area, and color
change to violet color in cells represents motion is detected
8 channel stand-alone DVMR
3. Operation
3-3. Playback


