


7
stop
start
2. INSTALLING PROCEDURE
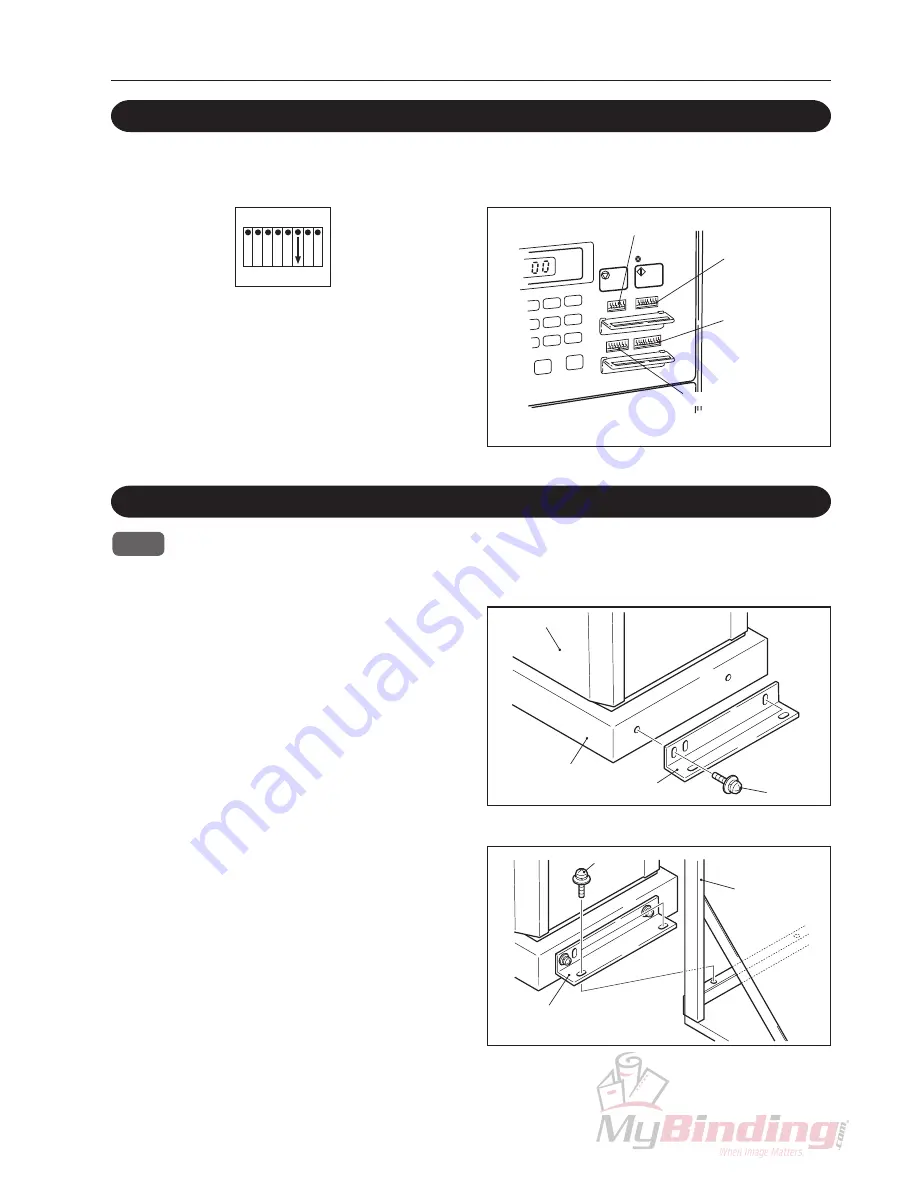
2-5. Setting the DIP Switch of Suction Collator
Push down Pin 6 of DIP switch 2 on the control panel of Tower A of suction collator (to the
number side).
1
DIP switch 2
OPEN
1 2 3 4 5 6 7 8
DIP switch 2
DIP switch 1
DIP switch 4
DIP switch 3
∗
This shows the DC-10000S.
2-6. Connecting the Suction Collator
Temporarily secure the connecting plate
provided to the DBM-120 cabinet.
<< Parts to be used >>
Connecting plate
w
............................................ 1
Screw (MSKW5
×
10)
e
................................... 2
1
DBM-120
DBM-120 cabinet
Connecting plate
Screws
Connecting plate
Screws
LU-HM
Temporarily secure the connecting plate
to the LU-HM.
<< Parts to be used >>
Screw (MSKW5
×
10)
e
................................... 2
2
NOTE
: Be sure to turn off the power of the DBM-120 and suction collator and disconnect the power plug from the
outlet first before starting the work.
Tighten the screws temporarily secured in step 1, and secure the connecting plate.
3