PHOTON SYSTEM
–
Installation Guide v8.0 - pag.6
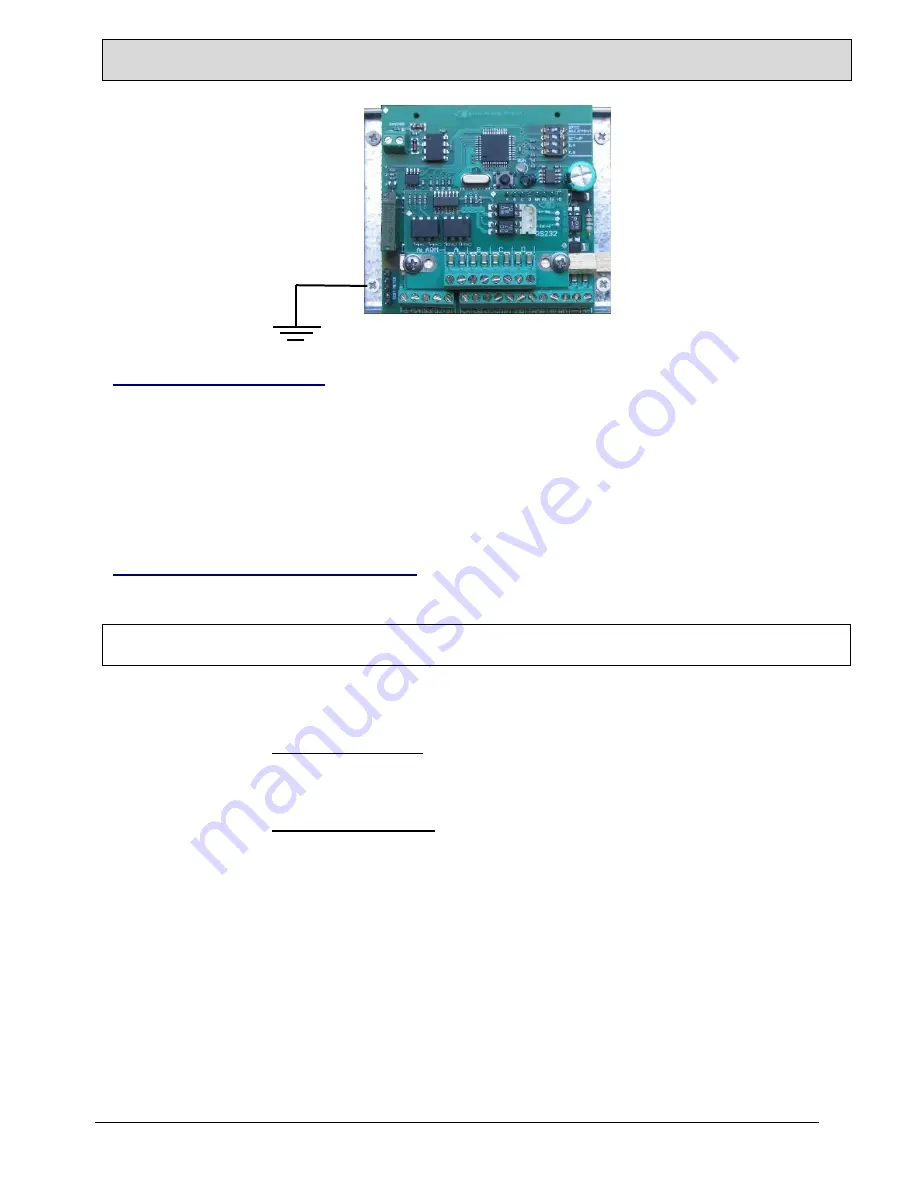
WARNING:
CONNECT THE METALLIC BASE OF THE HUB TO THE ELECTRIC PLANT GROUND.
Settings on the HUB-TC
The HUB-TC allows you to centralize the monitoring and configuration of installed barriers couples,
through the use of 3 free software:
PHOTON TEST HUB (barrier and cabling verification)
PHOTON SETUP HUB (setting of the barrier parameters)
PHOTON MONITOR HUB (real-time monitoring and activity log of the barriers)
For the use of the software you need to connect to the RS232 port of the Hub (Fig 25)
Switch on and check of the system
Once all the cabling have been done, it is necessary to verify the connection and correct setting of
the HUB.
WARNING. This is just a summary of what to do. Please see the HUB-TC manual for the step by
step procedure of system verification and programming of the system.
1) Set DIP1=ON, DIP2=ON and power the system. After few seconds the led is solid on. If the led is
off, check the power cables of the HUB.
2) Use the software
PHOTON TEST HUB
to verify that all the address of the connected bars are
detected by the software (1-2-3-4-5-6-7-8). If some bar is not detected, check that the addresses
on the bars and the connections are correct, then make again the test. Do not go to the next step
until any connected barrier is detected.
3) Use the software
PHOTON SETUP HUB
to program the working parameters of each couple.
WARNING: Enable only the barrier couples that are really connected to the system (A-B-C-
D), otherwise the HUB will not start correctly and will signal continuously a FAILURE.
4) Set DIP2=OFF and press reset button on the HUB to restart.
5) After few seconds, check the proper operation of the Hub with the continuous quick flashing of led
(Fig 25). If the led is solid on or flashing in a different way, it means that the HUB is in FAILURE
mode, so you have to check again the previous steps (check the cables to the bars, the enabled
couples A-B-C-D, the correct addressing of the bars – Fig 11).
6) If the HUB gives tamper alarm and all the caps are already closed, please check the proper
closing of the caps. If some cap is open, then it is a correct alarm condition.
7) At this step you have to start the beam adjusting procedure and it is normal that, as it is not
performed yet, the HUB can give alarm or disqualification condition.
Содержание Photon System
Страница 10: ...PHOTON SYSTEM Installation Guide v8 0 pag 10 SUMMARY TABLES Fig 23...
Страница 11: ...SISTEMA PHOTON manuale d installazione pag 11 Fig 24...
Страница 13: ...SISTEMA PHOTON manuale d installazione pag 13...
Страница 14: ...SISTEMA PHOTON manuale d installazione pag 14 HUB TC...
Страница 16: ...SISTEMA PHOTON manuale d installazione pag 16...
Страница 17: ...SISTEMA PHOTON manuale d installazione pag 17...
Страница 19: ...SISTEMA PHOTON manuale d installazione pag 19...


