background image

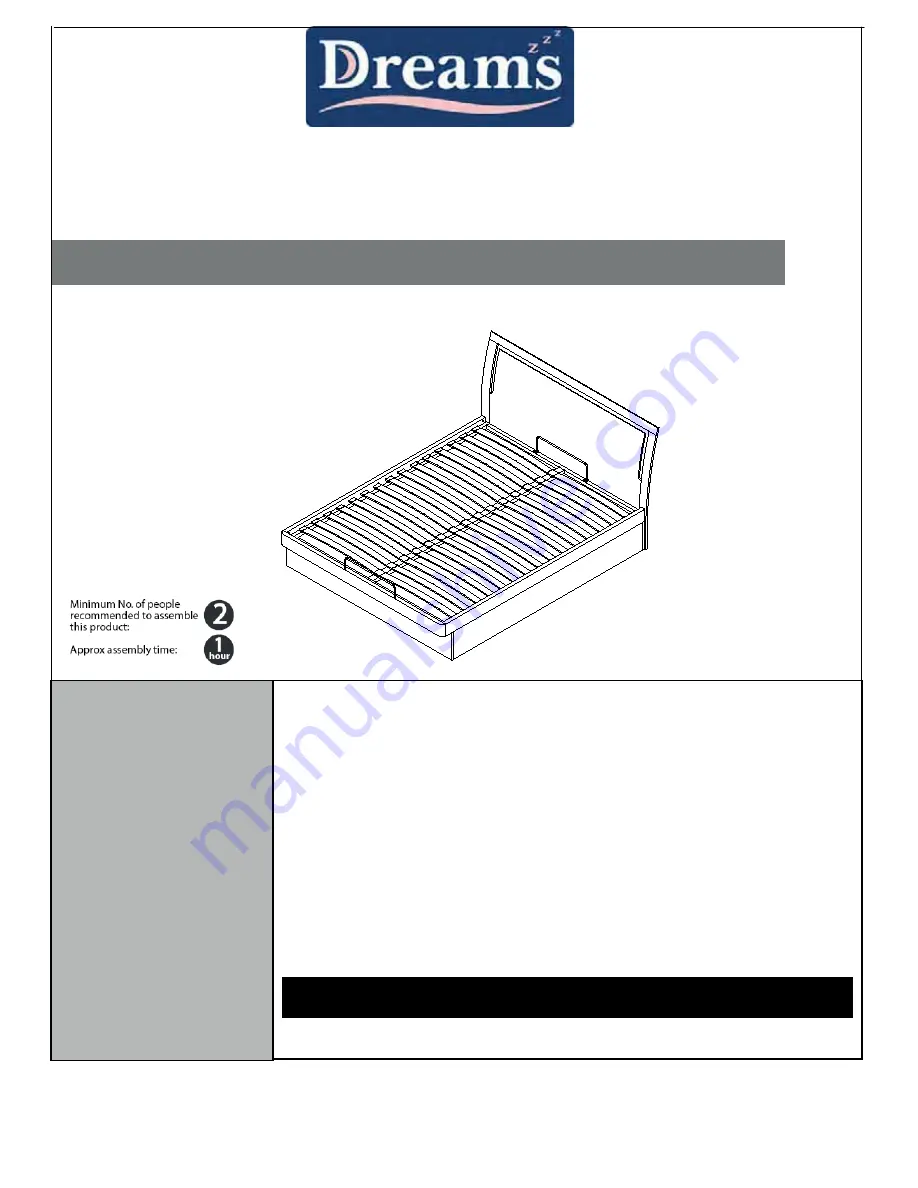
Amelia Bed


Assembly Instructions 

Before you
Start, here
is some
helpful advice

1. We suggest you spend a short time reading through this leaflet and then 

follow the simple step by step instructions.

2. If you follow the instructions carefully the end result should be worth the 

effort.

3. Do not discard any of the packaging until you have checked that you

have all the parts and the pack of fittings. 

4. Assemble this product on a carpet. 
5. To ensure an easier assembly, we strongly advise that all fittings are only 

finger tightened during initial assembly. Only upon completion of the. 
assembly should all fixing points be fully tightened. 

6. We recommend a periodic check on all fixing points to make sure they 

remain fully tightened.  

7. Keep glue and fittings out of children’s reach. 

In the unlikely event that this product has missing or

damaged parts, please call 08703 333612 to obtain spares.


1 of 8

Содержание Amelia Bed

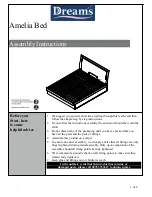
Страница 1: ...t you have all the parts and the pack of fittings 4 Assemble this product on a carpet 5 To ensure an easier assembly we strongly advise that all fittings are only finger tightened during initial assem...

Страница 2: ...Component parts contained in the box PARTS 2 of 8...

Страница 3: ...0775 QTY 4 PCS 040 00776 M N M5 QTY 1 PC 040 00777 QTY 2 PCS 040 00778 O P QTY 4 PCS 040 00779 QTY 4 PCS 040 00780 Q R QTY 10 PCS 040 00781 QTY 4 PCS 040 00782 S T QTY 1 PC 040 00783 QTY 1 PC 040 0078...

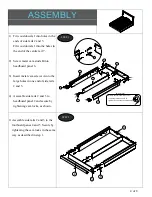
Страница 4: ...to the large holes in one end of side rails 2 and 3 4 Assemble side rails 2 and 3 to headboard panel 2 and secure by tightening cam locks as shown 1 Assemble side rails 2 and 3 to the footboard panes...

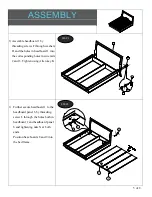
Страница 5: ...into the corresponding holes in side rails 2 and 3 Tighten using Allen key K 1 Further secure headboard 1 to the headboard panel 6 by threading screw L through the holes both in headboard 1 and headbo...

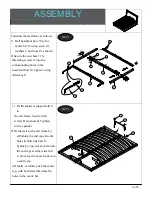
Страница 6: ...en using Allen key S 1 Fit the mattress support rails V to the slat frame Secure with screws H and nuts O Tighten with a spanner 2 Fit the slats to the slat frame by a Pushing the end caps into the ho...

Страница 7: ...nuts U 1 Two people carefully lower the slat frame onto the support arms T Secure by threading screws E through the holes in the slat frame and the corresponding holes in the support arms T Screw nut...

Страница 8: ...in grain and colour We wish to reassure you that this is quite normal and is not the result of any manufacturing fault Where sheets of veneer are joined together a line may be detected Again this is n...

Отзывы: