background image

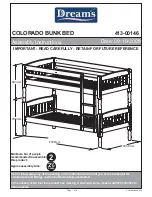
COLORADO BUNK BED

Assembly Instructions

Date: 09-10-2008

413-00146

Do not throw away any of the packing or the instruction book until you have checked all the
components and fittings and the furniture is fully assembled.

In the unlikely event that this product has missing or damaged parts, please call 0870 3333 612 to
obtain spares.

Minimum No. of people
recommended to assemble
this product:

Approx assembly time:

2

2

hours

1

2

/

IMPORTANT - READ CAREFULLY - RETAIN FOR FUTURE REFERENCE

Page 1 of 8

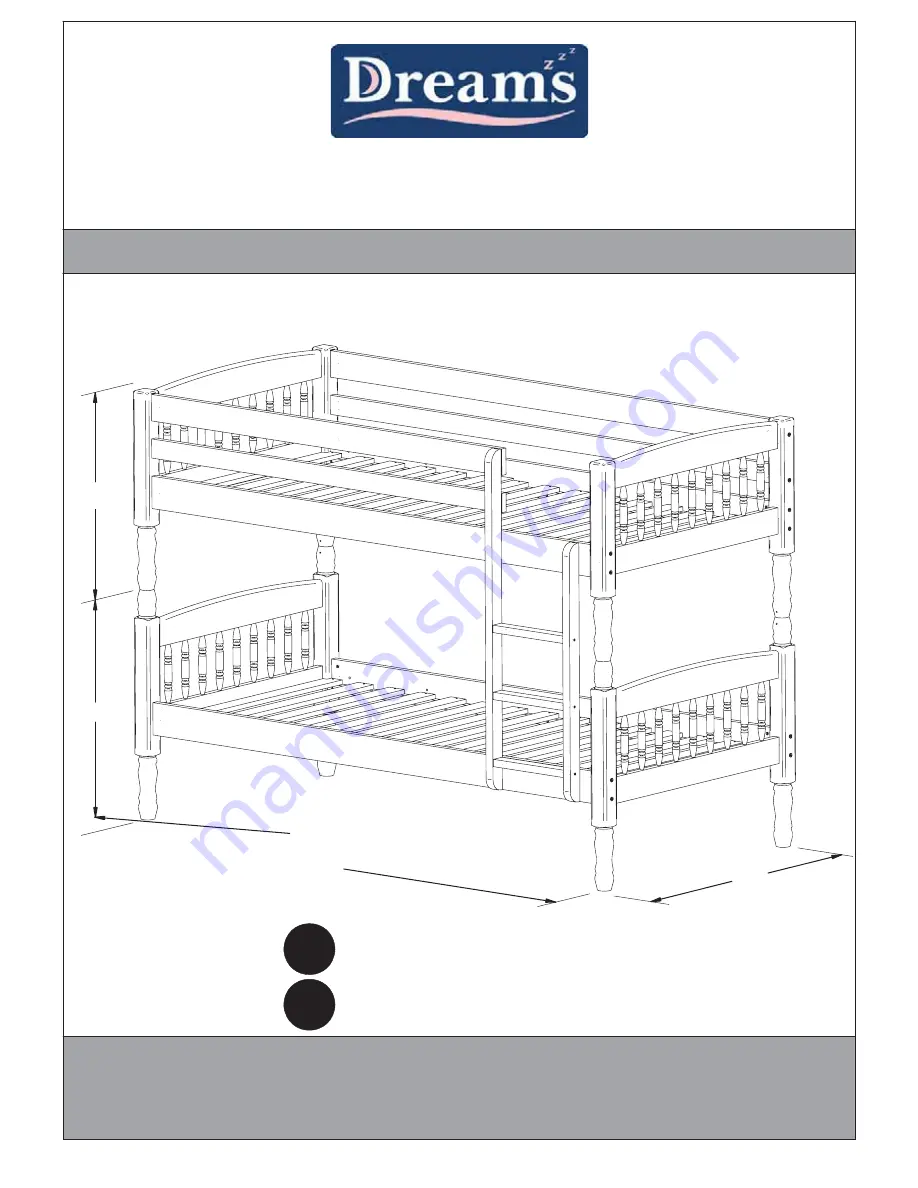
2030mm

Colorado bunk bed

1035.5mm

780mm

693mm

Содержание 413-00146

Страница 1: ...ts and fittings and the furniture is fully assembled In the unlikely event that this product has missing or damaged parts please call 0870 3333 612 to obtain spares Minimum No of people recommended to assemble this product Approx assembly time 2 2 hours 1 2 IMPORTANT READ CAREFULLY RETAIN FOR FUTURE REFERENCE Page 1 of 8 2030mm Colorado bunk bed 1035 5mm 780mm 693mm ...

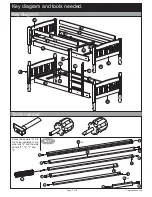
Страница 2: ... 0002 H 7 pcs Screw Ø7 x 50mm 308 0001 I 6 pcs Screw Ø4 x 50mm 302 0035 Headboard lower 2 pcs 219 1007 1007 x 780mm 1 1007 x 693mm Headboard upper left 1 pc 219 1005 2 Headboard upper right 1 pc 219 1006 3 Side rail 4 pcs 114 0256 4 1900 x 110mm Side panel upper long 1 pc 114 1016 5 1900 x 90mm Side panel upper short 1 pc 114 1017 6 1508 x 90mm Side panel lower long 1 pc 114 9016 7 1900 x 65mm Sid...

Страница 3: ...agram Tools needed 2 1 3 4 4 4 4 4 5 6 7 8 9 10 9 10 1 12 13 14 Step 1 Knock the dowels A into the holes indicated on the side rails 4 and the side panels 5 6 7 and 8 4 5 7 6 8 15 A x 4 A A A A A A A A A x 3 Page 3 of 8 Colorado bunk bed ...

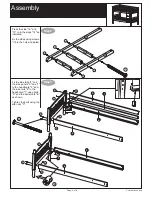
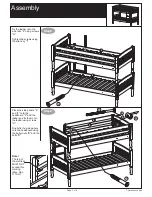
Страница 4: ...es indicated Step 3 Fix the side rails 4 and the side panels 5 and 7 to the headboard 2 and the side rails 4 to the headboard 1 using bolts D and the barrel nuts B as shown Tighten the bolts using the allen key C 12 13 14 14 14 I I I I I I 5 7 4 4 2 4 4 1 B B B B B B D D D D D D Page 4 of 8 Colorado bunk bed B B B ...

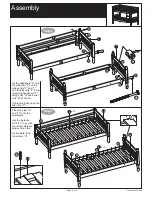
Страница 5: ... barrel nuts B as shown Tighten the bolts using the allen key C 5 7 2 4 4 4 4 1 3 1 B D D D D D D B B B Step 5 10 9 10 10 10 9 x 13 x 13 Place the slats 9 and 10 onto the slatholders Use the distance brick 11 to secure the correct distance between the slats Fix the slats using the screws G 11 G G G G G G G G G G G G G Page 5 of 8 Colorado bunk bed B B B ...

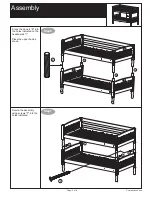
Страница 6: ... Knock the dowels E into the holes indicated on the headboards 1 Place the upper bed as shown Step 7 Secure the assembly using screws F into the holes indicated 3 2 1 1 E E E E F F F F F Page 6 of 8 Colorado bunk bed ...

Страница 7: ...he side panels 6 and 8 onto the headboard 2 and the ladder and fix them onto the ladder using screws H Finally fix the side panels onto the headboard using the barrel nuts B and the bolts D 4 4 H H H H B H H H B D D D 6 8 Note The top of the mattress MUST NOT exceed this marking Max high 177mm Page 7 of 8 Colorado bunk bed ...

Страница 8: ...e Dear customer IMPORTANT READ CAREFULLY RETAIN FOR FUTURE REFERENCE This product complies with BS EN 747 1 2007 BS EN 747 2 2007 The top surface of the mattress must not be above the line marked on the frame Max high 177mm The size of mattress should be 920 x 1900 mm Do not allow children under 6 years old to use the upper bunk Be aware of the danger of young children under 6 falling from the upp...

Отзывы: