background image

3.2 Wall-Mounted Installation

3.2 Wall-Mounted Installation

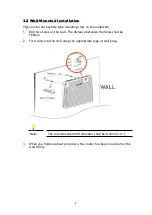
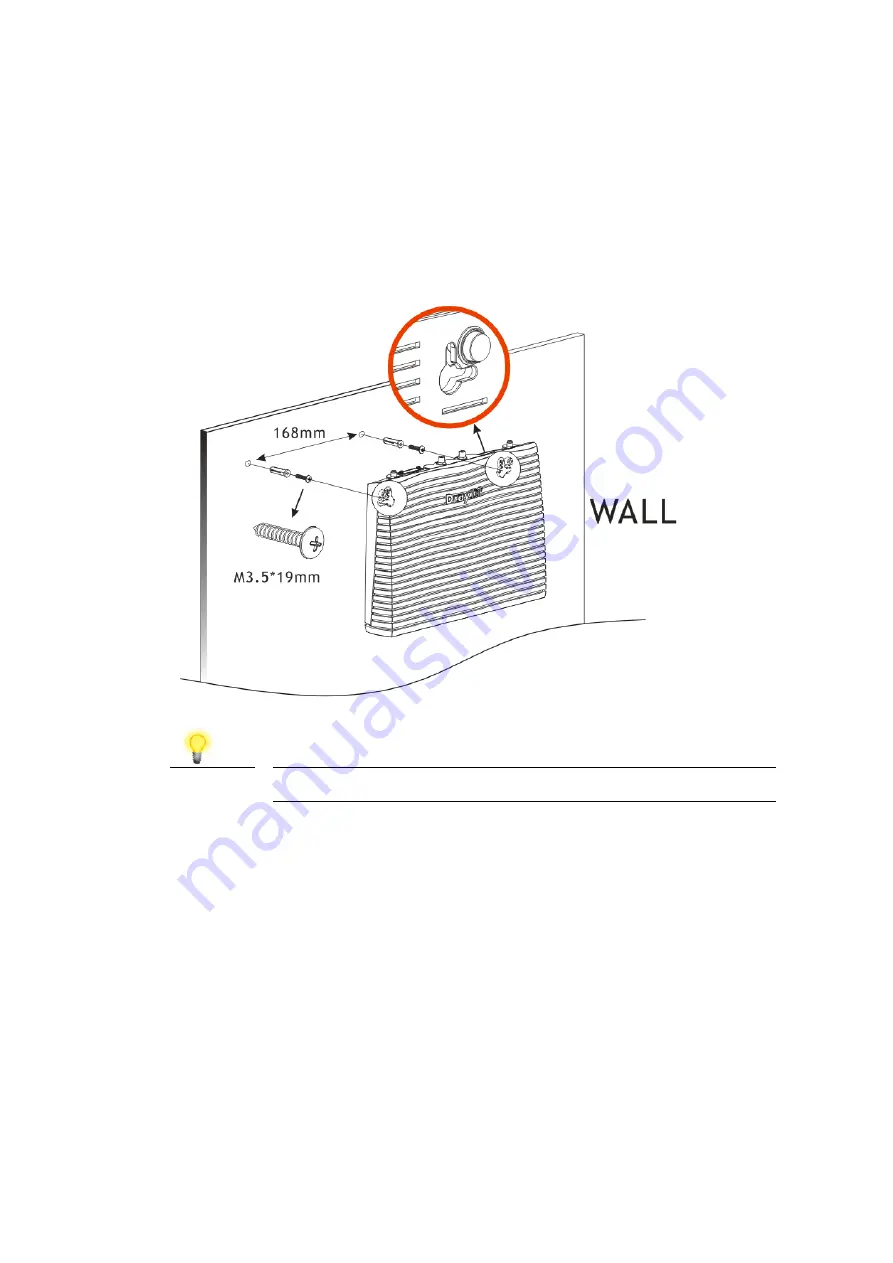
Vigor router has keyhole type mounting slots on the underside. 
1. Drill two holes on the wall. The distance between the holes shall be 

168mm.

2. Fit screws into the wall using the appropriate type of wall plug.

Note

The recommended drill diameter shall be 6.5mm (1/4”).

3. When you finished about procedure, the router has been mounted on the 

wall firmly.

9

Содержание Vigor2865ac

Страница 1: ...Vigor2866 Series G Fast Security Firewall Quick Start Guide for RF Model Version 1 2 Firmware Version V4 0 5 1 For future update please visit DrayTek web site i ...

Страница 2: ...Date April 28 2020 ii ...

Страница 3: ...on outdoor to prevent electronic shock hazards Keep the package out of reach of children When you want to dispose of the router please follow local regulations on conservation of the environment Warranty We warrant to the original end user purchaser that the router will be free from any defects in workmanship or materials for a period of two 2 years from the date of purchase from the dealer Please...

Страница 4: ...n County 338 Taiwan No 222 Sec 2 Nankan Rd Lujhu Township Taoyuan County 338 Taiwan No 222 Sec 2 Nankan Rd Lujhu Township Taoyuan County 338 Taiwan No 222 Sec 2 Nankan Rd Lujhu Township Taoyuan County 338 Taiwan No 5 Lane 83 Lung Sou St Taoyuan City 330 Taiwan No 5 Lane 83 Lung Sou St Taoyuan City 330 Taiwan No 5 Lane 83 Lung Sou St Taoyuan City 330 Taiwan No 5 Lane 83 Lung Sou St Taoyuan City 330...

Страница 5: ...help This device complies with Part 15 of the FCC Rules Operation is subject to the following two conditions 1 This device may not cause harmful interference and 2 This device may accept any interference received including interference that may cause undesired operation USA Local Representative Company name ABP International Inc Address 13988 Diplomat Drive Suite 180 Dallas TX 75234 ZIP Code 75234...

Страница 6: ...865FVac Vigor2866FVac 2 2 2 Vigor2865ac Vigor2866ac 4 3 Hardware Installation 8 3 1 Network Connection 8 3 2 Wall Mounted Installation 11 4 Software Configuration 12 4 1 Quick Start Wizard for Network Connection 12 5 Customer Service 20 Be a Registered Owner 20 Firmware Tools Updates 20 iv ...

Страница 7: ...ject to the real package or Vigor router Antenna RJ 45 to RJ 45 Cable Annex B RJ 11 to RJ 45 Cable Annex B RJ 11 to RJ 11 Cable Annex A Quick Start Guide The type of the power adapter depends on the country that the router will be installed The maximum power consumption is 28 Watts UK type Power Adapter EU type Power Adapter USA Taiwan type Power Adapter AU NZ type Power Adapter 1 ...

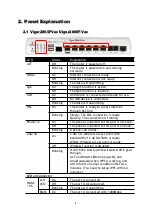
Страница 8: ...L link Blinking Slowly The DSL connection is ready Quickly The connection is training Phone1 2 On The phone connected to this port is off hook Off The phone connected to this port is on hook Blinking A phone call comes 2 4G 5G On 2 4G 5G Wireless access point with bandwidth of 2 4GHz 5GHz is ready WLAN Wireless access point is ready Off Wireless function is disabled Blinking It will blink slowly w...

Страница 9: ...G On and 5G Off pressed and released the button twice 2 4G Off and 5G Off pressed and released the button three times When WPS function is enabled by web user interface press this button for more than 2 seconds to wait for client s device making network connection through WPS Factory Reset Restore the default settings Usage Turn on the router ACT LED is blinking Press the hole and keep for more th...

Страница 10: ...DSL Connecter for accessing the Internet Connecter for installing WLAN antennas PWR Connecter for a power adapter ON OFF Power Switch 4 ...

Страница 11: ...on is ready Quickly The connection is training WCF On The Web Content Filter is active It is enabled from Firewall General Setup Off WCF is disabled 2 4G 5G On 2 4G 5G Wireless access point with bandwidth of 2 4GHz 5GHz is ready WLAN Wireless access point is ready Off Wireless function is disabled Blinking It will blink slowly while wireless traffic goes through ACT and WLAN LEDs blink quickly and...

Страница 12: ...pressed and released the button once 2 4G On and 5G Off pressed and released the button twice 2 4G Off and 5G Off pressed and released the button three times When WPS function is enabled by web user interface press this button for more than 2 seconds to wait for client s device making network connection through WPS Factory Reset Restore the default settings Usage Turn on the router ACT LED is blin...

Страница 13: ...DSL Connecter for accessing the Internet Connecter for installing WLAN antennas PWR Connecter for a power adapter ON OFF Power Switch 7 ...

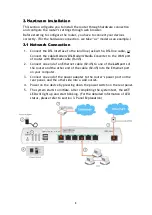
Страница 14: ...ct the cable Modem DSL Modem Media Converter to the WAN port of router with Ethernet cable RJ 45 2 Connect one end of an Ethernet cable RJ 45 to one of the LAN ports of the router and the other end of the cable RJ 45 into the Ethernet port on your computer 3 Connect one end of the power adapter to the router s power port on the rear panel and the other side into a wall outlet 4 Power on the device...

Страница 15: ...ots on the underside 1 Drill two holes on the wall The distance between the holes shall be 168mm 2 Fit screws into the wall using the appropriate type of wall plug Note The recommended drill diameter shall be 6 5mm 1 4 3 When you finished about procedure the router has been mounted on the wall firmly 9 ...

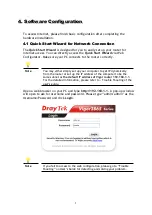
Страница 16: ...to the router correctly Note You may either simply set up your computer to get IP dynamically from the router or set up the IP address of the computer to be the same subnet as the default IP address of Vigor router 192 168 1 1 For the detailed information please refer to Trouble Shooting of the user s guide Open a web browser on your PC and type http 192 168 1 1 A pop up window will open to ask fo...

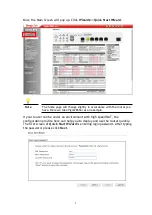
Страница 17: ... with the router you have Here we take Vigor2865ac as an example If your router can be under an environment with high speed NAT the configuration provide here can help you to deploy and use the router quickly The first screen of Quick Start Wizard is entering login password After typing the password please click Next 1 ...

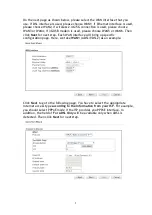
Страница 18: ...5 or WAN6 Then click Next for next step Each WAN interface will bring up specific configuration page Here we take WAN1 ADSL VDSL2 as an example Click Next to go to the following page You have to select the appropriate Internet access type according to the information from your ISP For example you should select PPPoE mode if the ISP provides you PPPoE interface In addition the field of For ADSL Onl...

Страница 19: ...PPPoE PPPoA PPPoE PPPoA 1 Choose WAN1 as WAN Interface and click the Next button you will get the following page 2 After finished the above settings simply click Next 1 ...

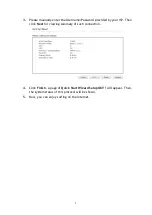
Страница 20: ...ord provided by your ISP Then click Next for viewing summary of such connection 4 Click Finish A page of Quick Start Wizard Setup OK will appear Then the system status of this protocol will be shown 5 Now you can enjoy surfing on the Internet 1 ...

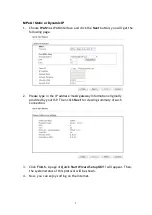
Страница 21: ...e following page 2 Please type in the IP address mask gateway information originally provided by your ISP Then click Next for viewing summary of such connection 3 Click Finish A page of Quick Start Wizard Setup OK will appear Then the system status of this protocol will be shown 4 Now you can enjoy surfing on the Internet 1 ...

Страница 22: ...upport draytek com Be Be a a Registered Registered Owner Owner Web registration is preferred You can register your Vigor router via http www draytek com Firmware Tools Firmware Tools Updates Updates Due to the continuous evolution of DrayTek technology all routers will be regularly upgraded Please consult the DrayTek web site for more information on newest firmware tools and documents http www dra...

Отзывы: