background image

Display Controls

Display Controls

12

13

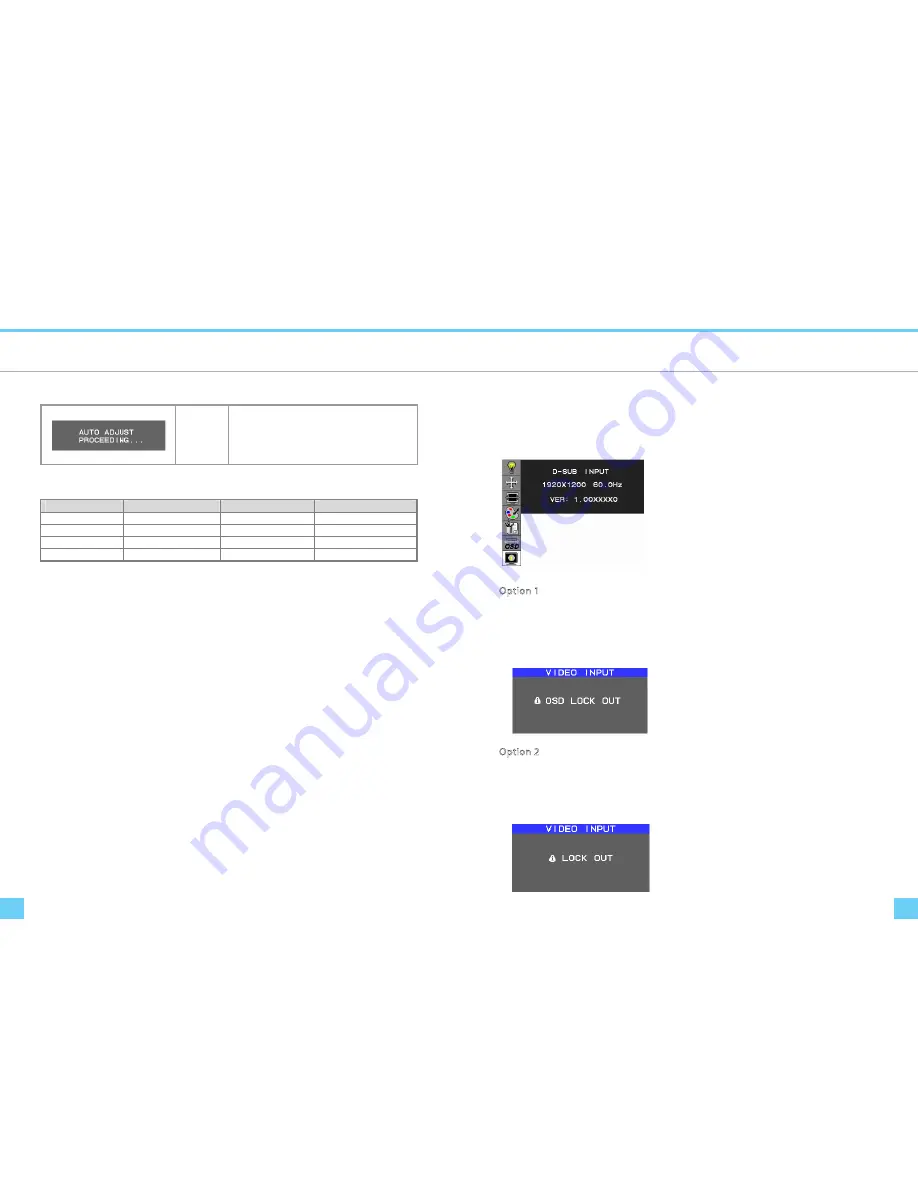
OSD Lock Out Function 

Function Description 


Auto Adjust 

(Analog Input 

Only) 

When the monitor is displayed for the first time and the 

resolution is 800x600 and above, the monitor will auto 

adjust itself. 

To manually execute the Auto Adjust function, press the 

Auto button. 


Target color coordinates 

Color Temp. 

9300K 

7500K 

sRGB 

u’ 

0.189 

0.194 

0.198 

v’ 

0.446 

0.459 

0.468 

0.283 

0.299 

0.313 

0.297 

0.315 

0.329 


OSD Lock Function allows you to lock out the OSD menu and the button keys. 

 
To activates the OSD lock function, the monitor must be in a normal display mode and the information menu as 

shown in fig-2-4 must be activated. Then follow the instructions below. 


  fig-2-4 


Option 1: OSD lock – all buttons be locked except the “POWER” button. 

 
Press “Exit Key + Menu Key + Soft power key” at same time 
 
The monitor will show an “OSD Lock Out” message, showing time as “OSD TURN OFF” setting, and the message be 

show again by any button, also any button exit this message, but “Power” button be turn off / on monitor. 

  Only repeat this step to unlock.   


Option 2: OSD & Power button lock – all buttons including “POWER” button be locked. 

 
Press “Exit Key + Menu Key + Up key” at same time 
 
The monitor will show an “OSD Lock Out” message, showing time as “OSD TURN OFF” setting, and the message be 

show again by any button, also any button exit this message, but “Power” button no action. 

  Only repeat this step to unlock. 


Содержание DoubleSight DS-263N

Страница 1: ...For the latest updates and more information visit our website at www doublesight com Part No 90 X DS26 3N EU EX03 M ade in Kore a DoubleSight DS 263N LCD MONITOR USER S MANUAL...

Страница 2: ...and 5 Connecting the Display 5 Connecting the AC Power 5 Setting Up the LCD Monitor 5 Power Management System 5 Display Controls 6 User Controls 6 Adjusting the Monitor s Display 7 Function Descriptio...

Страница 3: ...bythepartyresponsibleforcompliancecouldvoidyourauthoritytooperatetheequipment Thisdevicecomplieswithpart15FCCRules Operationissubjecttothefollowingtwoconditions 1 Thisdevicemaynotcause harmfulinterfer...

Страница 4: ...se you might be injured or the display could be damaged Note Whenyoutiltthemonitorpass40degrees youwillhearclickingnoise Tiltingpass40degreesbecomesharderthan tiltingwithin 40degrees Connecting the Di...

Страница 5: ...Menu Cursor Left Volume Press key center Item Enter Exit Push key right Hot Key Brightness Menu Cursor right Volume Push key down Hot Key Contrast Menu Cursor Down The monitor has four function contro...

Страница 6: ...ync frequency of internal pixel clock PHASE D SUB or DVI I Analog Input Only Adjust the value for improve display focus Color Temperature Choose different color temperature 9300K 7500K sRGB USER Defau...

Страница 7: ...ut resolution or refresh rate that the monitor cannot display If video signal is not at the proper timing when the monitor powers on or input signal is changed this message opens and it disappears aft...

Страница 8: ...nd the information menu as shown in fig 2 4 must be activated Then follow the instructions below fig 2 4 Option 1 OSD lock all buttons be locked except the POWER button Press Exit Key Menu Key Soft po...

Страница 9: ...USB 2 0 Self Powered 1 Link to PC 4 Link to Device Mode Power Consumption AC Input LED Color DPM ON 135W maximum 240 VAC Green DPM OFF 2W maximum 240 VAC Amber DC switch off 1W maximum 240 VAC Dark D...

Страница 10: ...864 3 13 32 80 1152x864 63 851 1480 1152 96 32 200 70Hz 70 012 912 864 3 1 44 94 499 1152x864 67 5 1600 1152 128 64 256 75Hz 75 900 864 2 2 32 108 1152x870 68 68 1456 1152 128 32 144 100 If the select...

Страница 11: ...play 4 Click No on Shut Down Windows and back to the normal PC operating environment If there s no picture on the LCD Monitor please perform the following steps 1 Make sure the power indicator on the...

Отзывы: