L SERIES IP CAMERA USER MANUAL
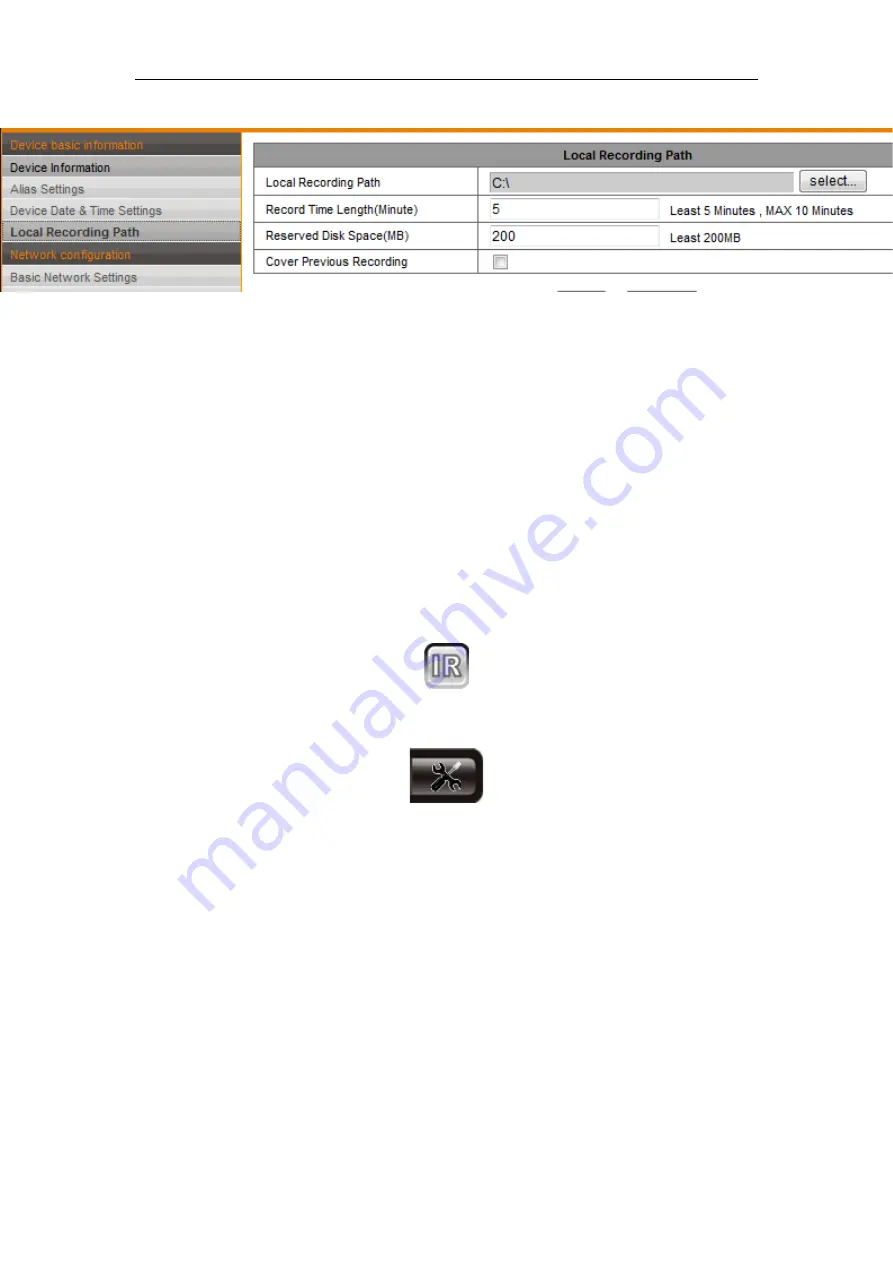
can set it in “Local Recording Path”, as figure 9.
Figure 9
2
)
Multipicture change button
If you add multi-devices in chapter 3.4.2 “multi-device setting”, it will connect other
device to display pictures automatically when changing to 4, 9 split screen. In playing
video area, you can select a picture to control audio, talk, record, snapshot and PTZ
control etc.
3
)
Viewing control area
You can control PTZ moving, picture reversal and mirror etc. when viewing video, and
can adjust picture parameters, includes resolution, brightness etc.
The camera supports 16 preset points, you can set one place as preset point when
moving the PTZ to a place, also can call the preset point when the camera move to
another place, so the camera can return to set place.
Note: button can control work mode of
IR LED. IR LED may have auto, forced
close two mode, the IR LED will power
on or off according to environment light
in auto mode; the IR LED always power off in forced close mode.
4
)
Setting device parameters
Click button to enter setting interface,
you can set all parameters of the
camera described in chapter 3.2 to
3.5. Only administrator can login to set these parameters.
3.2 Device information
3.2.1
Device status
The user can obtain “Device firmware version”,” Web UI version”, “Alias”, “AP MAC” etc.
3.2.2
Device alias setting
The user can name the camera, example for home, office etc.
3.2.3
Device date and time setting
You can enable “Sync with NTP Server” when the device was connected to WAN, but
need to select correct time zone where the camera is located, otherwise need to select“
Sync with PC time”.
10


