background image

Rotate the Data Wheel until the Display shows  

0

.  Press the Tone/Gate button again and the LED next to Low Mid

flashes. Rotate the Data Wheel until the Display shows  

0

.Press the Tone/Gate button again and the Bass LED will

flash. Rotate the Data Wheel until the Display shows  

6

.  Press the Tone/Gate button one more time and the Gate

LED flashes. Rotate the Data Wheel until the Display shows  

3

.   

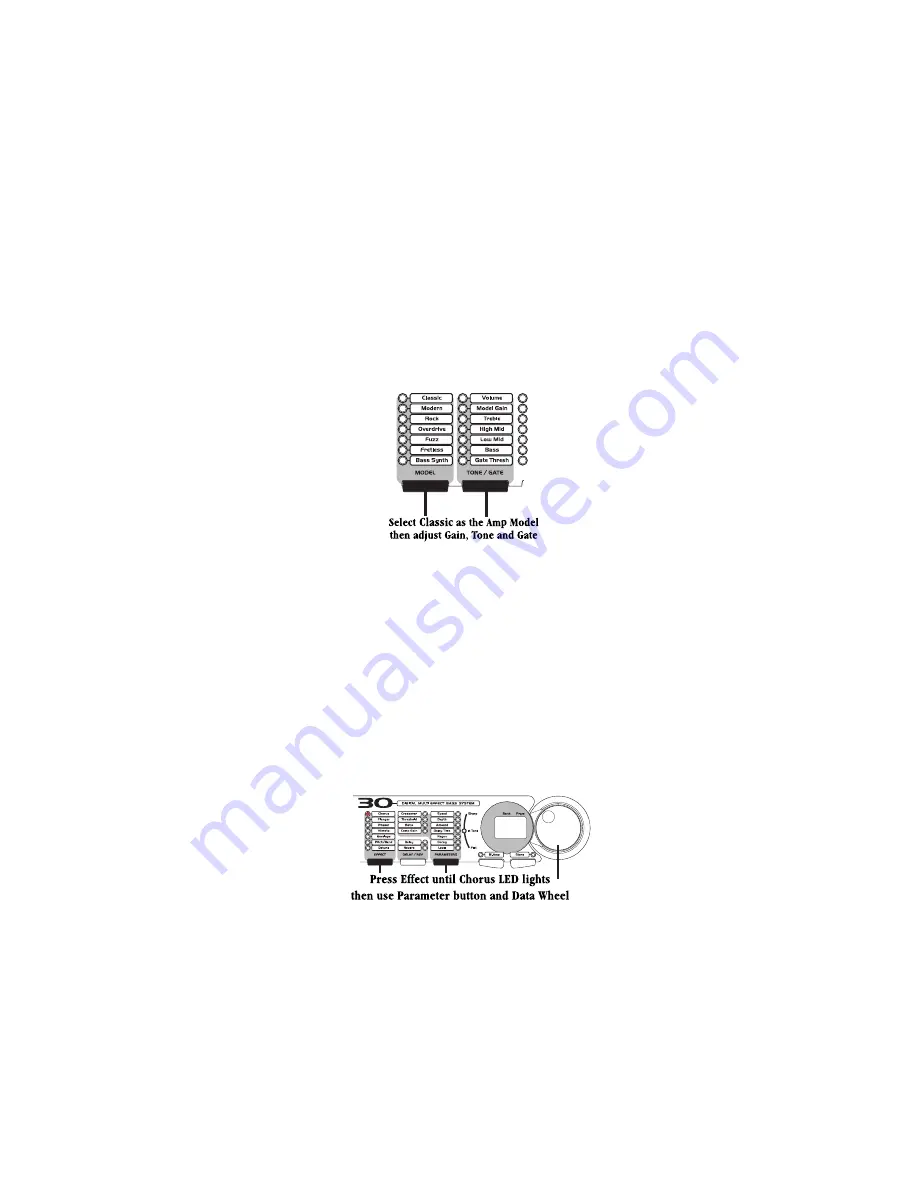
Step 6 Select the Chorus Effect -

Press the Effect button until the LED next to Chorus is flashing. If the Chorus

is bypassed (indicated by two dashes  

--

in the Display), rotate the Data Wheel until the Display shows  

on

.

You will notice that the Parameter LEDs next to the words “Speed,” “Depth,” and “Level” are now lit. This
indicates that these three Parameters are associated with the Chorus, and available for adjustment. Press the
Parameter Edit button once and the Speed LED will begin to flash indicating that you are about to edit the Chorus
Speed. The Display will show the current value for the Chorus Speed. Since our sample Preset calls for a slow
medium Chorus, use the Data Wheel to set the Speed value to  

5

.  Press the Parameter button again and the Depth

LED flashes. Rotate the Data Wheel until the Display shows  

10

.  Press the Parameter button again and the Level

LED flashes. Rotate the Data Wheel until the Display shows  

50

.  

28

Содержание Bass30

Страница 1: ......

Страница 2: ...r Sources The appliance should be connected to a power supply only of the type described in the operating instructions or as marked on the appliance Grounding or Polarization Precautions should be tak...

Страница 3: ...ications Safety EN 60065 1993 IEC65 1985 with Amendments 1 2 3 EMC EN 55013 1990 EN 55020 1991 Supplementary Information The product herewith complies with the requirements of the Low voltage directiv...

Страница 4: ...eel 8 Footswitches 9 Accessing the Tuner 10 Jam A Long 11 Section Three Editing a Preset 12 User Interface 12 Expression Pedal 15 Storing Copying 17 Section Four Effect Definitions 18 Compressor Limit...

Страница 5: ...manual is your guide to getting the most out of your Bass30 Please read it carefully to get familiar with the controls of the Bass30 This will ensure years of musical satisfaction Included Items Your...

Страница 6: ...e access to the Bass30 user presets They are also used to bypass the Bass30 access the Tuner and perform various functions for the Phrase Sampler 2 Bank Footswitches These two switches are used to adv...

Страница 7: ...er LEDs will light indicating they are available for editing The Parameters are selected by using the button at the bottom of the Parameter columns Successive presses of the Parameter button will adva...

Страница 8: ...being edited In Tuner mode the display will show the note played 8 Store After editing a Preset your modifications must be stored if you want the Bass30 to remember the changes that you made When you...

Страница 9: ...e Bass30 D Left Output Connect from this jack to the input of your amplifier for mono applications or to the left channel of a stereo power amp for stereo applications or to the power amp driving the...

Страница 10: ...nto the Bass30 and cannot be changed The User Presets can be overwritten with your sound creations as many times as you choose Making Connections The Bass30 can be run in mono stereo or bi amp configu...

Страница 11: ...he right output to the power amp driving the high frequency speakers 3 Set the tone controls of the amplifier s or mixing console to the flat position If you are running stereo into a mixer set the pa...

Страница 12: ...e arranged in 10 Banks with 3 Presets in each bank The User Presets are indicated by a decimal point in the bottom right corner of the Display The Factory Presets do not have the decimal point Data Wh...

Страница 13: ...Bank and Preset Once you have selected the desired Bank simply use the numbered footswitches to select one of the three possible Presets For instance if you want to access User Preset 63 press the Ba...

Страница 14: ...rp or flat Your note is in tune when the In Tune LED is lit The LEDs above the In Tune LED indicate that you are sharp and need to tune down The LEDs below the In Tune LED indicate that you are flat a...

Страница 15: ...of your tape or CD player to the Jam A Long input on the rear panel of the Bass30 using a 1 8 stereo cable Both the recording and your bass signal will feed into your amplifier allowing you to Jam A...

Страница 16: ...ot possible to start with a blank Preset Once you have selected a Preset as your starting point you can select the effect type that you want and then fine tune the Parameters of the effects User Inter...

Страница 17: ...a time can be controlled by the Expression Pedal Successive presses of this button will allow you to edit the range of the Expression Pedal See page 15 for more information on assigning the Expression...

Страница 18: ...flashing LED Successive presses of the Delay Reverb button will toggle between the two effects The status of the selected effect and the current type of Delay and Reverb are shown in the Display Rota...

Страница 19: ...t or change the value of the selected Parameter Expression Pedal Assignments The Bass30 allows you to assign the Expression Pedal to control various Parameters in real time Only one Parameter at a tim...

Страница 20: ...up and the value currently assigned Rotate the Data Wheel to select the value that the Expression Pedal will reach in the toe up position 4 Press the Expression button a third time to set the toe dow...

Страница 21: ...and the User LED lights The flashing LED is asking you to select the Preset location where your changes will be stored 2 Use the Data Wheel to select the User Bank and Preset location for this new sou...

Страница 22: ...he Expression Pedal AutoWah is a Wah effect which is automatically controlled based on how hard you play The Bass30 includes 3 types of Wah 1 Classic Wah 2 Treble Wah 3 Bass Wah and 6 types of AutoWah...

Страница 23: ...eforms include rectangle r1 r2 and r3 triangle t1 t2 and t3 saw tooth S1 S2 and S3 and pulse width P1 P2 and P3 Two dashes indicate that the Bass Synth is bypassed Variation 1 is an upward sweeping en...

Страница 24: ...delay to one of the signals then changing the delay time at an even rate and mixing it back with the original This results in a slight fluctuation in pitch of the delayed signal giving the thickness...

Страница 25: ...w with no dry signal 4 a fourth above with no dry signal 5 a fifth above with no dry signal 1u one octave up with no dry signal 24 a second above to a fourth above with dry signal and 34 a third above...

Страница 26: ...eviously recorded phrase Pressing the Play Preset 3 Footswitch will start the Sample from the beginning The Expression Pedal will control the number of times that the phrase will repeat when assigned...

Страница 27: ...fects Crossover The Compression Crossover Parameter determines the range of frequencies which will be compressed Frequencies above the selected range will pass through uncompressed Crossover ranges fr...

Страница 28: ...es the Amount parameter to control the percentage of duty cycle for pulse width wave forms See the description of these effects for their Parameter ranges Delay Time The Delay Time adjusts the length...

Страница 29: ...rossover frequency has been selected for editing and the Display will show the current Crossover frequency Rotate the Data Wheel to select the desired frequency for separation All frequencies below th...

Страница 30: ...ntil the Display shows co indicating the compressor is active Press the Parameters button once to access the Compression Parameters The LED next to Crossover will blink indicating that the Compressors...

Страница 31: ...lected Amp Model will begin to flash Continue to press the Model button until the LED next to Classic is lit If the Amp Guitar Modeling is bypassed indicated by two dashes in the Display rotate the Da...

Страница 32: ...ate the Data Wheel until the Display shows on You will notice that the Parameter LEDs next to the words Speed Depth and Level are now lit This indicates that these three Parameters are associated with...

Страница 33: ...erb adjustment Press the Parameter button and the Decay LED will flash Rotate the Data Wheel until the Display shows 60 Press the Parameter button again and the Level LED will flash Rotate the Data Wh...

Страница 34: ...display shows rS indicating it has reset After the reset has occurred The Bass30 will ask you to calibrate the Expression Pedal The Display will read tu toe up Rock the expression pedal back to the t...

Страница 35: ...ion Pedal forward to the toe down position and press the flashing number 3 Footswitch The expression pedal is now calibrated for use with all presets If an er shows in the Display an error has occurre...

Страница 36: ...company shall not be responsible for any consequential damage as a result of the products use in any circuit or assembly 4 Proof of date of purchase is considered to be the burden of the consumer 5 D...

Страница 37: ...it Power Supply 10 volts AC 780 mA PS750 Power Consumption 5 5 watts Memory 30 user 30 factory Effects Frequency Selective Fully Programmable Compression 5 Amp Models 5 Fretless Bass and 12 Bass Synth...

Страница 38: ...Manufactured in the USA Bass30 Owners Manual 18 6329 A Please visit DOD on the World Wide Web at http www dod com DOD Electronics Corporation 8760 S Sandy Parkway Sandy Utah 84070 PH 801 566 8800 FAX...

Отзывы: