background image


12 


confirmed, press EXIT to exit the Menu.


4.6.2 Restore Factory Default 

Reset  your  Set  Top  Box  to  the  Default  Factory  Settings.  In  Main  Menu  select 
[Restore Factory Default] and press OK or RIGHT to select. Enter your password 
or the default password '000000' and press OK to confirm. This option will delete 
all preset channels and settings. 
 

4.6.3 Information 

View model, hardware and software information. 
 

4.6.4 Recall List 

Enable  or  disable  Recall  list  function,  which  support  multi-recall  -program 
switching. 


4.6.5 Software update 

Select to start software update if USB is connecting and there's an upgrading file. 
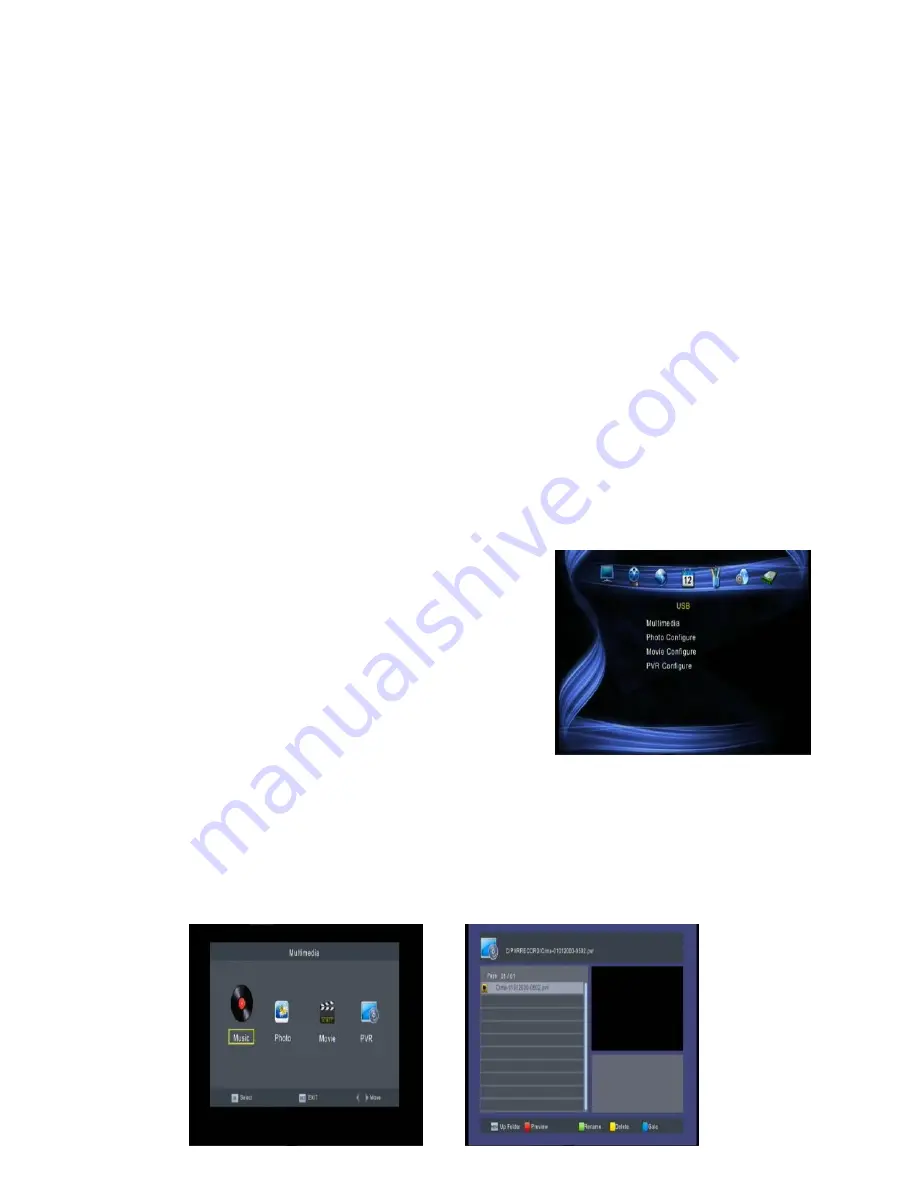


4.7 USB 

To access the Menu, press the MENU button and 
select  [USB].  The  menu  provides  options  to 
playback  Music  and  Photo  files,  it  can  support 
MP3,  WMA,  JPEG,  BMP  files,  the  unit  will  only 
support  USB  device  with  FAT  and  FAT32  file 
system. It will not support NTFS file system.       


4.7.1 Multimedia


if no USB device plugged into it, a warning message "No USB Device is Found" 
displays,  otherwise  you  can  select  the  Music  or  Photo  type  in  this  menu  and 
press OK to enter the file browser and select the file to playback 


Содержание satBox-mini S7030PVR

Страница 1: ...S7030PVR User Manual...

Страница 2: ...ng is required when the apparatus has been damaged in any way such as power supply cord or plug is damaged liquid has been spilled or objects have fallen into the apparatus the apparatus has been expo...

Страница 3: ...may be malfunction and need to reset by user WARNING The USB memory stick should be plugged in the unit directly USB extension cable should not be used to avoid failing of data transferring and inter...

Страница 4: ...7 4 1 3 Sort 7 4 2 Video Setting 7 4 2 1 Aspect Ratio 7 4 2 2 Resolution 8 4 2 3 TV format 8 4 3 Channel Search 8 4 3 1 Satellite 8 4 3 2 Transponder 10 4 4 Time Setting 11 4 5 Option 11 4 6 System 11...

Страница 5: ...LNB to receive the signal 3 RS232 For data transport 4 IR Used to connect the remote Sensor 5 HDMI This socket connects to HDMI in device 6 AV composite video and Audio L R 7 DC IN 12V Used to connect...

Страница 6: ...ing media play 14 PLAY Starts or resumes media play 15 STOP Stops media play 16 STANDBY Switch the product to on or standby 17 VCR switch TV VCR 18 Audio Selects an Audio Language or Audio Mode 19 0 9...

Страница 7: ...the front of the infrared sensor The remote control has a range of up to 7 meters from the infrared sensor at an angle of up to 60 degrees The remote control will not operate if its path is blocked Su...

Страница 8: ...r button to switch receiver on If you are using the receiver for the first time or restored to factory default the main menu will appear on your TV screen 1 Select OSD Language and press RIGHT LEFT ke...

Страница 9: ...ram 1 Press the favourite button and the favourite menu will appear 2 Press UP DOWN to select your favourite programs 3 Press OK to select your favourite program Delete a TV or Radio Program 1 Select...

Страница 10: ...n on the remote control to access the guide You can use the UP DOWN key to select the preferred program If there is more than one page of information use the BLUE button for page up and the YELLOW but...

Страница 11: ...channel settings Select an option and press RIGHT LEFT to adjust the settings Press EXIT to exit the menu 4 3 1 Satellite Configure the settings of satellites Satellites list Press Up Down to select...

Страница 12: ...d to add a new satellite in which you must input a unique longitude and edit the satellite s name with soft keyboard Edit satellites Press Green to edit the selected satellite Delete satellite Press Y...

Страница 13: ...Red to add a new transponder It can t save an existing TP under the same satellite Edit transponder Press Green to edit the selected transponder It can t save an existing TP under the same satellite D...

Страница 14: ...s this Menu press MENU and select Option The menu provides options to adjust the OSD Language Subtitle Language and Audio Language Select an option and press RIGHT LEFT to adjust the setting Press EXI...

Страница 15: ...n which support multi recall program switching 4 6 5 Software update Select to start software update if USB is connecting and there s an upgrading file 4 7 USB To access the Menu press the MENU button...

Страница 16: ...btitle in grey background Yellow green Displays the subtitle in yellow green background Subtitle Font Color Red Displays Subtitle in red font Blue Displays Subtitle in blue font Green Displays Subtitl...

Страница 17: ...ound Switch on the correct volume control Incorrect sound track Try another sound track Only sound no image on the screen No or incorrect connection with AV cable Connect the audio cable correctly The...

Страница 18: ...tions LNB IN F connector USB USB 2 0 IR Extender Receive the signal for the RC HDMI Connects to HDMI in device Power Input 100 240V 50 60Hz Consumption Max 10W Display Decoder Module PAL NTSC Resoluti...

Страница 19: ...16...

Отзывы: