Chapter 10
62
Using Closed Captioning
U
SING
C
LOSED
C
APTIONING
The receiver supports a variety of closed captioning formats. If turned on in the receiver,
closed captioning is displayed by the receiver through the HDTV Digital Audio/Video and
YPbPr outputs for each format.
The TV SET OUT, RCA video, and S-VIDEO receiver outputs provide closed captioning
information in the audio/video signal. However a closed-captioning compatible TV is
required to decode and display the captioning information the screen. Standard definition
display of closed captioning is a function of the TV and not the receiver. Refer to your TV
manual for enabling and setting up these closed captioning options.
Note
: While the Program Guide information might show "CC" for a program, closed
captioning information is provided by programmers and guide data providers to Dish
Network. Therefore, while best efforts are made to provide the most accurate information,
DISH Network is not ultimately responsible for the accuracy of Program Guide and Closed
Captioning information provided by others.
1
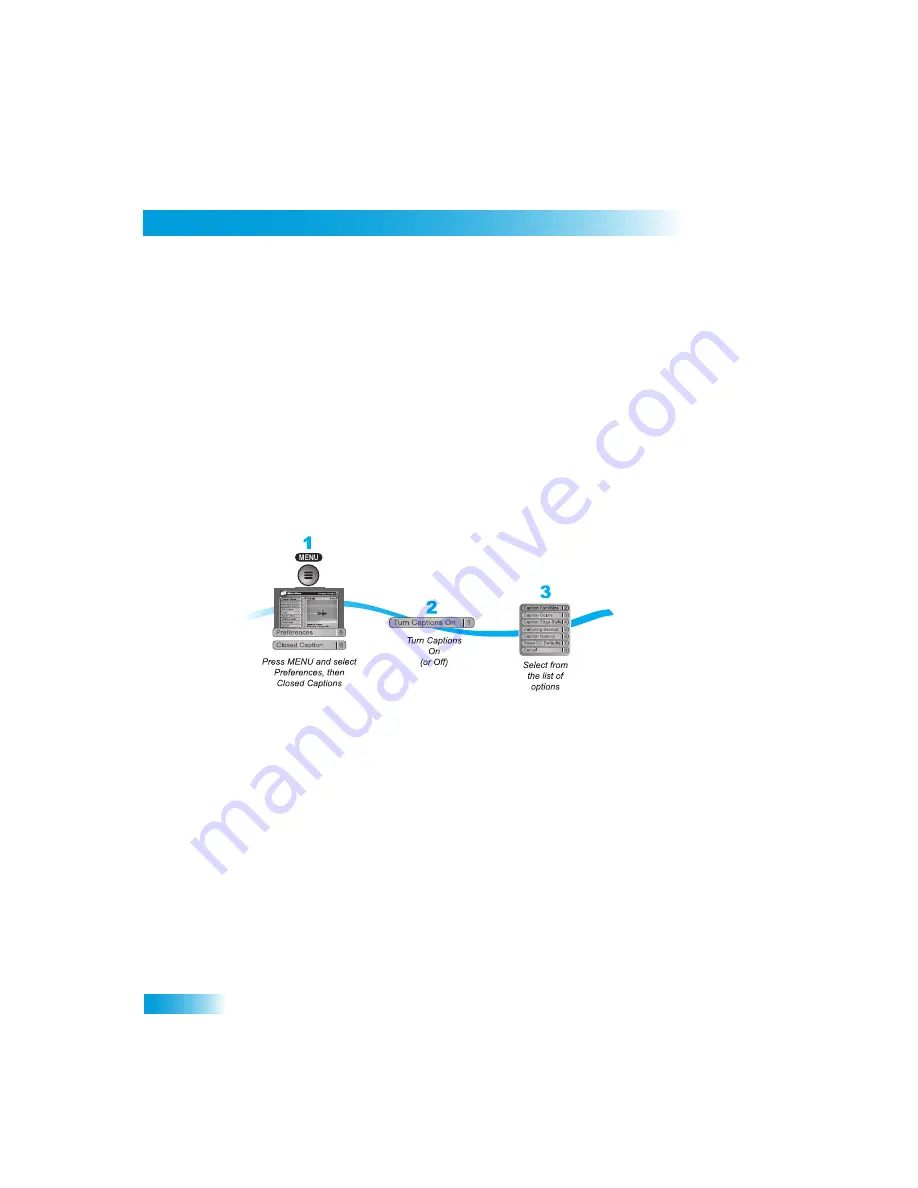
Press MENU, select Preferences (8), and then Closed Captions (6).
2
Select Turn Captions On. The option will change to read Turn Captions Off.
3
Select your options:
•
Caption Font/Size
- Select the font and size that makes the captioning comfortable to
read. When finished making changes, select Done.
•
Caption Colors
- Sets the background, letter, and edge colors. Choose the color
combinations that makes the captioning easy to see. When finished making changes,
select Done.
•
Caption Edge Style
- Sets the edge style of the closed captioning text. When finished
making changes, select Done.
•
Captioning Service
- Selects the service you want to use. When finished making
changes, select Done.
•
Caption Opacity
- Choose from Provider, Transparent (see-through), Translucent
(semi-see-through), Solid, and Flashing. When finished making changes, select Done.
•
Reset CC Defaults
.
Содержание DISH411
Страница 10: ...Chapter 10 68 Questions Notes...


