background image

Important Safety Information

WARNING:  

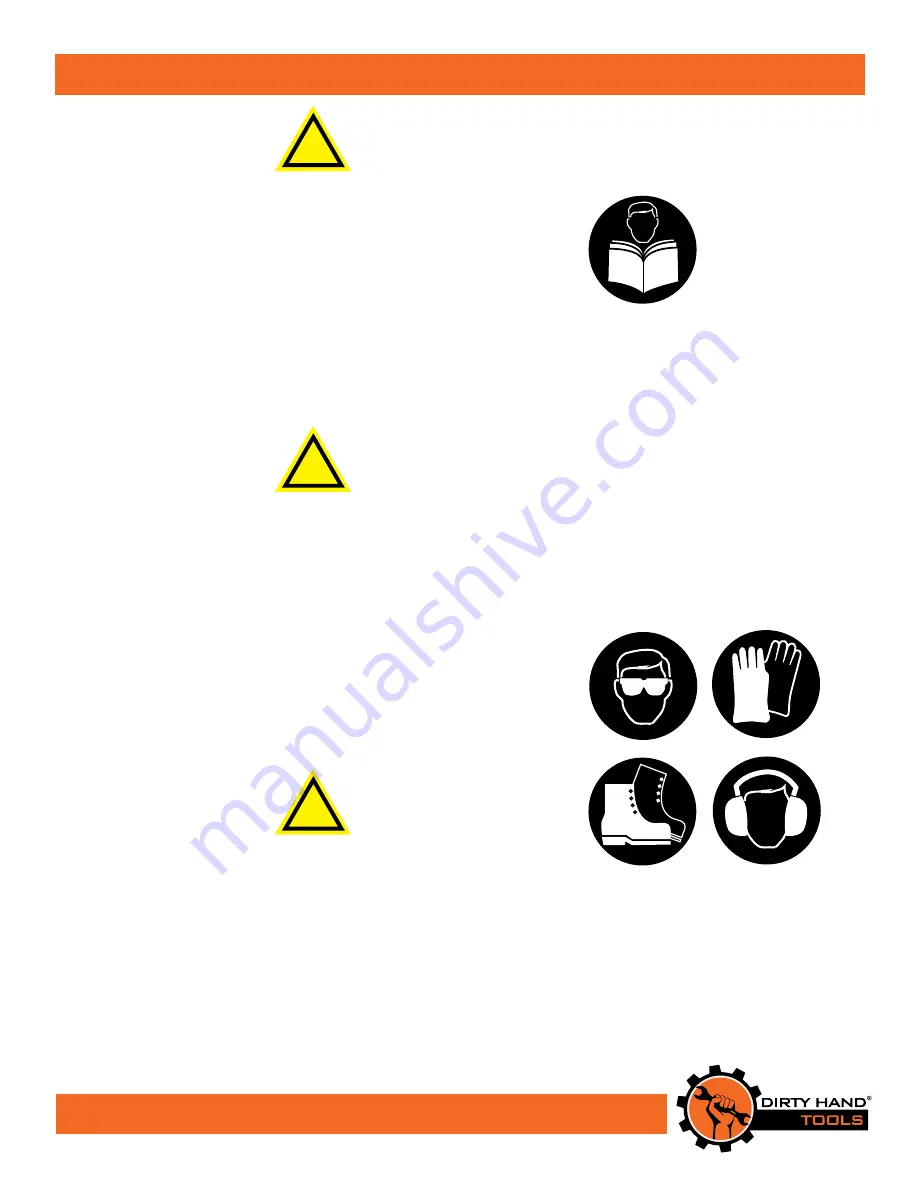
Read and thoroughly understand all instructions 

and safety information before assembling or operating this brush 

mower. Failure to do so may cause serious injury or death. Do 

not allow anyone to operate this brush mower who has not read 

this manual. As with all power equipment, a  brush mower can 

be dangerous if assembled or used improperly. Do not operate 

this brush mower if you have doubts or questions concerning safe 

operation. 
Call our customer service department at 

720-287-5182,  

1-877-487-8275, 

 or visit


www.dirtyhandtools.com

 if you have any 

questions or concerns about the safe operation of this equipment.

Intended Use

Do Not Use the brush mower for any purpose other than for which 

it was designed. Any other use is unauthorized and may result in 

serious injury or death.

Personal Protective Equipment

When operating this brush mower it is essential that you wear 

safety gear including goggles or safety glasses, adequate clothing 

and tight fitting gloves (no loose cuffs or draw strings). Always 

wear ear plugs or sound deafening headphones to protect against 

hearing loss when operating this brush mower. Always wear 

sturdy footwear. Never wear sandals, sneakers or open shoes, and 

never operate the brush mower with bare feet. Do not wear loose 

clothing that might get caught in moving parts.

Whenever you leave the operating position to make adjustments 

or if you have to remove grass or debris from the underside of the 

mower deck, always shut off the engine and wait five (5) minutes 

to allow parts to cool. 

Remove the key or disconnect the spark 

plug wire and keep the wire away from the spark plug to prevent 

accidental starting.

CALIFORNIA PROPOSITION 65 WARNING

Engine exhaust, some of its constituents and certain product com-

ponents contain or emit chemicals known to the state of California 

to cause cancer and birth defects or other reproductive harm.

4

!

WARNING

!

DANGER

!

CAUTION

Содержание 106717

Страница 1: ...his safety alert symbol identifies important safety messages in this manual Failure to follow this important safety information may result in serious injury or death MODELS 106717 and 106922 Operation...

Страница 2: ...1100 W 120th Ave Suite 600 Westminster CO 80234 720 287 5182 For Service or Questions Call 1 877 487 8275 720 287 5182 www dirtyhandtools com Dirty Hand Tools is a brand of...

Страница 3: ...g the Battery 11 Connecting to a Tow Vehicle 12 Filling with Gasoline and Oil 13 Operation 14 Starting the Engine 14 Stopping the Engine 15 Engaging the Blades 15 Adjusting the Mower Deck Height 16 Of...

Страница 4: ...this brush mower it is essential that you wear safety gear including goggles or safety glasses adequate clothing and tight fitting gloves no loose cuffs or draw strings Always wear ear plugs or sound...

Страница 5: ...not tow the brush mower on public roads or highways The maximum towing speed is 10mph CAREFULLY INSPECT THE AREA TO BE TRIMMED AND REMOVE ALL FOREIGN OBJECTS Stop the brush mower from operating when c...

Страница 6: ...decals are attached and in readable condition Replace missing or defaced decals Contact Dirty Hand Tools at 1 877 487 8275 for replacement decals WEAR PROTECTIVE FOOTWARE WEAR PROTECTIVE CLOTHING WEAR...

Страница 7: ...the exception of the tongue remote control push bar height adjusters and cable The remote control can be mounted on the tongue of the mower or on the towing vehicle within the reach of the 5 foot cabl...

Страница 8: ...Brush Mower Tongue Remote Control and Cable Operation Manual Engine Operation Manual Hardware Kit Wear gloves and use caution when handling the deck The blades are extremely sharp and may move as you...

Страница 9: ...above the tongue and then twist the handle 90 so the bottom spring pin rests on top of the tongue see Figure 3 3 Place the tongue over the pivot pin and install the collar and the tongue retaining pi...

Страница 10: ...gth There is approximately four feet of extra cable length beyond the end of the tongue which permits attachment to an ATV small tractor or similar vehicle 4 For a permanent mounting drill four holes...

Страница 11: ...the electrical system and cause a fire Never lift or carry the battery by the cables or terminals This can damage the battery and possibly start a fire resulting in serious injury Lift and carry the b...

Страница 12: ...nuts tighten securely see Figure 7 The hitch bar and clevis can be inverted for tractors with higher hitches 3 If using the ball coupler adjust the height of the hitch to ensure the tongue is paralle...

Страница 13: ...a time rechecking the dipstick until the oil reaches the fill mark Be careful not to overfill 3 Fill the fuel tank with fresh unleaded gas min 85 Octane to 1 4 from the top of the fill neck to allow f...

Страница 14: ...engaged position Starting the Engine Electric Starting 1 Push the blade control knob down to disengage the blades 2 When starting a cold engine push the throttle control lever up to the RUN position W...

Страница 15: ...at prevents it from vibrating loose during operation To remove the key push it in and then quickly and firmly pull it out If the key becomes difficult to remove apply a non conductive lubricant into t...

Страница 16: ...are at the same notch for both sides When the cutting height is adjusted the hitch height may require adjustment also to keep the brush mower parallel with the ground Offset Mowing 1 Remove the tongu...

Страница 17: ...ours of Use Check engine oil level X Clean engine exterior cooling fins and X remove debris Cleaning the engine top during use is critical for proper air flow Check general equipment condition X inclu...

Страница 18: ...tergent several times Rinse Squeeze out excess water and allow it to dry completely Soak the filter in lightweight oil briefly then squeeze out the excess oil 4 Install a new air filter or reinstall t...

Страница 19: ...best accessed from the rear of the machine through the opening made by taking off the two rear covers 7 Using a 13mm wrench remove the top nut from the belt tension spring mounting stud see Figure 17...

Страница 20: ...ead and the jam nut followed by the swing blade 2 Reinstall the sharpened or a new swing blade in the orientation shown see Figure 18 3 Install the jam nut until it just touches the blade carrier usin...

Страница 21: ...w the recommen dations listed to ensure your battery s best performance 1 Do not allow the battery charge to get too low If the machine is not used charge the battery every 4 6 weeks Operate the engin...

Страница 22: ...ckle charger If you do not use your machine for at least 45 minutes at a time the battery may need to be periodically charged See the Battery Care section for instructions If the engine still will not...

Страница 23: ...oose A swing blade may be loose on the blade carrier Turn the engine off remove the key and detach the spark plug wire from the spark plug Tighten all of the swing blade mounting hardware Use caution...

Страница 24: ...EPA CARB Approved EPA CARB Approved Engine Fuel Capacity 2 5 gallons 2 5 gallons Remote Control Key throttle blade control with 5 ft cord Key throttle blade control with 5 ft cord Cutting Width 46 in...

Отзывы: