3
Quick Setup
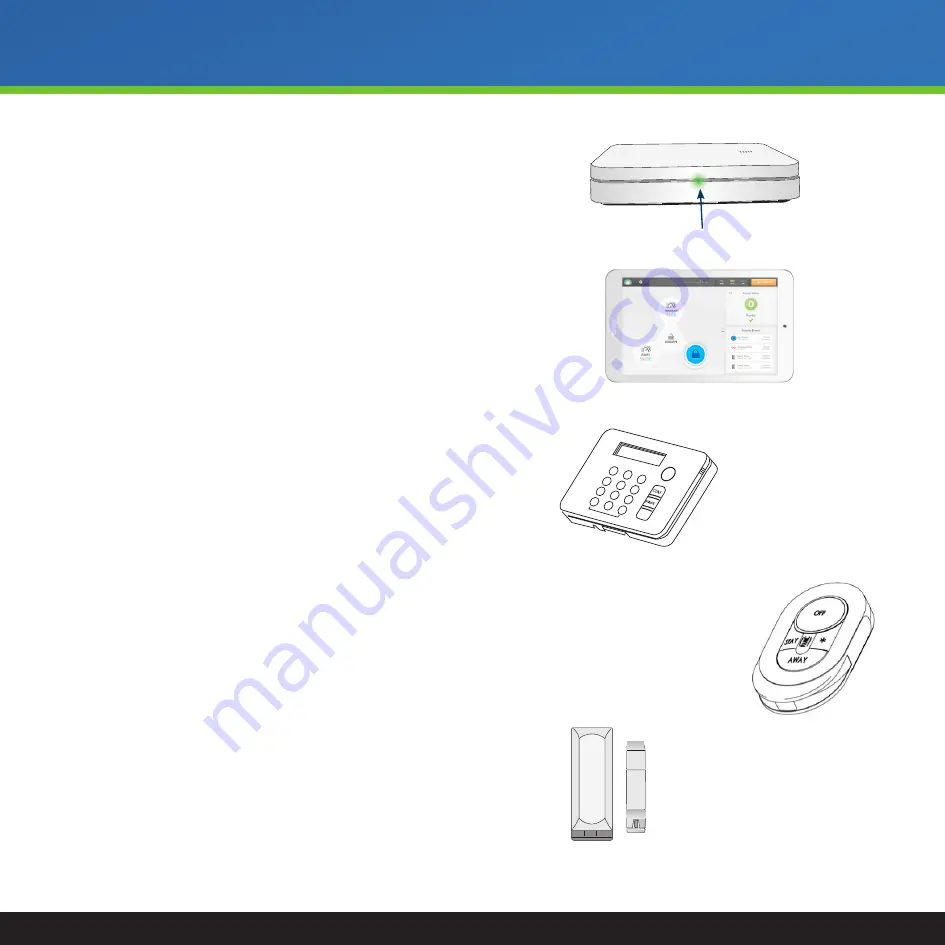
Connect Base
1)
Plug the Base into power
a)
The Base will take a few minutes to boot up. Be patient.
b)
Proceed to the next step when the LED on the front of the Base is solid green
or flashing green/yellow
2)
Unplug Your Old Base and Console/Handset from power and remove the backup batteries
Having Trouble? See Page 4, Step 3
Security Touchpad
1)
Plug the Touchpad into a power outlet
a)
Keep the Security Touchpad plugged in as much as possible to avoid having
the device lose power.
2)
Power on your Touchpad
3)
Enter your base’s Wi-Fi settings which can be found on the bottom of your base unit
4)
Enter your Master Code (if prompted) and you will arrive at the main dashboard screen
Entry Keypad
1)
Remove the back by lifting on the snap
2)
Pull out the plastic battery tabs, making sure the batteries remain in place
3)
Replace the back by inserting top tabs before snapping back into place
4)
Plug the Power Cord into the back of the Keypad, then into a power outlet
5)
Enter activation code *438#700.
a)
The screen will read “Registration successful” when complete
Keychain Remote
You need to first start by deleting the old Keychain Remote(s). To do this, please follow the steps below:
1)
Go to Settings
Users
Select the User from the middle menu
Click the “Remove” button next to the word
Keychain. (follow this process for all the users that have a Keychain Remote)
Next you can add the new Keychain Remote to the appropriate user(s)
1)
Go to Settings
Users
Select the User from the middle menu
Click the “Add” button next to the word
Keychain and follow the steps on the screen to complete the add process
Sensors Provided
We recommend upgrading your entire system with the sensors provided.
For more detail on how to delete and replace with the upgraded sensors please
continue to page 6.
Base
LED Status Light
INST
OFF
1
2
3
4
5
6
7
8
9
#
0
*
Entry
Keypad
Sensor
Keychain
Remote
Security Touchpad


