


Adding system components
9
7. Test the VCR control feature as described below.
8. Remove the temporary mounting tape. Attach the emitter permanently with
peel-and-stick backing. This will not interfere with normal VCR operation.
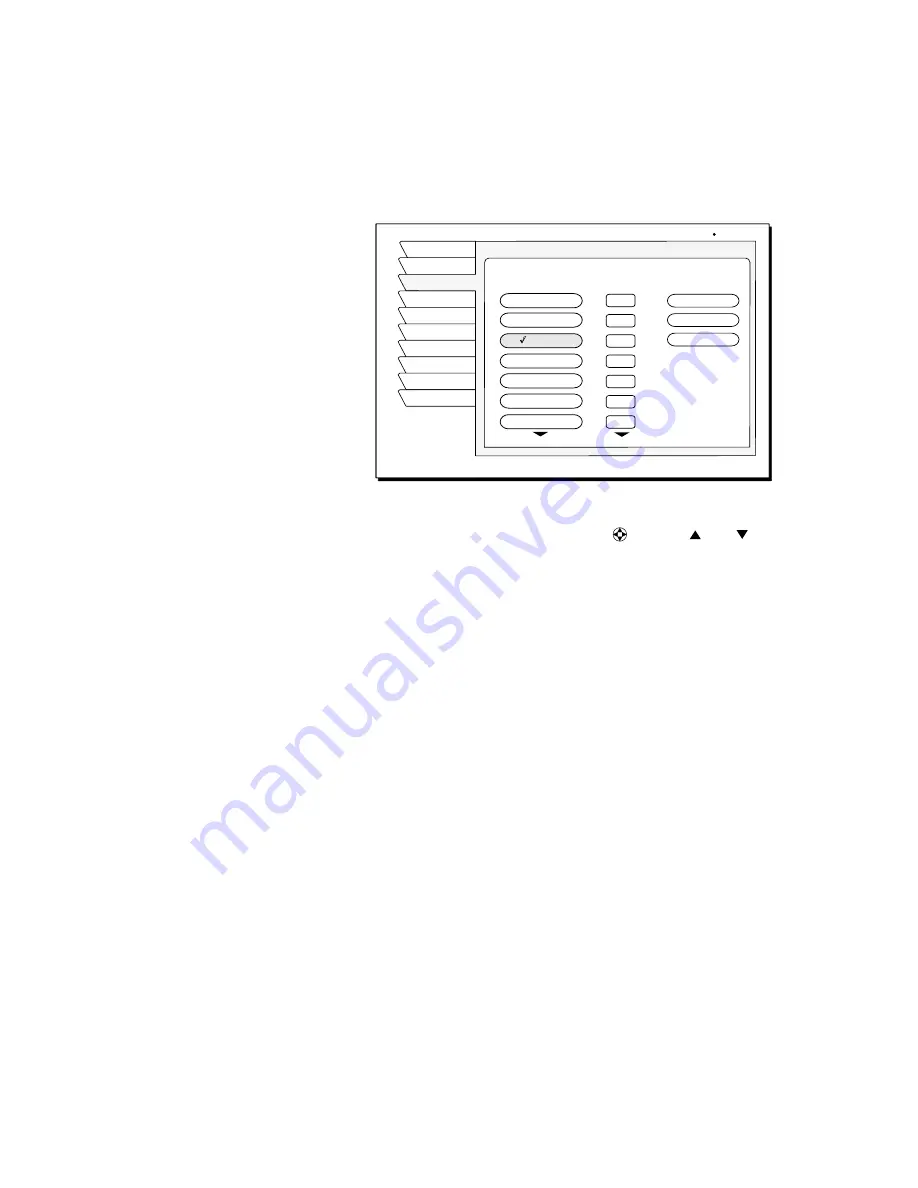
The
VCR SETUP
menu provides the settings to allow the DIRECTV
®
Receiver to communicate with your VCR.
9. Scroll through the VCR brands using the
joystick
and buttons.
If you cannot find the correct code listed for your brand of VCR brand, try
related brands that use the same code. Also, your VCR may respond to
multiple codes.
10. Use the remote control
SELECT
button to try each code.
11. Alternate between this procedure and testing the code.
Test the VCR
(Record/Stop)
This Record/Stop test verifies the specified brand and code controls your VCR.
Before starting the test:
•
Turn the VCR power on.
•
Verify the VCR Control Cable is properly connected.
•
Insert a recordable videotape into the VCR.
Signals coming from the
remote control at the same
time as signals coming from
the VCR Control cable may
provide unreliable test results.
Use the DIRECTV Receiver
front panel
controls, rather than the remote control,
to test the codes.
Test the VCR
record
and
stop
commands, If either command does not function,
try other codes shown for your VCR brand. If you are unsuccessful after trying
all
available codes, recheck your VCR Control Cable connections and IR
emitter placement.
VCR SETUP menu pane
Test
Upgrade
Prefs
New Card
Watch TV
VCR
Install
Signal
Main Menu
Admiral
Stop
Brand
Record
Features
Test
Code
1
2
3
4
5
6
7
Aiwal
Audio Dynamics
Bell & Howell
Brooksonic
Canon
Akai
Clear
Thu, Jul 19 2:33 PM
VCR SETUP
S
Содержание GAEB0A
Страница 1: ...1031941 0001 Rev A Models GAEB0A GCEB0A DIRECTV Digital Satellite Receiver Owner s Manual ...
Страница 8: ...viii Contents ...
Страница 24: ...16 Using the remote control ...
Страница 40: ...32 Using program guides ...
Страница 48: ...40 Using access controls ...
Страница 58: ...1031941 0001 Rev A April 15 2002 ...


