SYMPHONY
MODEL SF5598
PARTS & SERVICE MANUAL
Страница 1: ...SYMPHONY MODEL SF5598 PARTS SERVICE MANUAL...
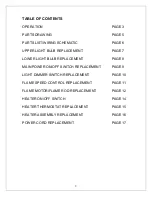
Страница 2: ...ER LIGHT BULB REPLACEMENT PAGE 8 MAIN POWER ON OFF SWITCH REPLACEMENT PAGE 9 LIGHT DIMMER SWITCH REPLACEMENT PAGE 10 FLAME SPEED CONTROL REPLACEMENT PAGE 11 FLAME MOTOR FLAME ROD REPLACEMENT PAGE 12 H...
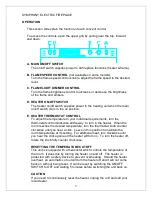
Страница 3: ...the thermostat control clockwise all the way to turn in the heater When the room reaches the desired temperature turn the thermostat knob counter clockwise until you hear a click Leave in this positi...
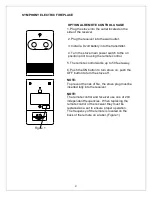
Страница 4: ...ontrol 5 The remote control works up to 50 feet away 6 Push the ON button to turn stove on push the OFF button to turn the stove off NOTE To prevent the risk of fire the stove plug must be inserted fu...
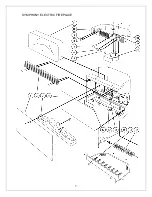
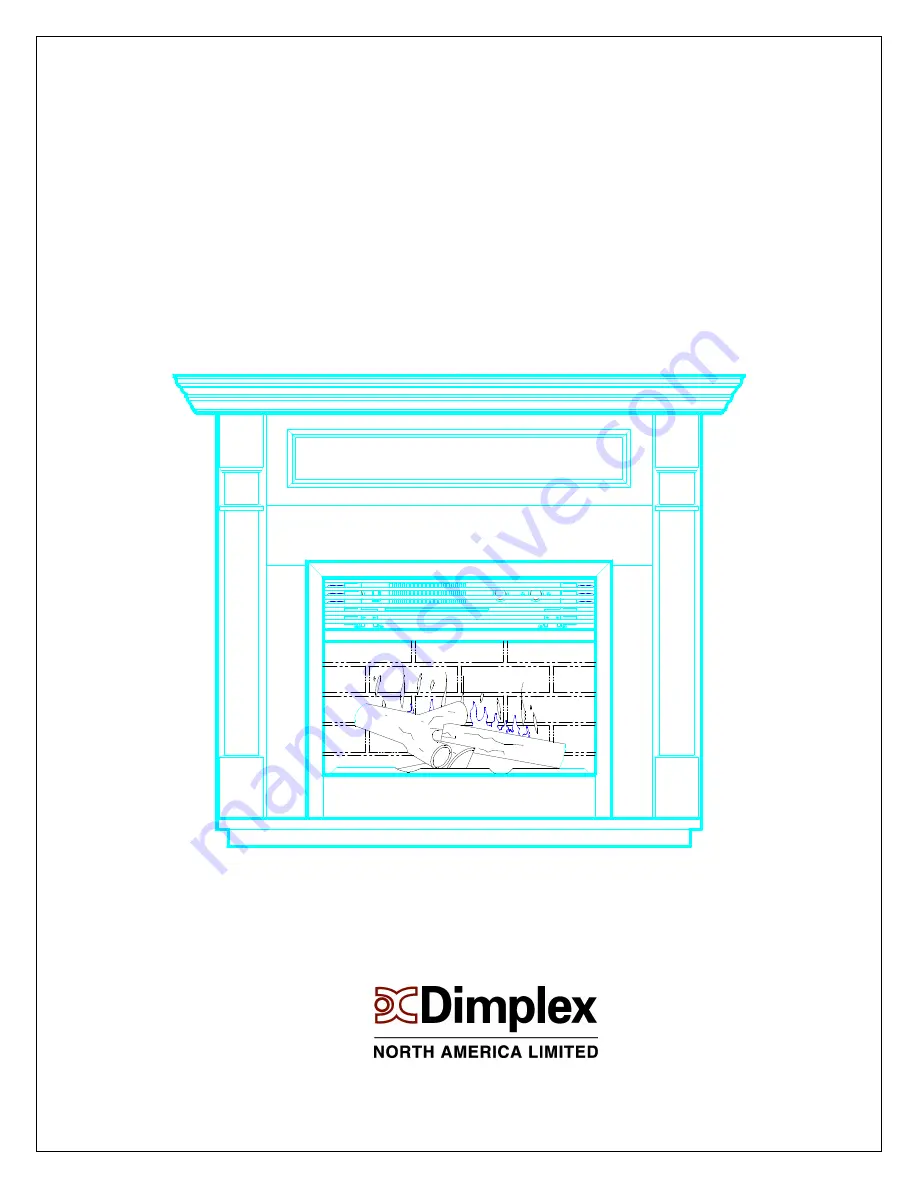
Страница 5: ...5 SYMPHONY ELECTRIC FIREPLACE...
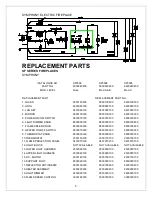
Страница 6: ...00200 8800000200 8800000200 8 HEATER ON OFF SWITCH 2800070200 2800070200 2800070200 9 THERMOSTAT KNOB 8800000300 8800000300 8800000300 10 THERMOSTAT 2300150100 2300150100 2300150100 11 FLAME PROJECTIO...
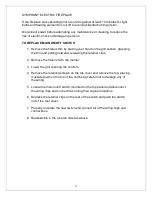
Страница 7: ...heir rated life Group replacement will reduce the number of times you need to open the unit to replace the light bulbs TO REPLACE UPPER LIGHT BULBS 1 Remove the firebox trim by placing your hand on th...
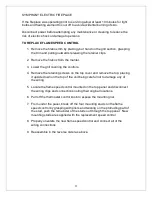
Страница 8: ...E LOWER LIGHT BULBS 1 Remove the firebox trim by placing your hand on the grill section grasping the trim and pulling outwards releasing the retainer clips 2 Remove the mounting screw in the center of...
Страница 9: ...outwards releasing the retainer clips 2 Remove the firebox from the mantel 3 Lower the grill covering the controls 4 Remove the retaining screws on the top cover and remove the top placing it upside...
Страница 10: ...utwards releasing the retainer clips 2 Remove the firebox from the mantel 3 Lower the grill covering the controls 4 Remove the retaining screws on the top cover and remove the top placing it upside do...
Страница 11: ...he retaining screws on the top cover and remove the top placing it upside down on the top of the unit being careful not to damage any of the wiring 5 Locate the flame speed control mounted on the top...
Страница 12: ...y and remove the wiring clips and connections noting their original locations 6 Remove the flame assembly mounting bracket screws and rotate the assembly forwards releasing the mounting tabs from the...
Страница 13: ...ME ROD NOTE Removal of the glass eases the installation of the bottom cover 11 Remove the mounting screw in the center of the glass and remove the retainer bracket 12 Remove the glass by lifting up fr...
Страница 14: ...outwards releasing the retainer clips 2 Remove the firebox from the mantel 3 Lower the grill covering the controls 4 Remove the retaining screws on the top cover and remove the top placing it upside...
Страница 15: ...ner clips 2 Remove the firebox from the mantel 3 Lower the grill covering the controls 4 Remove the retaining screws on the top cover and remove the top placing it upside down on the top of the unit b...
Страница 16: ...ox from the mantel 3 Lower the grill covering the controls 4 Remove the retaining screws on the top cover and remove the top placing it upside down on the top of the unit being careful not to damage a...
Страница 17: ...the controls 4 Remove the retaining screws on the top cover and remove the top placing it upside down on the top of the unit being careful not to damage any of the wiring 5 Locate and disconnect the p...