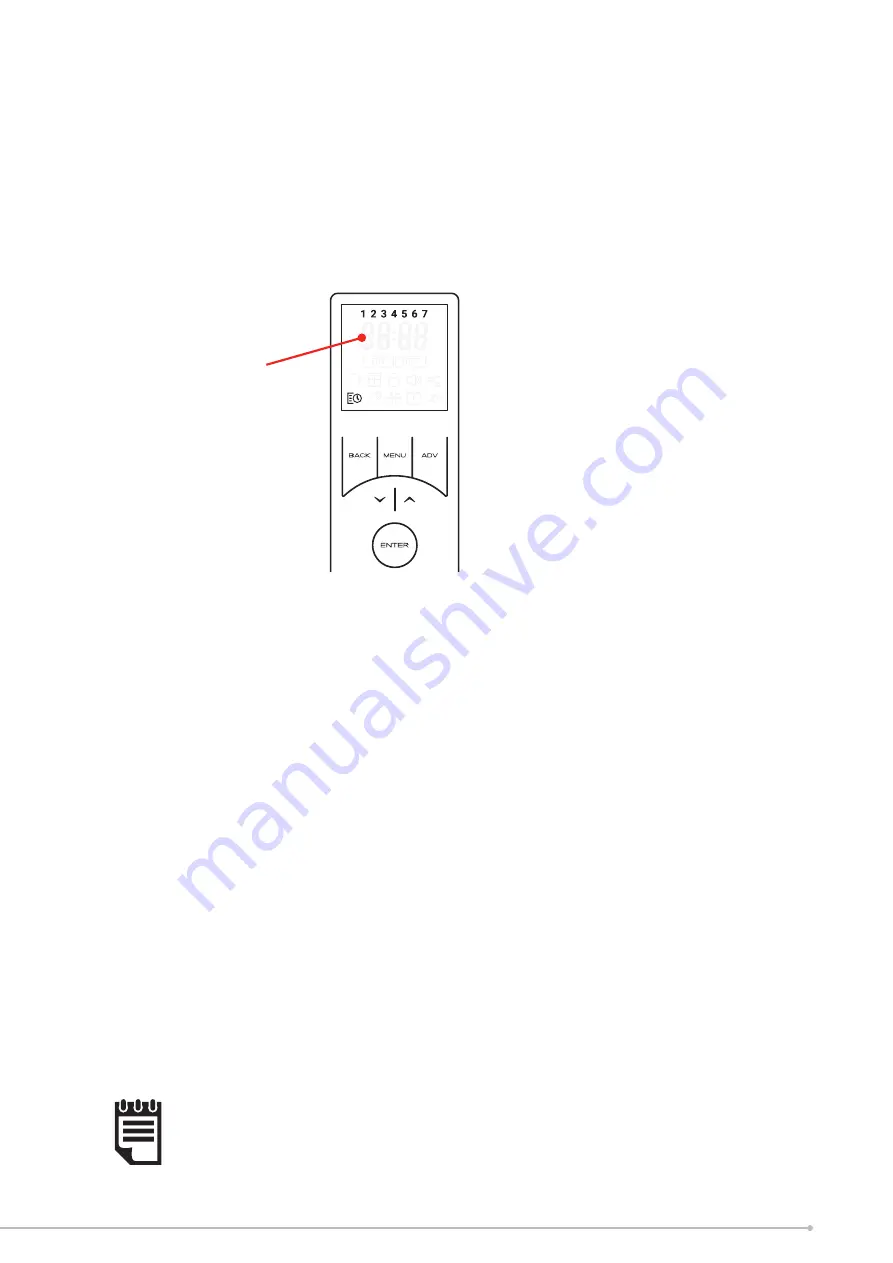
Setting/Modifying the Time Profiles
• Press the
MENU
key from the home screen.
• Use the arrow keys to highlight the
Schedule Icon
,
• Press
ENTER
to enter Timer Settings.
• Use the arrow keys to highlight ‘ Edit’ and Press
ENTER
again to confirm selection.
• Use the arrow keys to select the day of the week you wish to set and confirm
using the
ENTER
key.
Day 1 = Monday
Day 2 = Tuesday
Day 3 = Wednesday
Day 4 = Thursday
Day 5 = Friday
Day 6 = Saturday
Day 7 = Sunday
Day
selection
screen
• Use the arrow keys to select the period (1-4) you wish to set and confirm using
the
ENTER
key.
• Use the arrow keys to edit the ‘On’ time, confirm each digit using the
ENTER
key. After the final digit is confirmed the remote will automatically enter the set-
point setting screen.
• Use the arrow keys to set the desired set-point temperature, confirm using the
ENTER
key.
• The ‘Off’ time should then be set using the same method as the ‘On’ period .
You will then be returned to the Period setting screen, with the next period highlighted.
The previous Period has been successfully set and is confirmed by a beep from the
appliance. The remainder of the periods can then be set as per the above procedure.
Alternatively the timer setting mode can be exited by pressing MENU or continuously
pressing the BACK key
NOTE:
If the MENU key or the BACK key is used exit setting mode from the time or
temperature setting screen the changes will not be saved, it is essential that the
final ‘Off’ time is confirmed and a beep is heard from the appliance before exiting
this mode.
25
Содержание CXD2000HE
Страница 10: ...Front View Side View Plan View Front View Side View Plan View Fig 4 CXD2000VE CXD2000HE 10...
Страница 11: ...Fig 5 Fig 6 11...
Страница 18: ...18...


