U
SER
M
ANUAL
6
Step 4.
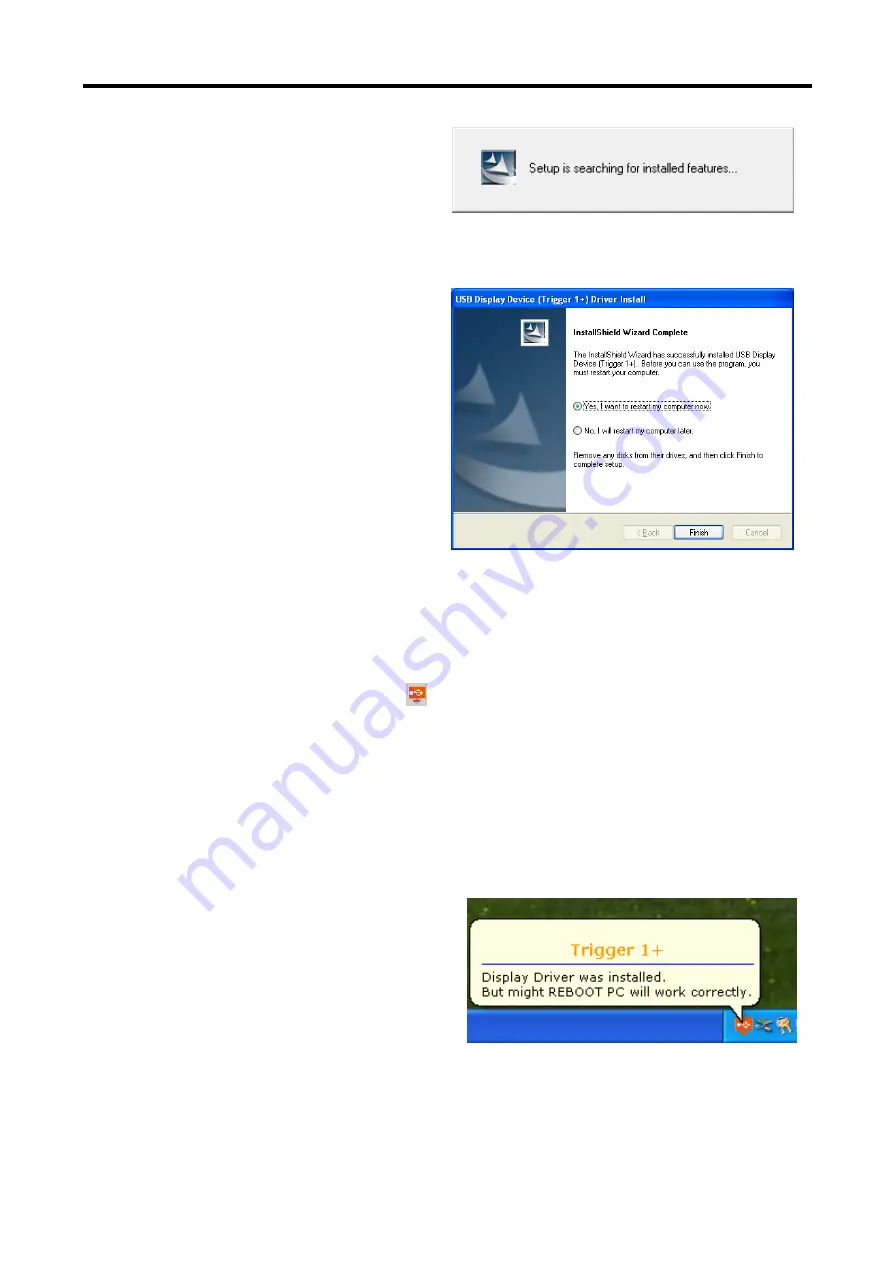
Setup is searching for installed
features…..
*You may notice the screen flashes during
hardware installation. It is part of the normal
process.
Step 5.
Please select “
Yes, I want to restart
my computer now”
and click “
Finish
”
to complete the software installation.
Step 6.
(After System Reboot)
Please connect the external display device (monitor/projector) to the VGA/DVI
connector of
USB
D
ISPLAY
A
DAPTER
and switch it on.
Then plug the
USB
D
ISPLAY
A
DAPTER
into an available USB 2.0 port of your PC
or Notebook. You will see an icon on the lower right toolbar, and the
extended display will be shown on the attached display device. The USB
D
ISPLAY
A
DAPTER
is ready to use now.
Step 7.
I
NSTALLATION OF MULTIPLE
USB
D
ISPLAY
A
DAPTERS
Please plug the additional
USB
D
ISPLAY
A
DAPTERS
into the available USB 2.0 port
of your PC or Notebook. The hardware driver setup will begin automatically.
To make sure the USB Display Adapter
worked correctly, please reboot the
computer after finished the installation.
After reboot the computer, the USB extended display will be shown on the
display device.


