For product support please see www.digitalyacht.co.uk
Page 22
AIT2000 Installation & Operation Manual
VERSION 1.01
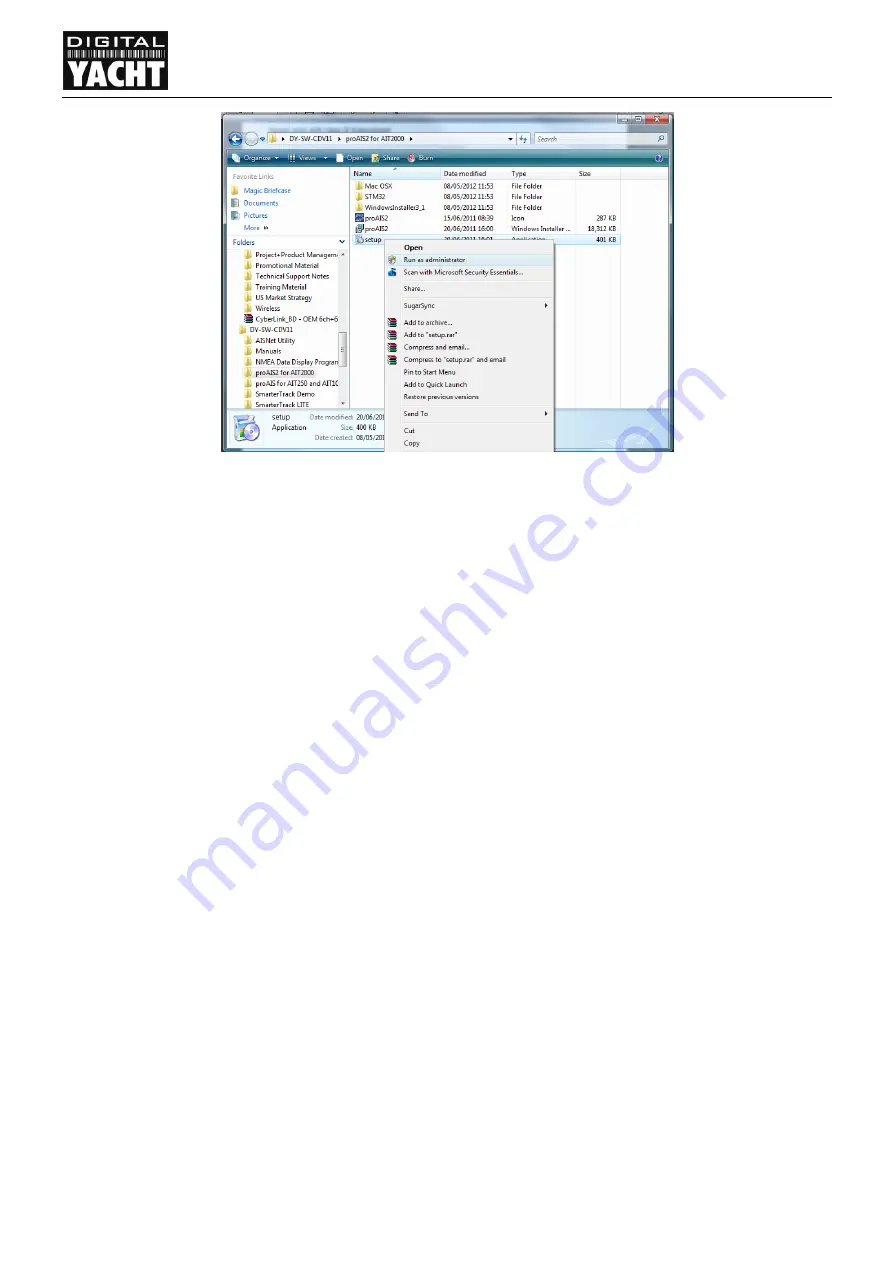
Figure 7
Once the proAIS2 and drivers are installed, you can plug the AIT2000 in to a spare USB port on the computer and
Windows will see the new hardware and complete the driver registration. You should receive a brief pop-up
message saying that your new hardware is ready to use.
6.2
Plugging the AIT2000 in to a Mac
If you are using a Mac, it is not necessary to install any drivers, simply plug your AIT2000 in to a spare USB port
and OSX will automatically load the driver from its pre-configured driver library and your AIT2000 will be ready to
use. If you need to configure the AIT2000, install the proAIS2.dmg file that is in the “proAIS2 for AIT2000\Mac OSX”
folder on the Software and Drivers CD-Rom.
6.3
Running proAIS2
Locate the proAIS2 application on your computer and launch the program. You will see a screen like the one
shown at the top of the next page.
In order for the program to communicate with the AIT2000, the proAIS2 needs to know which port the USB inter-
face has been allocated by the computer’s operating system. For Windows and OSX, the AIT2000 USB interface
will be installed as an “AIS Virtual COM Port”.
In most cases the proAIS2 software will show the “AIS Virtual COM Port” as the default device to connect to, but if
you have other serial port adaptors on your computer, you may have to click on the selection box and select “AIS
Virtual COM Port” as the device to connect to – see Figure 8.
Once selected, click the “Connect” button and the proAIS2 software will start querying the AIT2000 to see what
settings it has. Assuming that the AIT2000 is a new unit, the Data boxes will all be blank and you are now ready to
enter your own vessel’s static data and program it in to the AIT2000.


