


- 28 -
- 29 -
OLS-3250LA | OLS-4240LL | OLS-4650LA | OLS-5541LL
10. Power Management Feature
11. Trouble Shooting
■
Power Management Mode
The power management feature of this product complies with power saving requirement of
VESA DPMS. When activated, it automatically reduces unnecessary powe r consumption of
the monitor when your computer is not in use.
To use the feature, the monitor needs to be connected to a VESA DPMS compliant computer.
There is a power management step the monitor takes as described below. The power manage -
ment function, including any timer settings is configured by the operating system. Check your
operating system manual for information on how this can be configured.
If the monitor fails to operate correctly, please follow the steps below for a possible solution.
When the H-sync. signal / V-sync. signal / H and V sync. signals from the computer are off, the
monitor enters into Power Management Mode which reduces the power consumption to less
than 0.5W. The screen becomes dark. From Power Management Mode, the image reappears
in several seconds when either the keyboard or the mouse are touched again.
- Even when using the power management mode, the monitor consumes electricity. Turn off the Power
Switch whenever the monitor is not in use, during the night and weekends, to avoid unnecessary powe r
consumption.
- It is possible that the video signal from the computer may be on while the H or V sync. signal is missing. In
this instance, the POWER MANAGEMENT feature may not work properly.
NOTE
1. Perform the adjustments described in OPERATING THE MONITOR, depending on the problem
you have. If the monitor does not get a picture, skip to 2.
2. Consult the following items if you cannot find an appropriate adjustment item in OPERATING
THE MONITOR or if the problem persists.
3. If you are experiencing a problem which is not described below or you ca nnot correct the
problem, discontinue using the monitor and contact your dealer or service center for further
assistance.
Problem
1
The picture does not appear.
∙
The power Cable is firmly seated in the socket.
∙
The power Switch is turned ON.
∙
The AC socket is live. Please check with another piece of equipment.
∙
If the blank screen saver is in active mode, touch the keyboard or the mouse.
∙
Increase the Contrast and/or Brightness.
∙
The computer is ON.
∙
The signal cable is properly connected.
∙
The signal timing of the computer is within the specification of the monitor.
∙
If the monitor is in power management mode, touch the keyboard or the mouse.
2
The screen is not synchronized.
∙
The signal cable is properly connected.
∙
The signal timing of the computer is within the specification of the monitor.
∙
The video output level of the computer is within the specification of the monitor.
3
The screen position is not in the center.
∙
The signal timing of the computer is within the specification of the monitor.
4
The screen is too bright or too dark.
∙
The video output level of the computer is within the specification of the monitor.
5
The screen is shaking.
∙
The power voltage is within the specification of the monitor.
∙
The signal timing of the computer is within the specification of the monitor.
6
No sound.
∙
The audio equipment(computer etc.) is ON.
∙
The audio cable is properly connected.
∙
The volume is turned up.
∙
The mute is OFF.
∙
The audio output level of the audio equipment is within the specification of the monitor.
7
The sound is too loud or too quiet.
∙
The audio output level of the audio equipment is within the specification of the monitor.
8
A strange noise is heard.
∙
The audio cable is properly connected.
9
The touch screen shows no response.
∙
The USB cable is firmly seated in the socket.
∙
Touch screen driver software is installed.
10
The touch position does not deviate.
∙
The calibration function set up correctly.
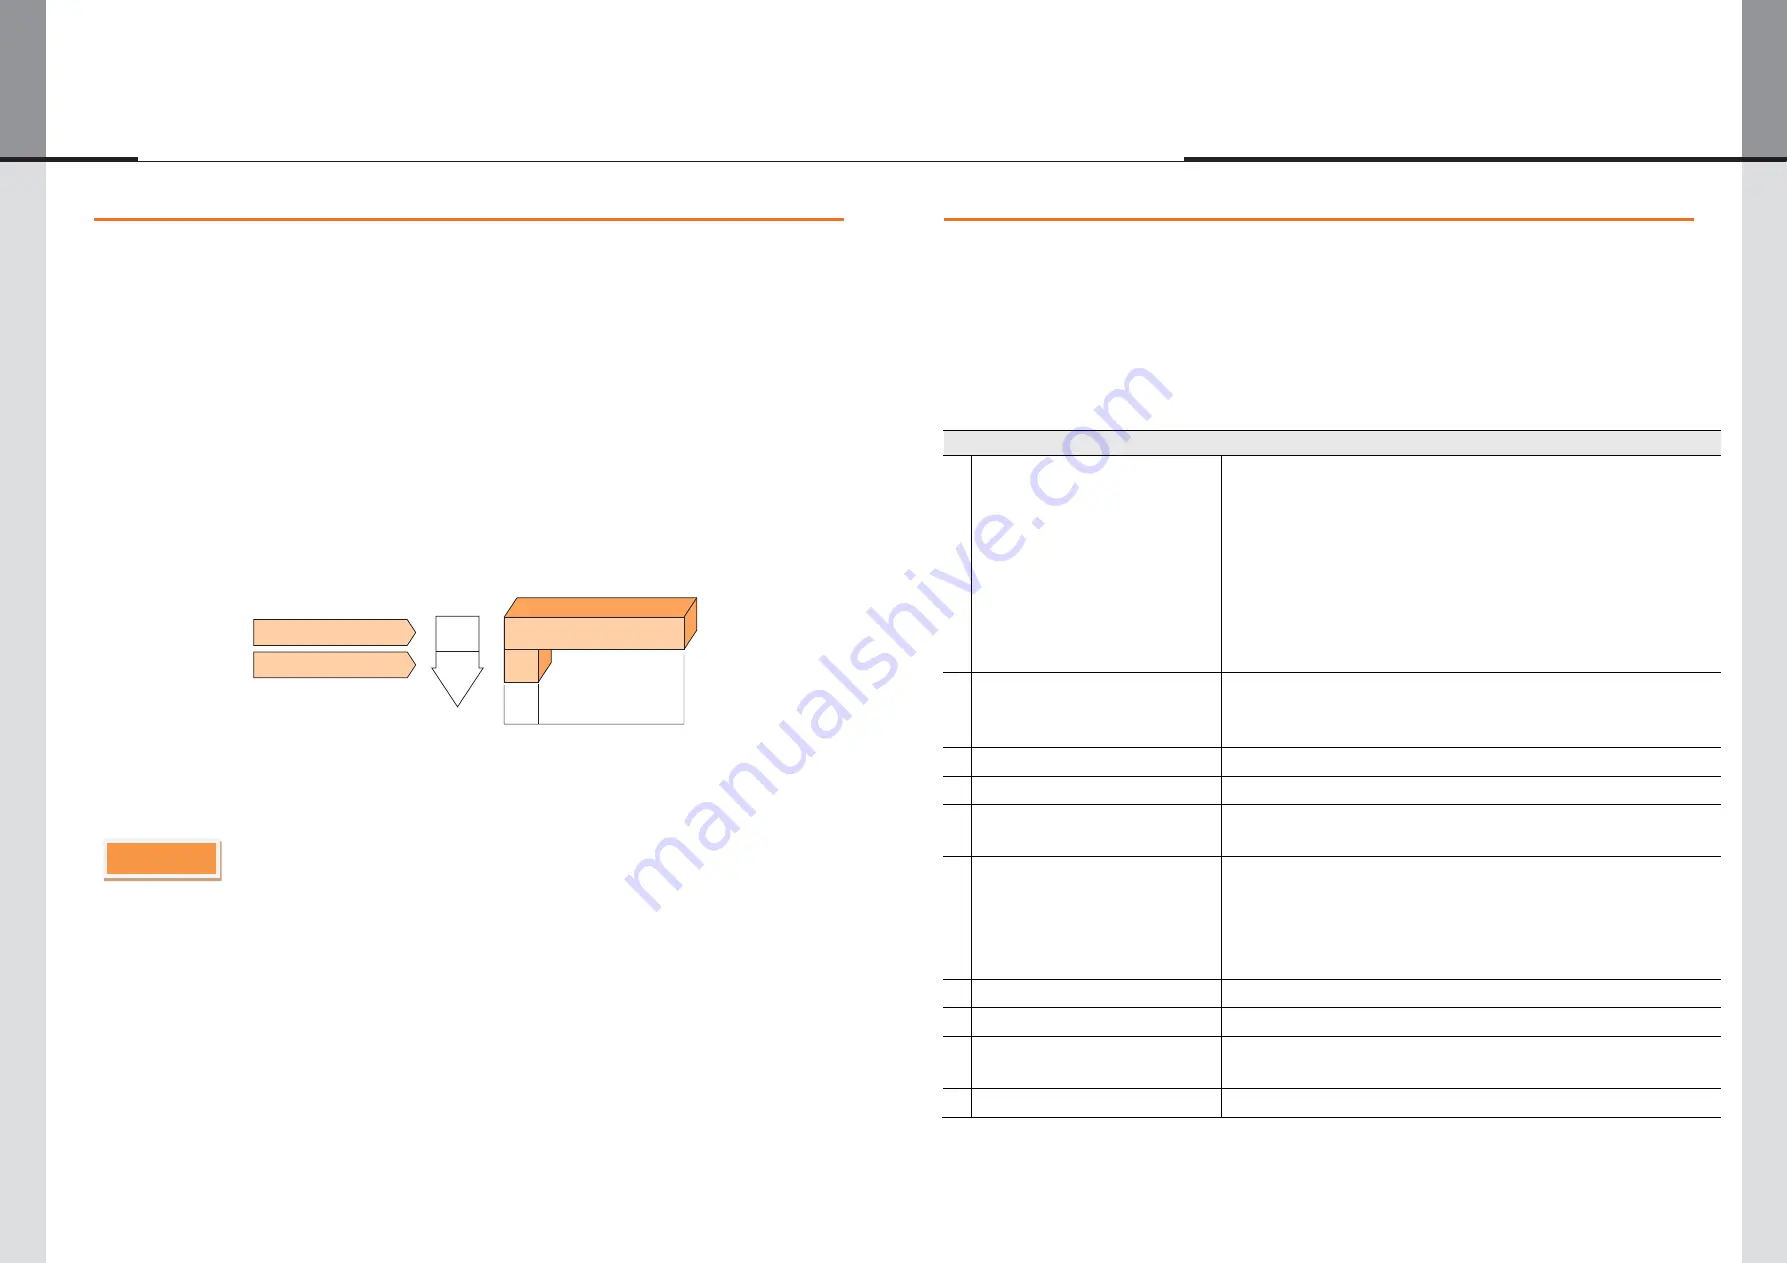
100%
POWER
0
0.5 W
CONSUMPTION
Green
Orange
Power Indicator
NORMAL MODE
POWER MANAGEMENT MODE
Содержание DTS-3250LA
Страница 1: ...PCAP Touch Screen Displays User Manual...


